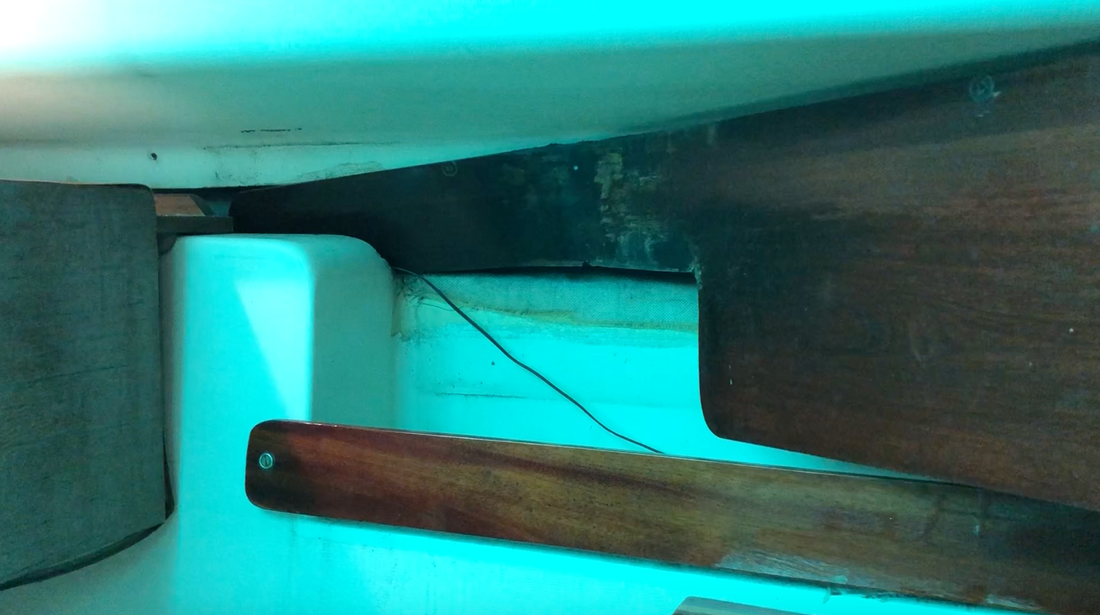
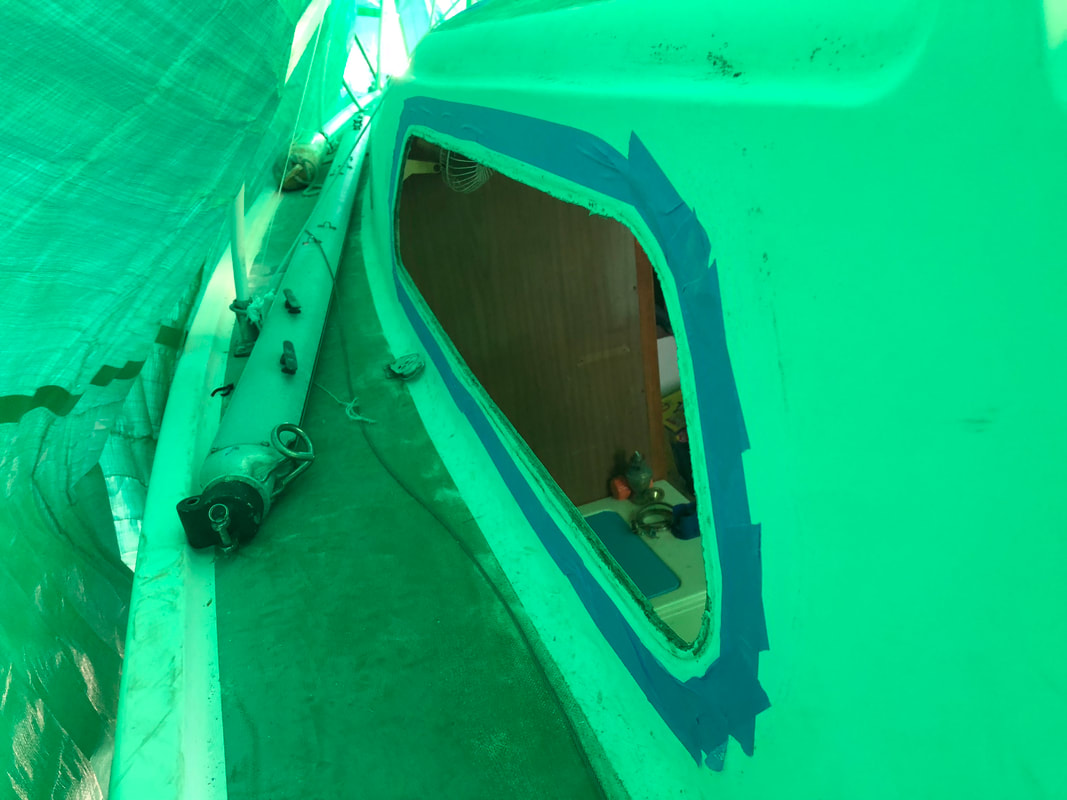
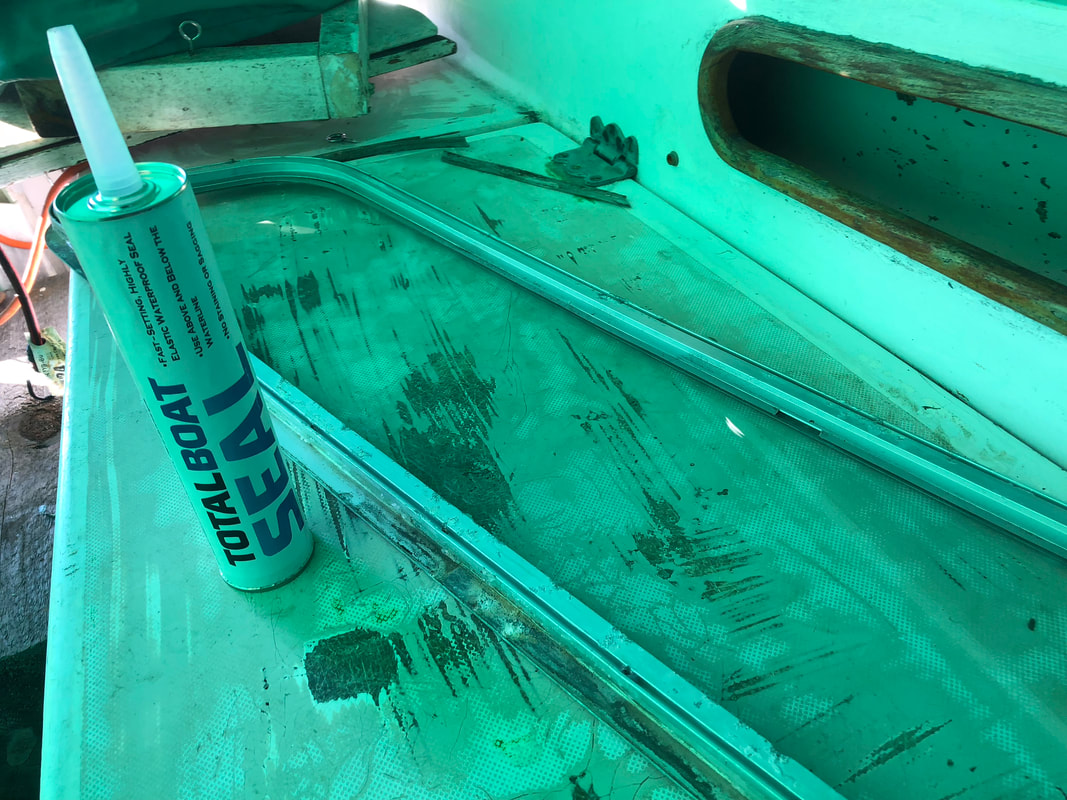
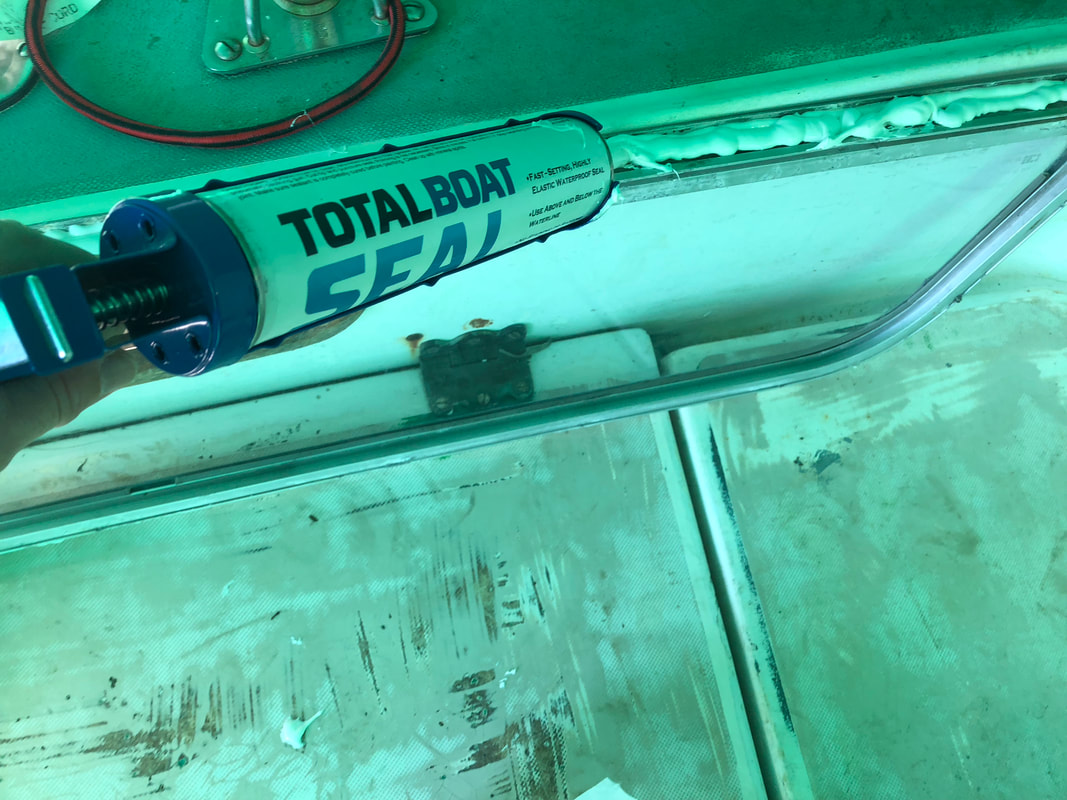
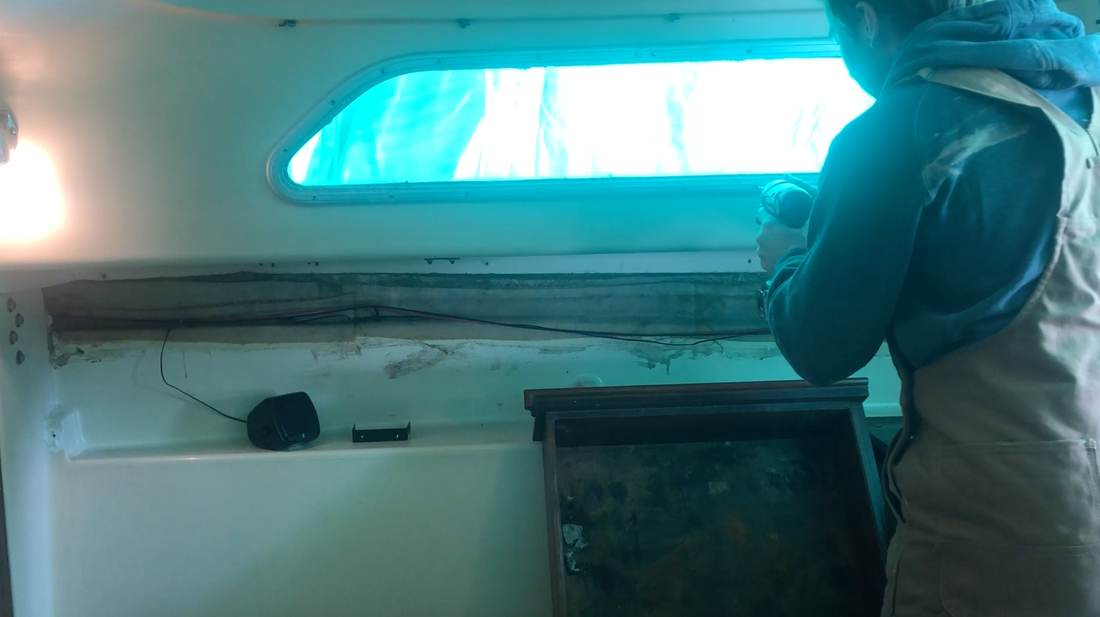
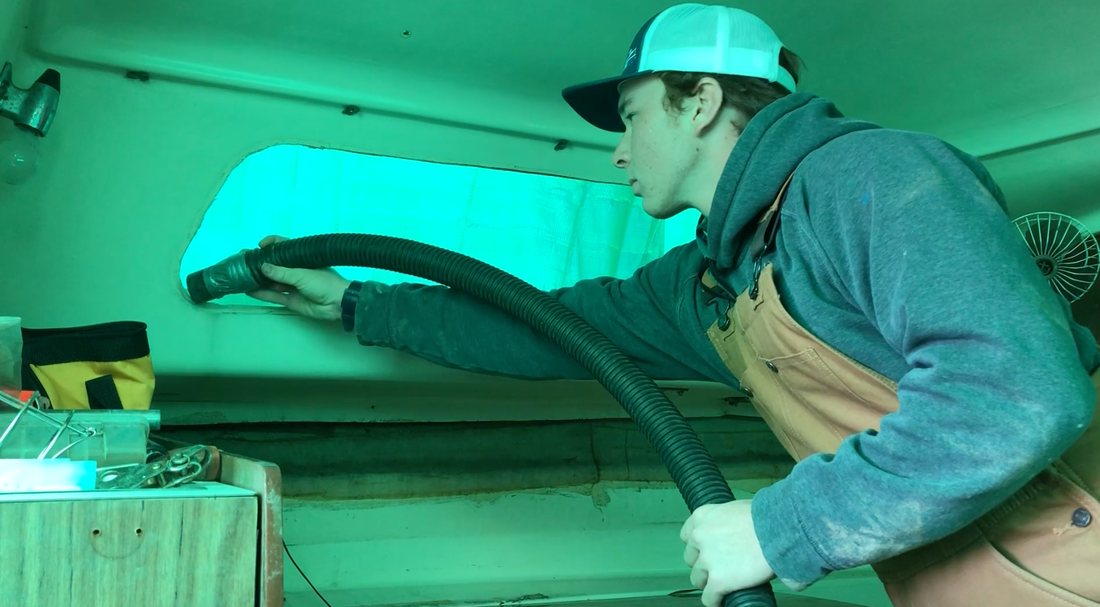
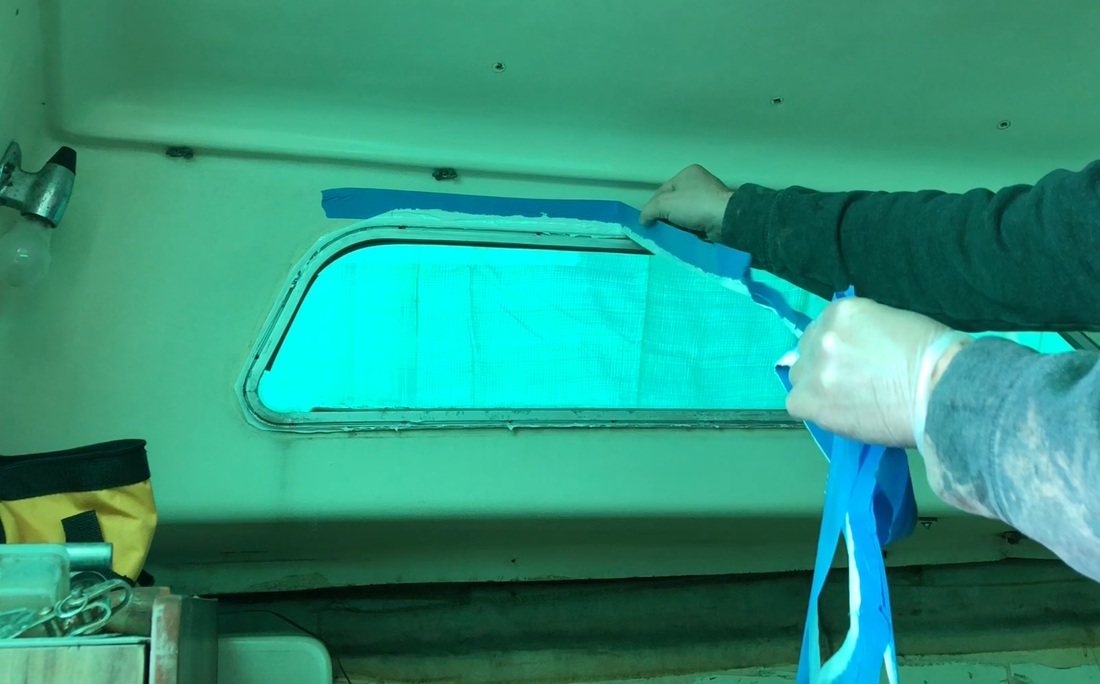
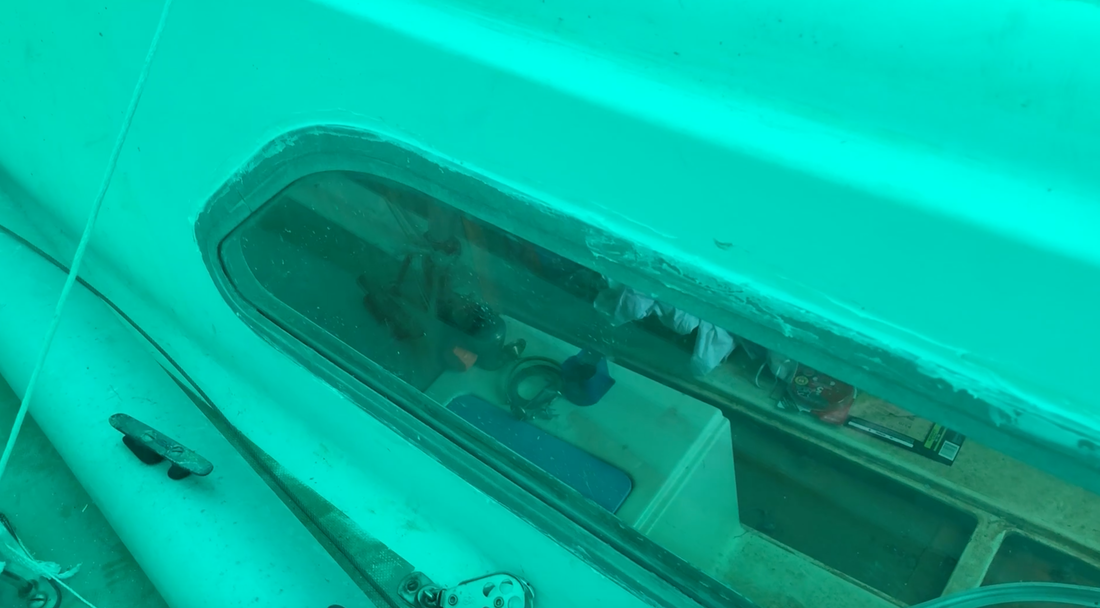
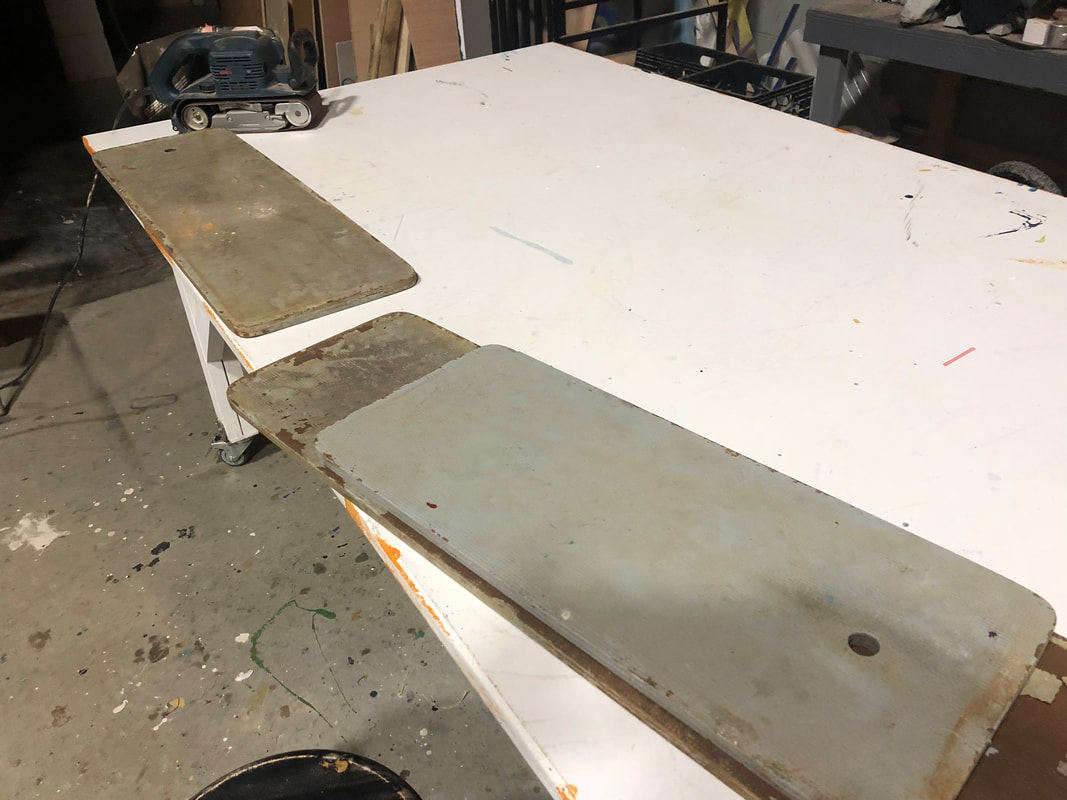
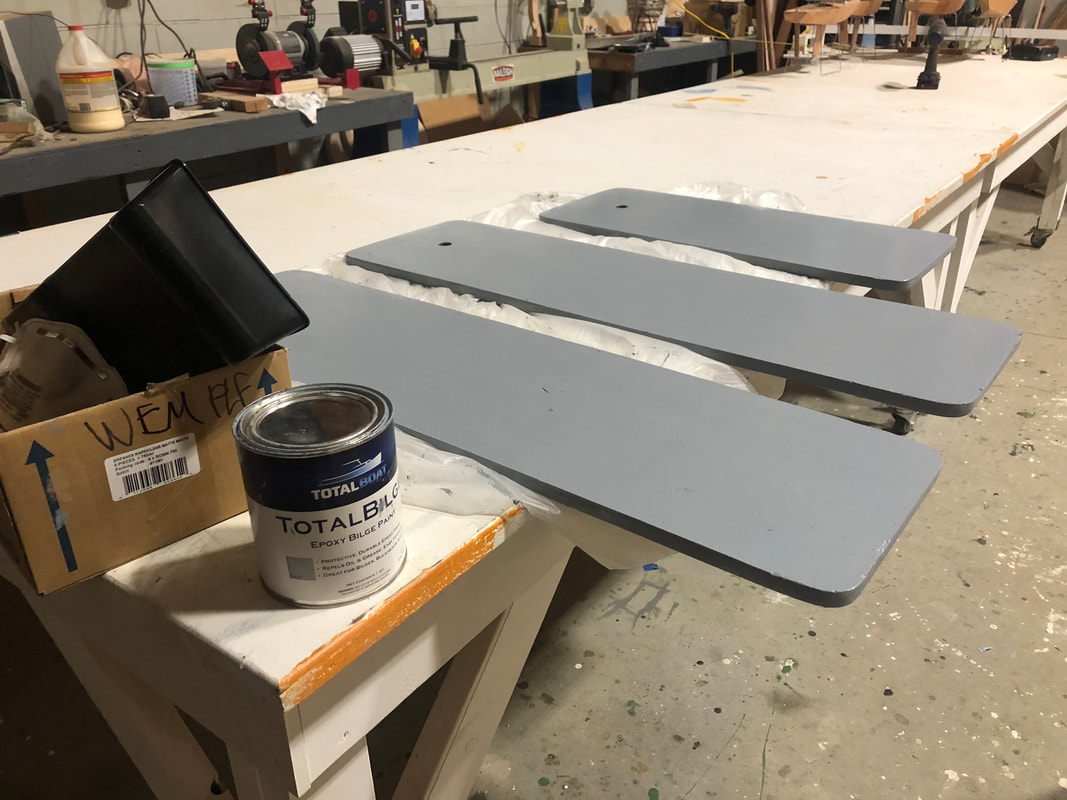
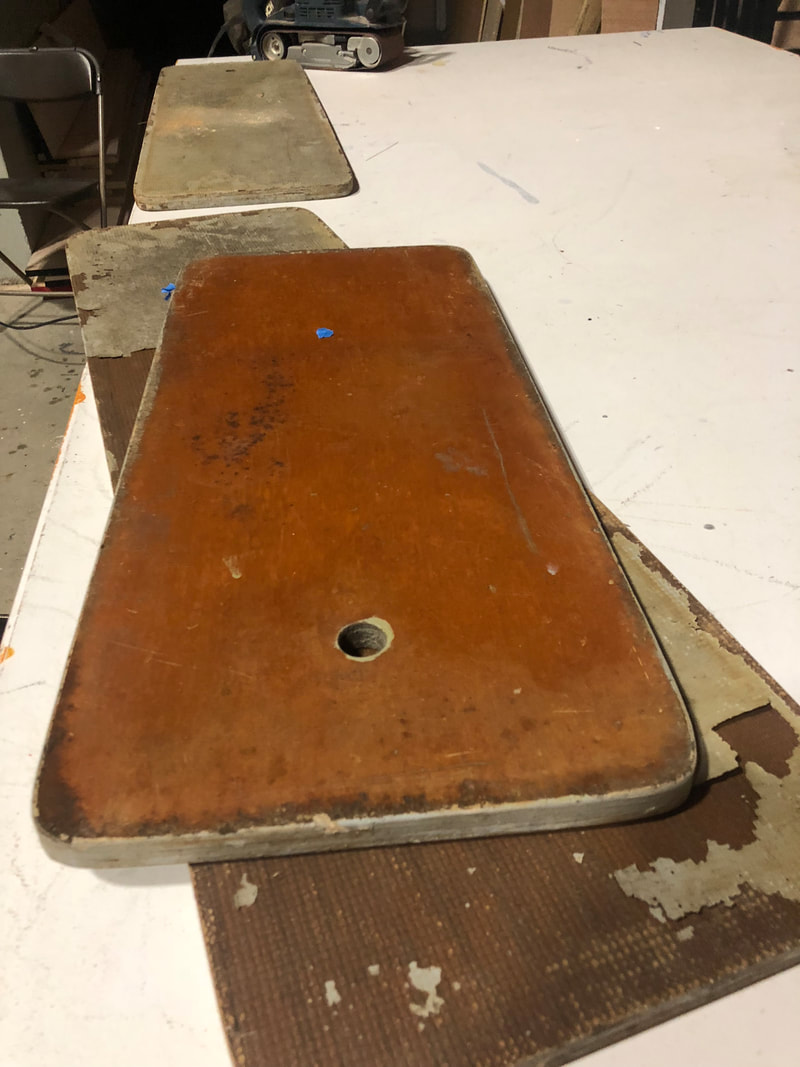
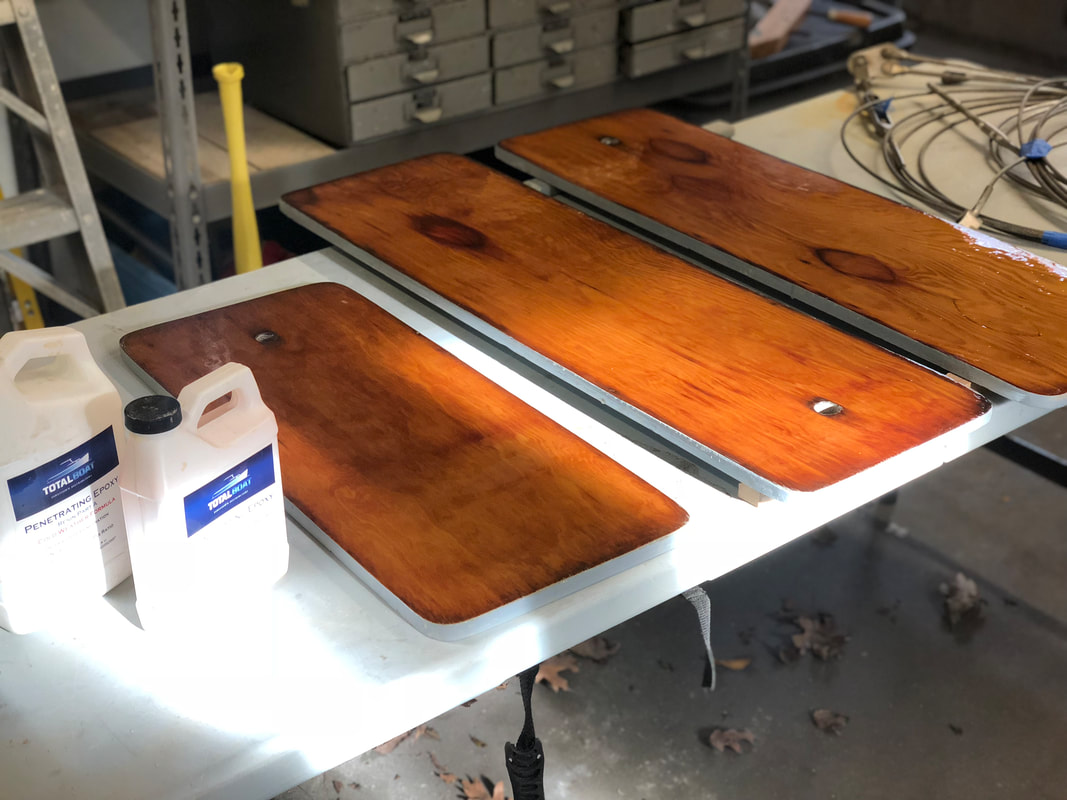
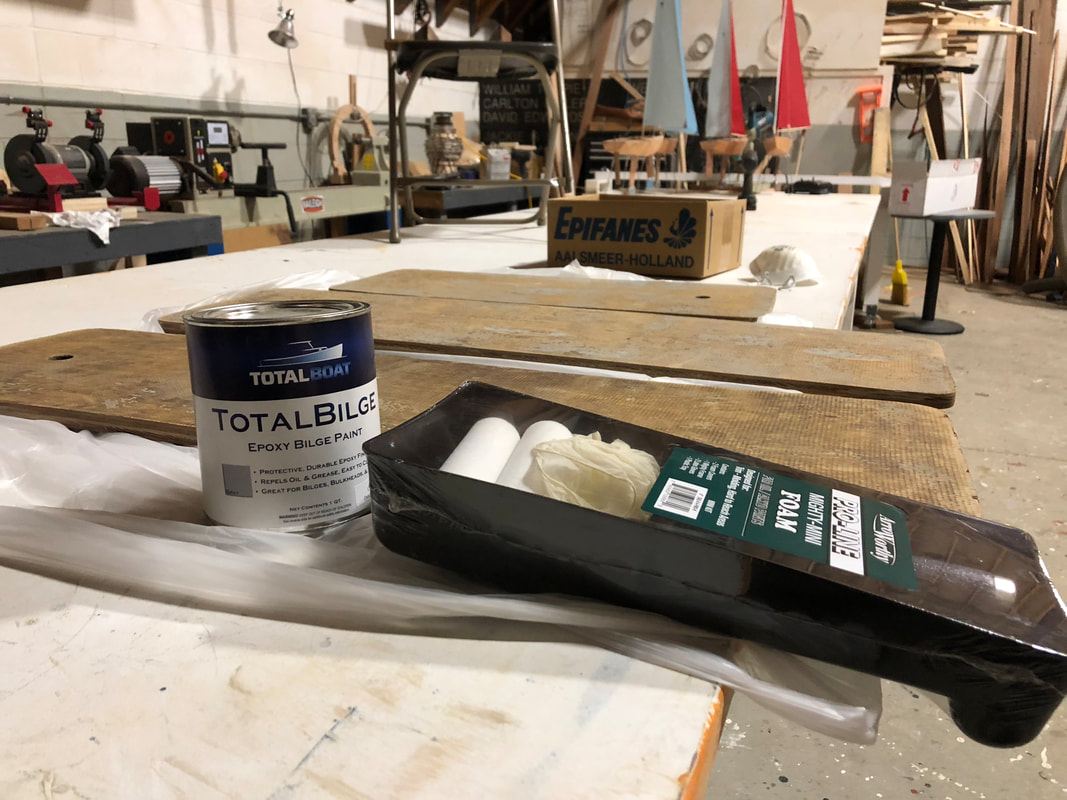
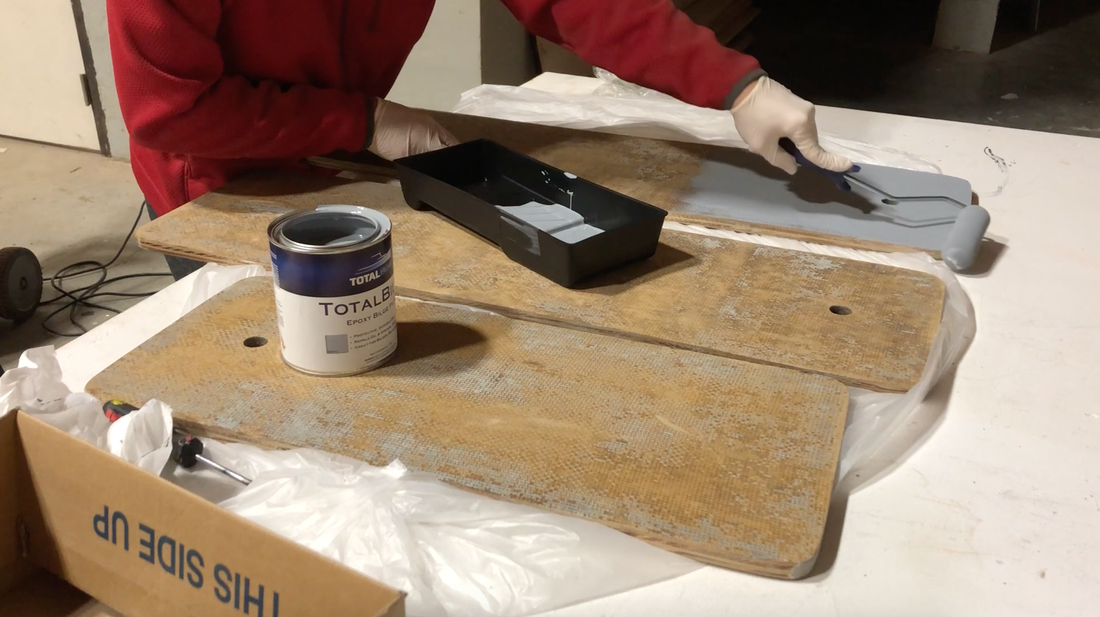
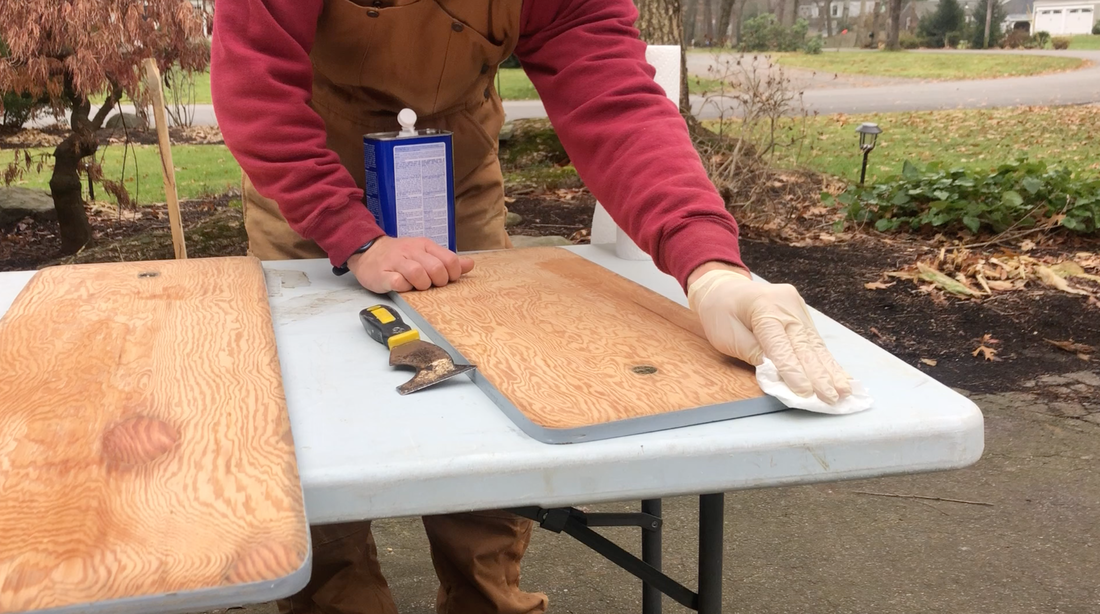
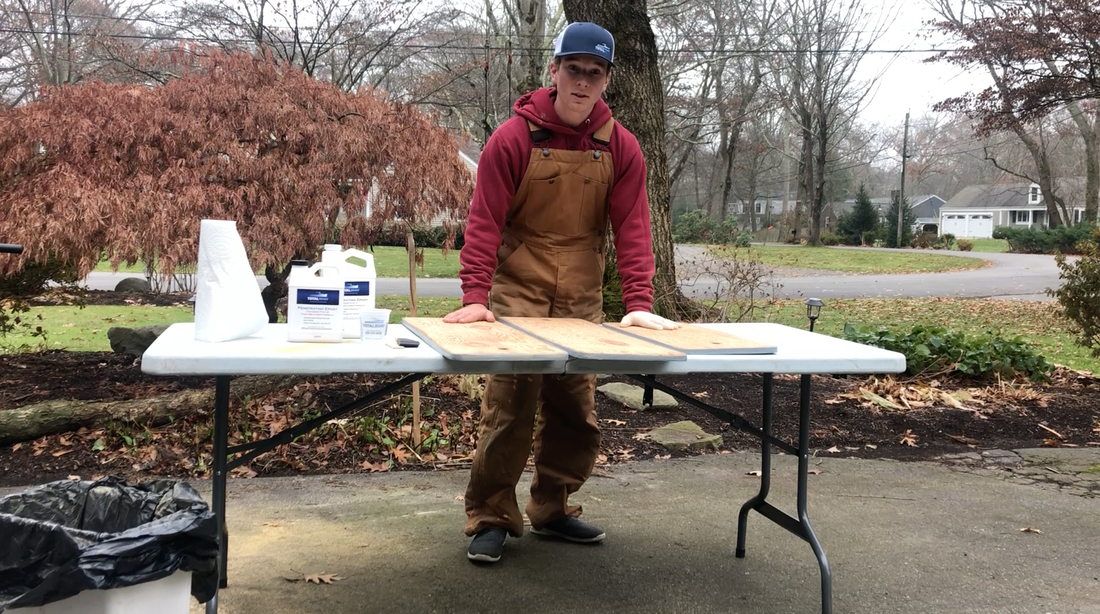
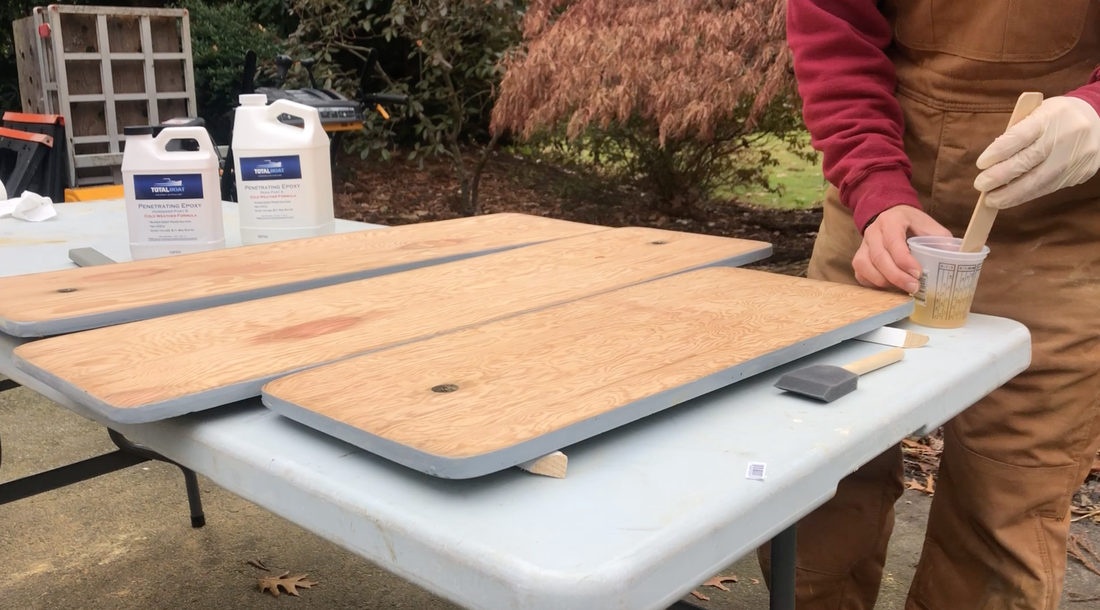
 The Pearson 26 now has a name! When I had the opportunity to do this project I thought to myself, "why not?" So, I have decided to name her "Why Knot". See, the name fits perfectly! Now, for a progress report. I'll start with the leaky port-side window. The window was leaking a lot, causing water to rot the wood panel below it. The first step in this process was to remove the window. Surprisingly, the window was not secured with much to the cabin. The frame was secured with screws that sandwiched the window against the fiberglass. Also, it was caulked into place, adhering it to the outside of the cabin. To remove the window I removed the frame and began cutting the caulk away with a utility knife. After removing the caulk I was able to simply pop it out of the cabin. Now, it was time to re-seal the window. The old gasket was brittle and useless. I used a great product from Total Boat called Seal. This product comes in a 10oz. cartridge and was very easy to apply. I used painters tape to tape off around the window in prepraation for some squeeze out of the Seal. When dry, Seal provides a highly elastic seal blocking out the water and stopping leaks. This is perfect for my leaky window. I was able able sand the remainder of the seal off. Now the newly sealed window is in place and ready for the summer! On to my next project...refinishing the floorboards. The floorboards where in poor shape when I got the boat. The paint was chipping off them and the wood coating was in poor shape. Because the wood could possibly come in contact with bilge water I felt that it was essential to have the boards properly sealed. I began by sanding off all the old varnish and bilge paint. I then repainted the boards with Total Boat TotalBilge grey bilge paint. This paint is epoxy based and very durable, making it perfect for these floor boards that will be covering the bilge. I used the same paint on the sail locker for its mildew resistance. Once the boards where painted on the bottom, I prepped the top for clear epoxy. I used 220 grit sand paper to sand the wood and then used acetone to prep the wood. For epoxy I used Total Boat 2:1 clear penetrating epoxy cold weather formula. This epoxy is perfect for protecting the wood from the environment by sealing it. The boards looked better than new after the epoxy was applied and I can't wait to place them back on the boat in the spring.
1 Comment
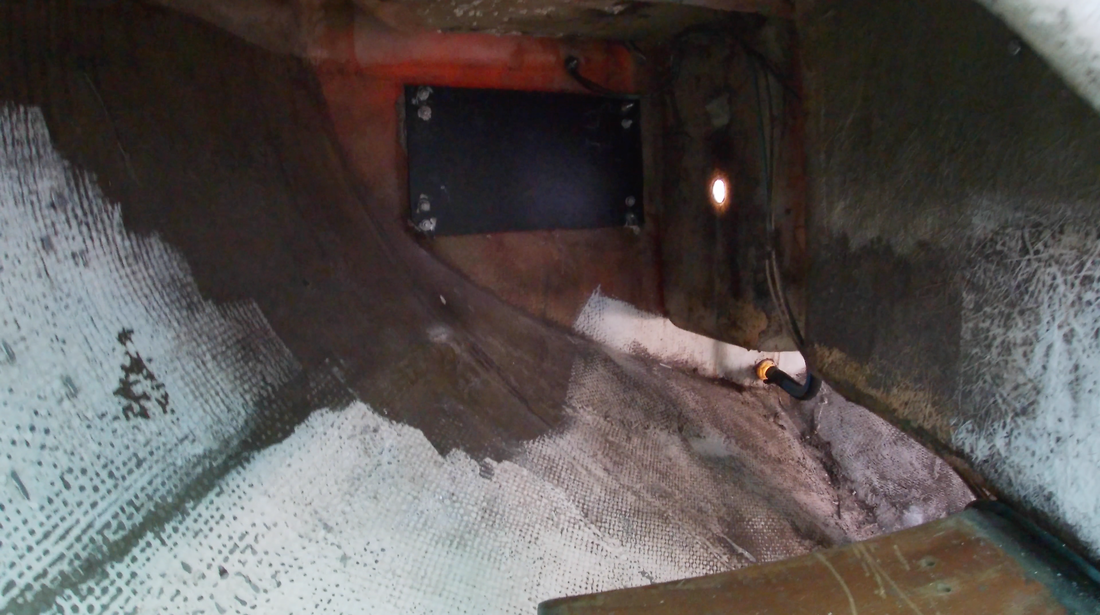
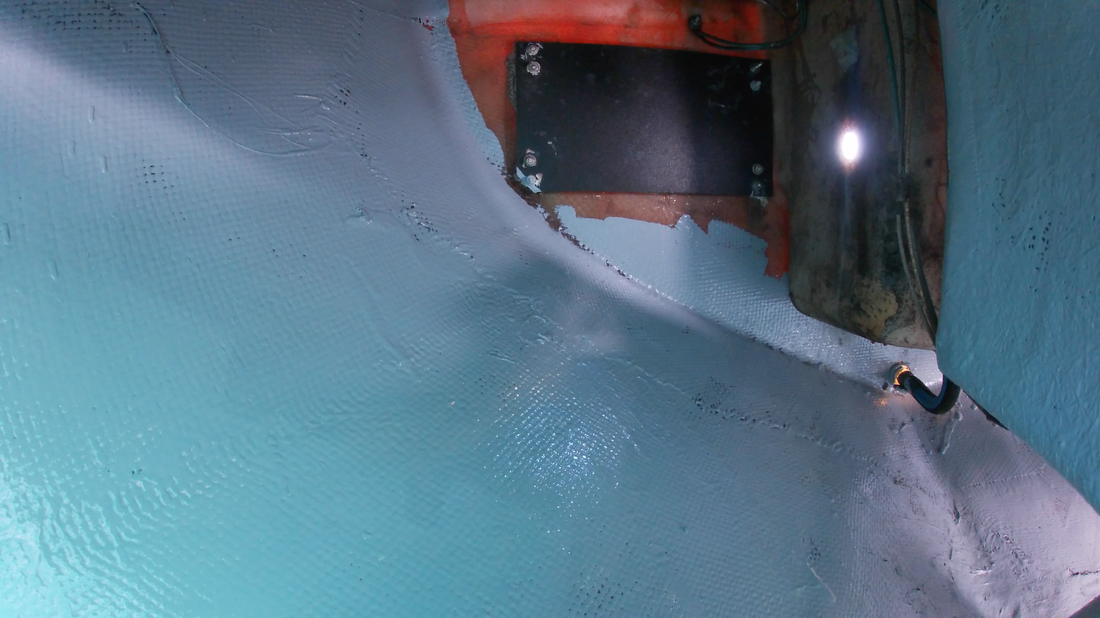
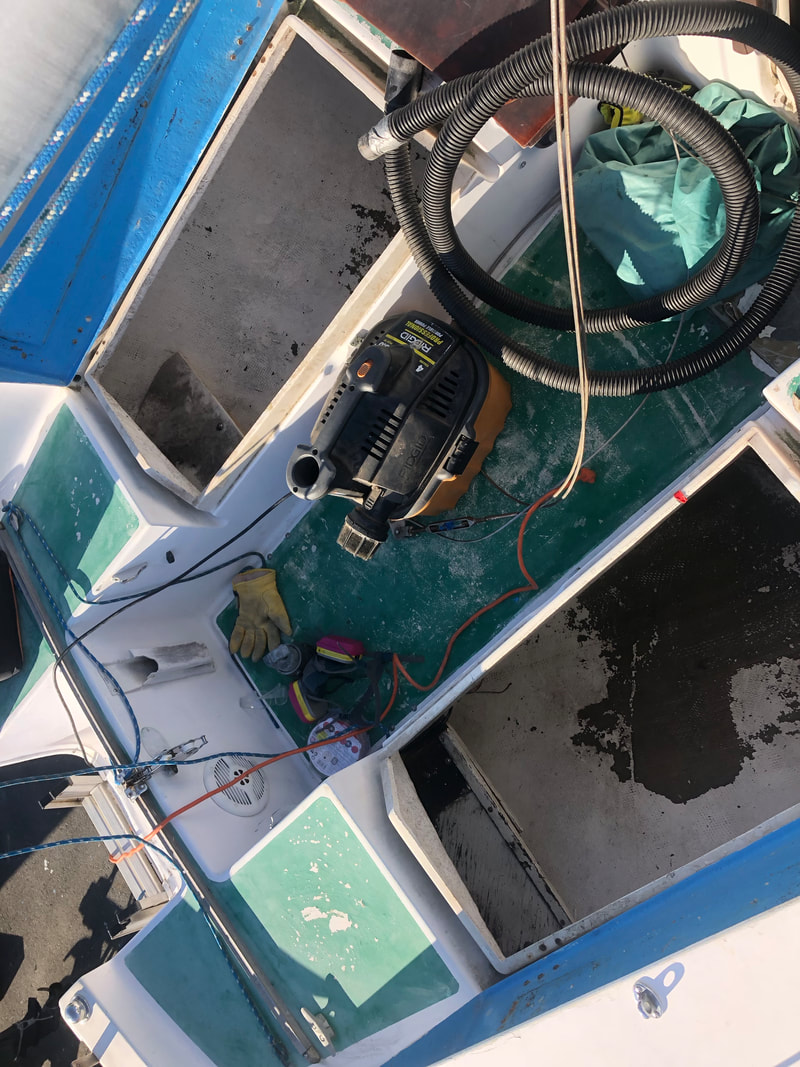
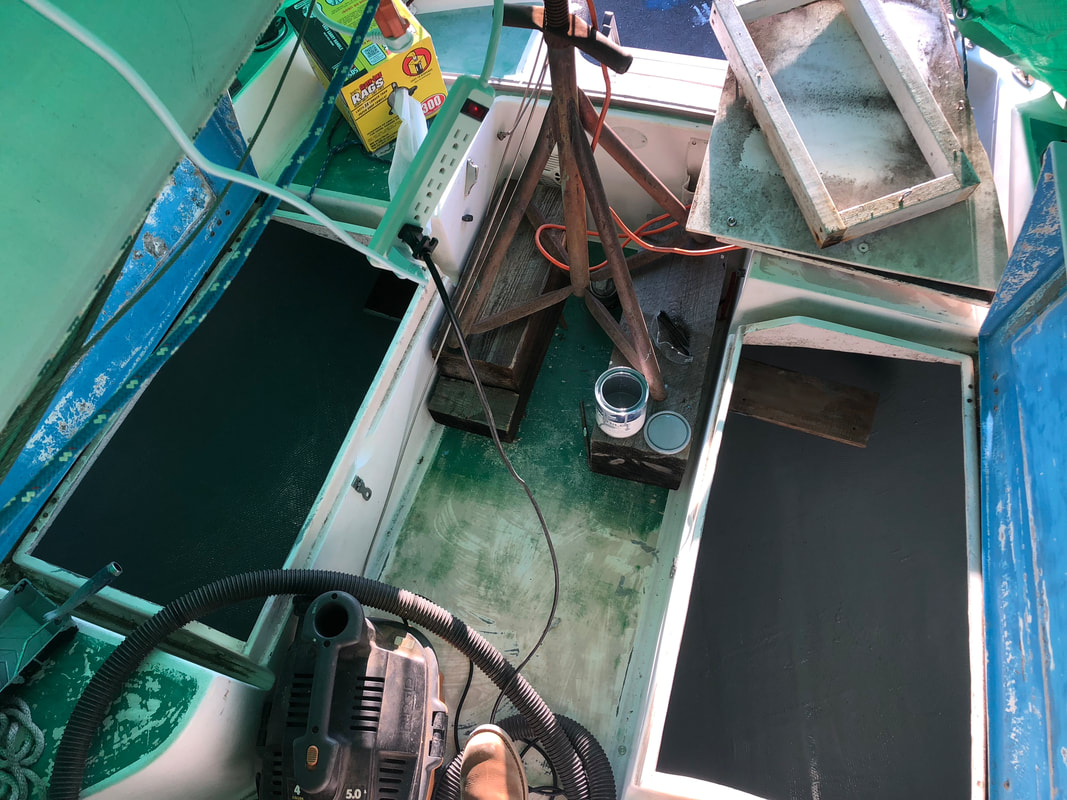
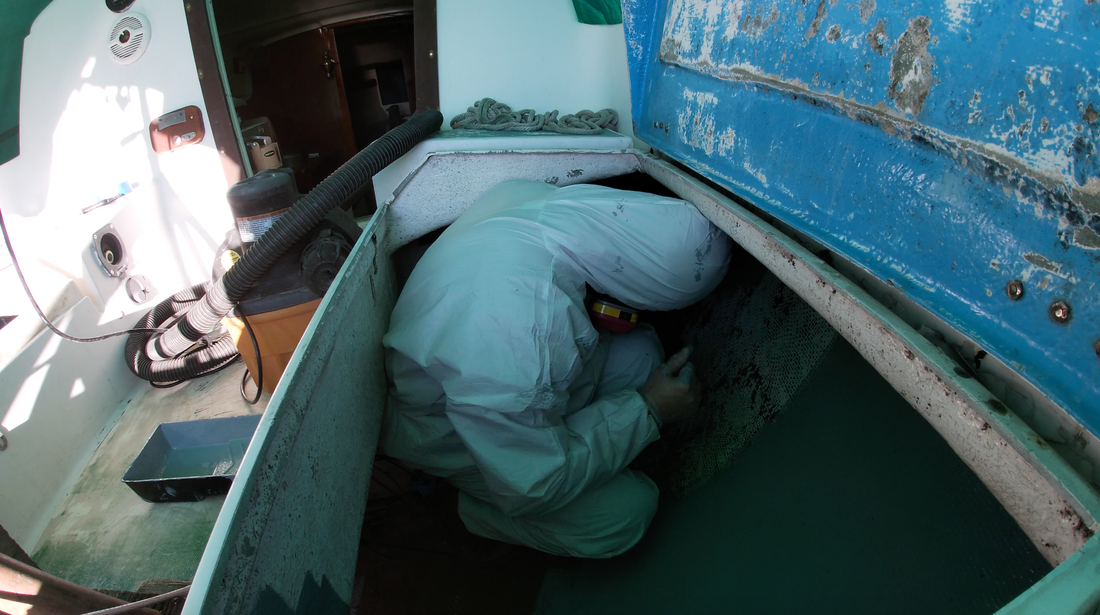
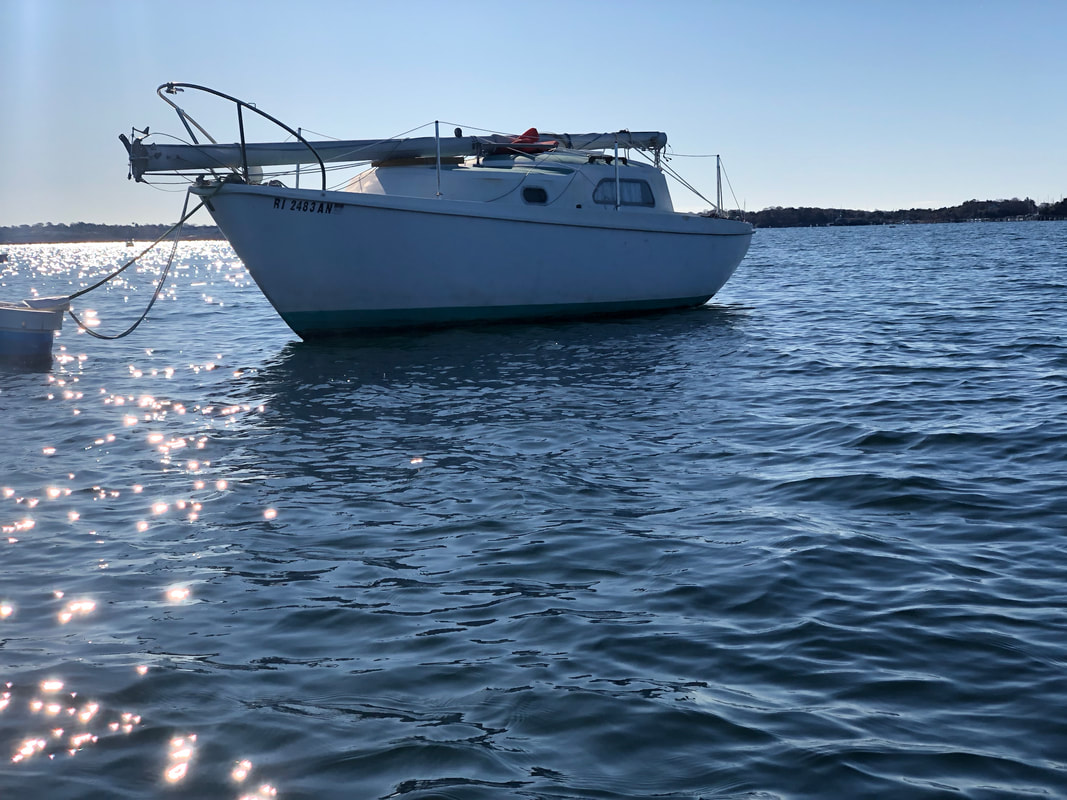
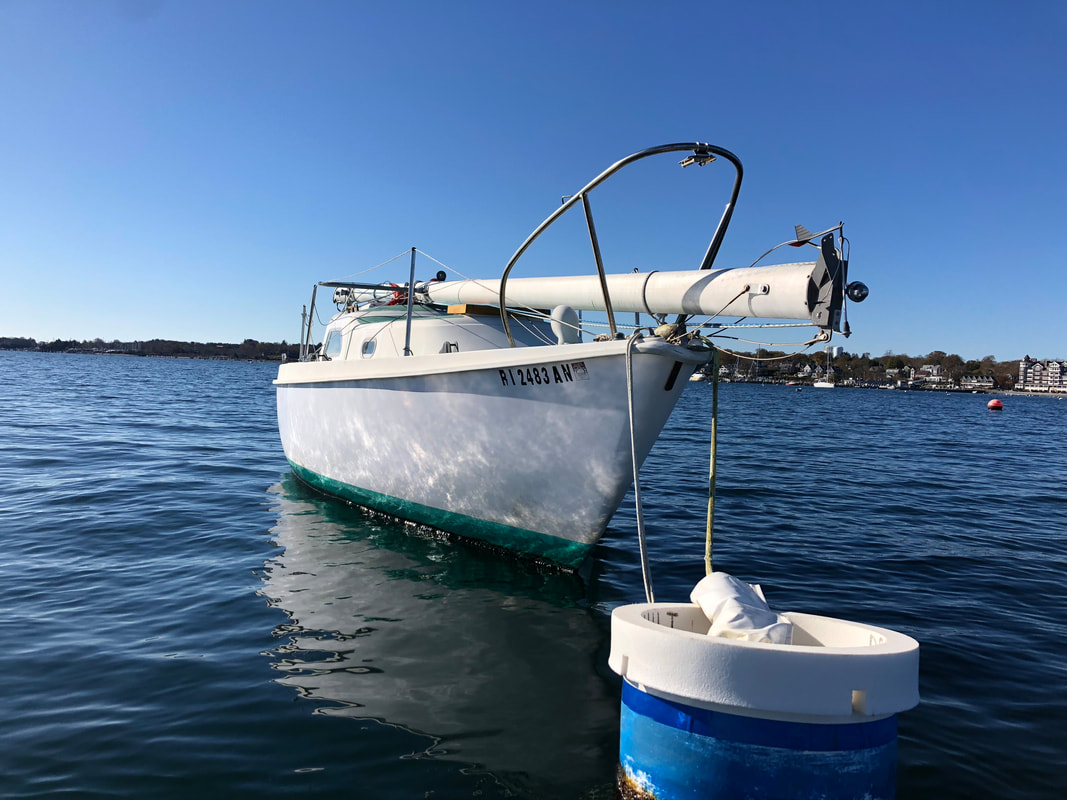
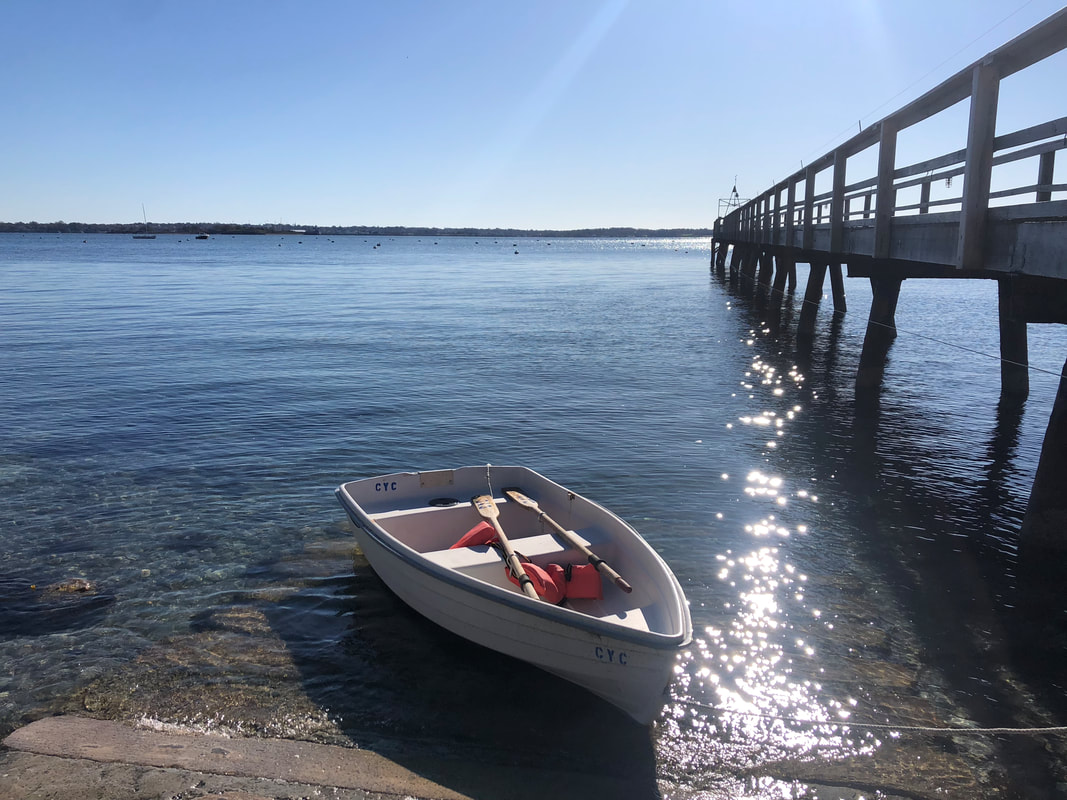
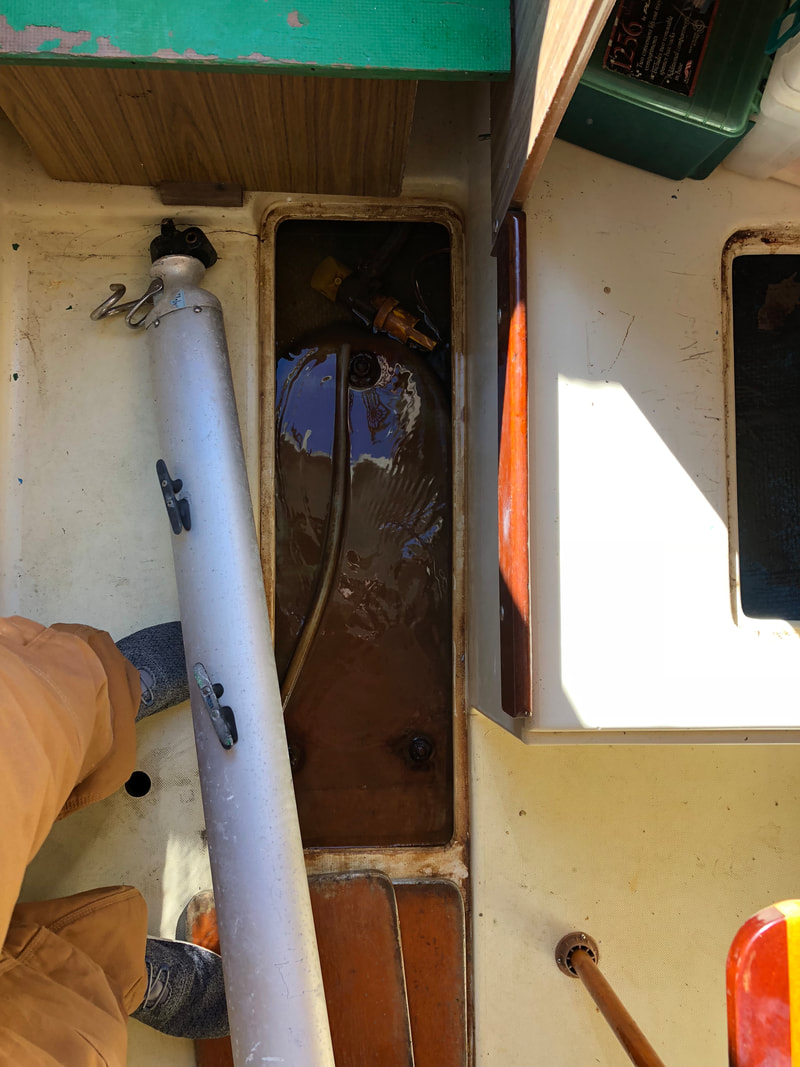
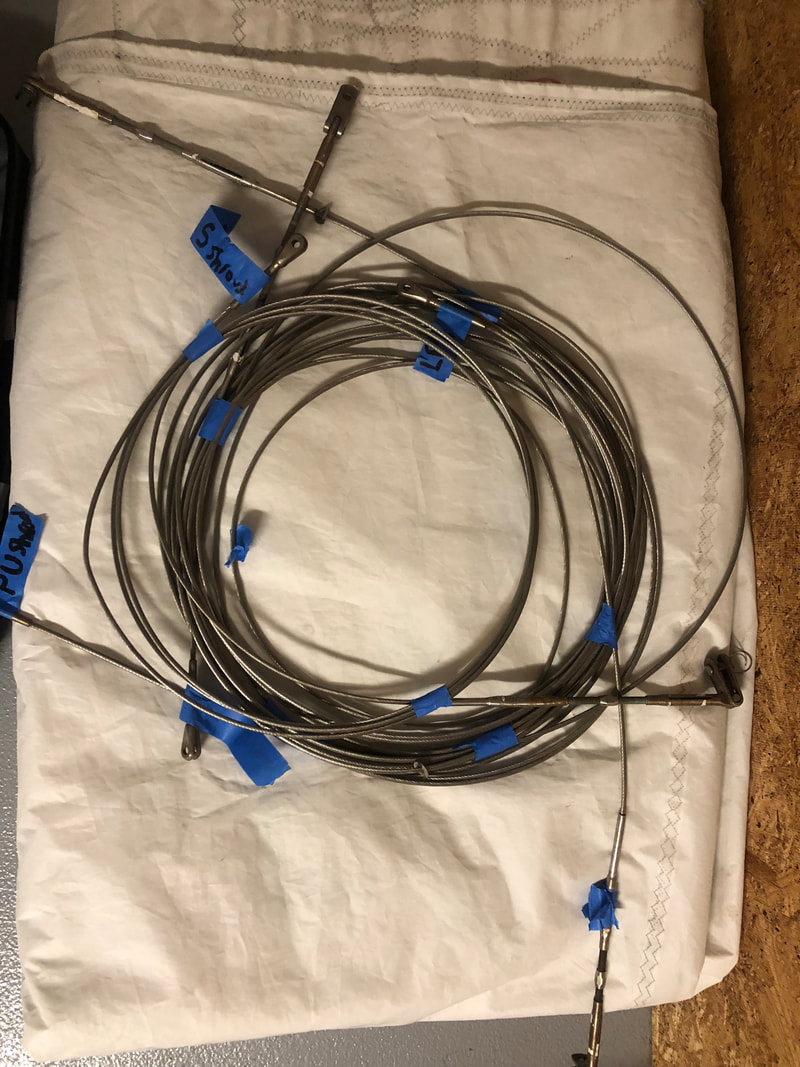
Today we painted the sail locker using TotalBoat's TotalBilge grey epoxy bilge paint. I am so happy with how the first coat turned out! The paint rolled on effortlessly, even in a VERY tight space. The final result in the locker looks like a million bucks, now all that is left is to paint the locker cover and to cut around the wiring with a brush. I began this weekend preparing the cockpit lockers for new gray Total Boat bilge paint. It was too cold out to paint, but it is never too cold to sand. I put some 50 grit sand paper onto the sander and taped the shopvac on as a dust collection system. This seems to work pretty well, as there was not much dust. I got most of the sanding done, about 2/3, and all that is left before painting is to hit a few more spots with the sander and tape off the area for paint. I am very excited to see how great this new paint will look. As you can see in the photos below, the paint in the locker is very old and flaky, not very pleasing to look at and it gets all over everything that is placed in the lockers. The new Total Boat bilge paint will be a great solution to this problem.    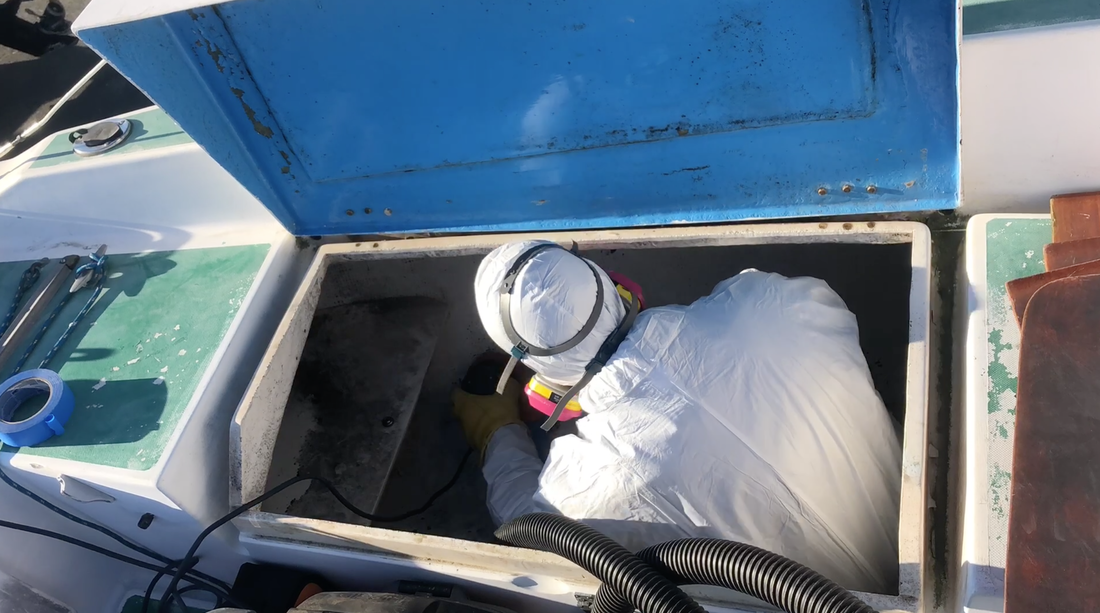 The next day I did not have so much time so I began building the frame for the tarp. The frame is built out of three 1/2" PVC ribs that are spliced together with connectors. The ribs where screwed straight into the life-line bases. Running in-between the ribs are two 1/2" diameter sections of PVC. Once the tarp is on the boat there will be two 4' LED light bars attached to the lateral pieces to supply light.  Finally, I found an old sail boat that was being thrown away. The boat was mahogany on oak. I went and took some of the mahogany off of it for projects. It was in rough shape, but with a little work with the table saw I was able to make nice small planks that will be used in future projects, such as a stair into the cabin. 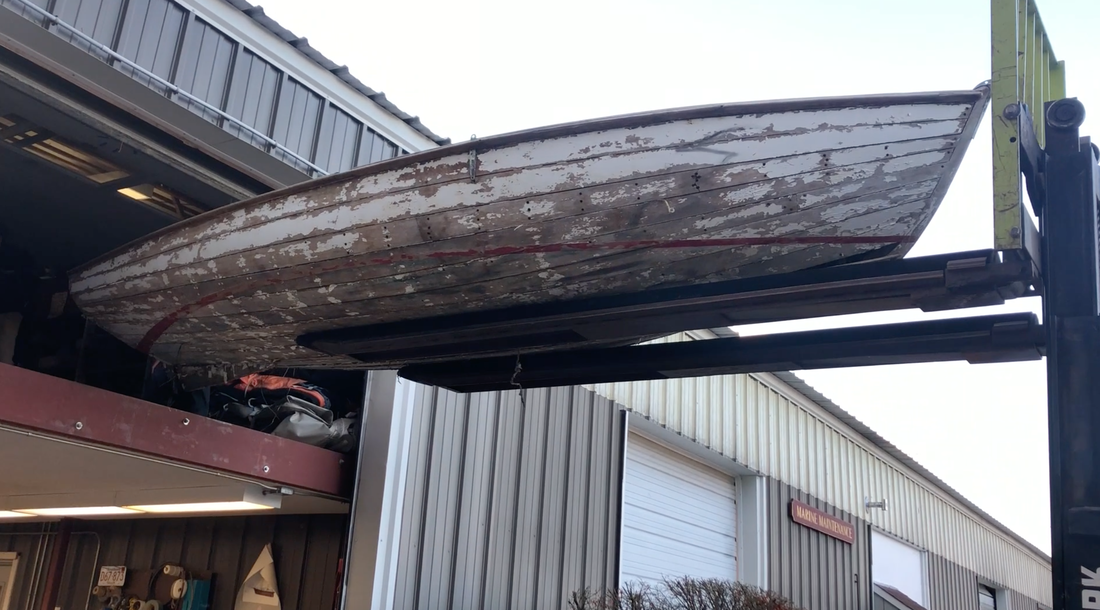 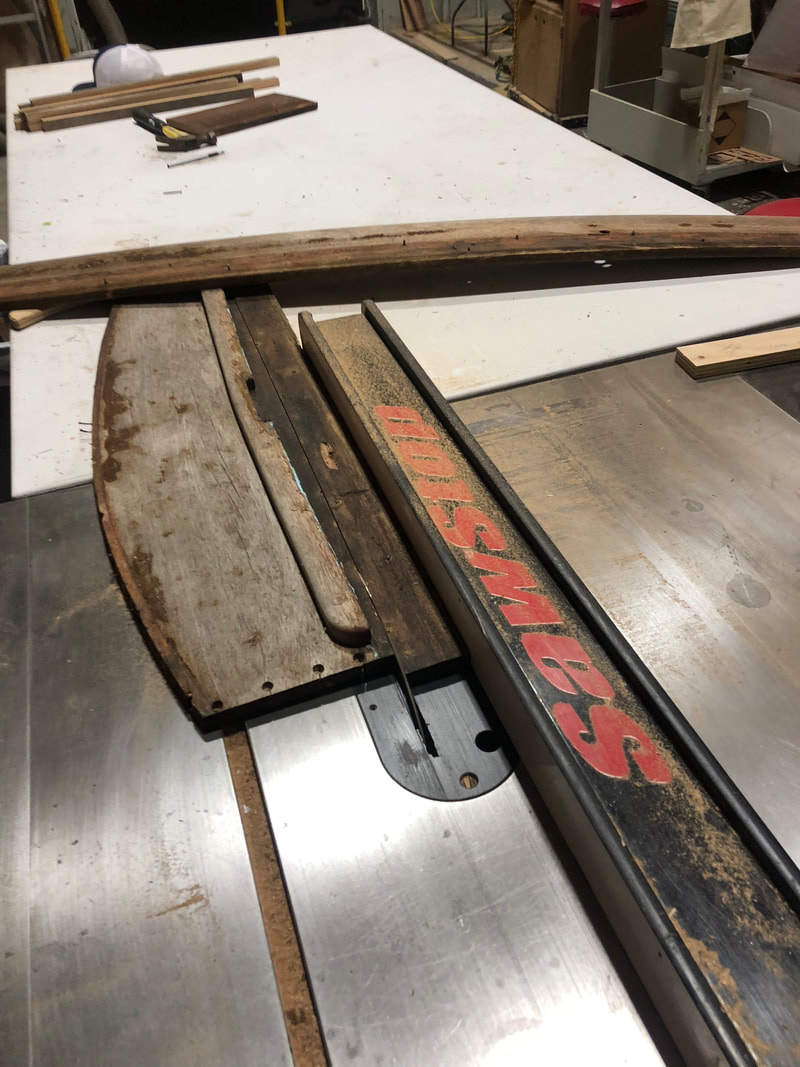 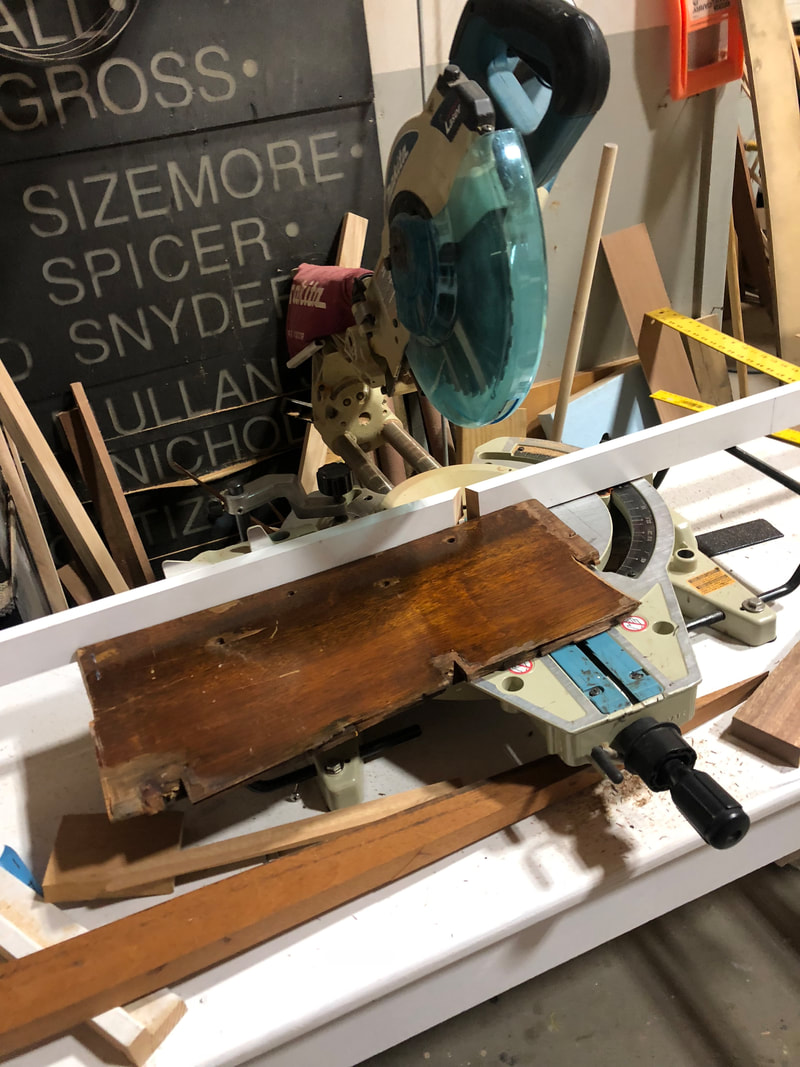  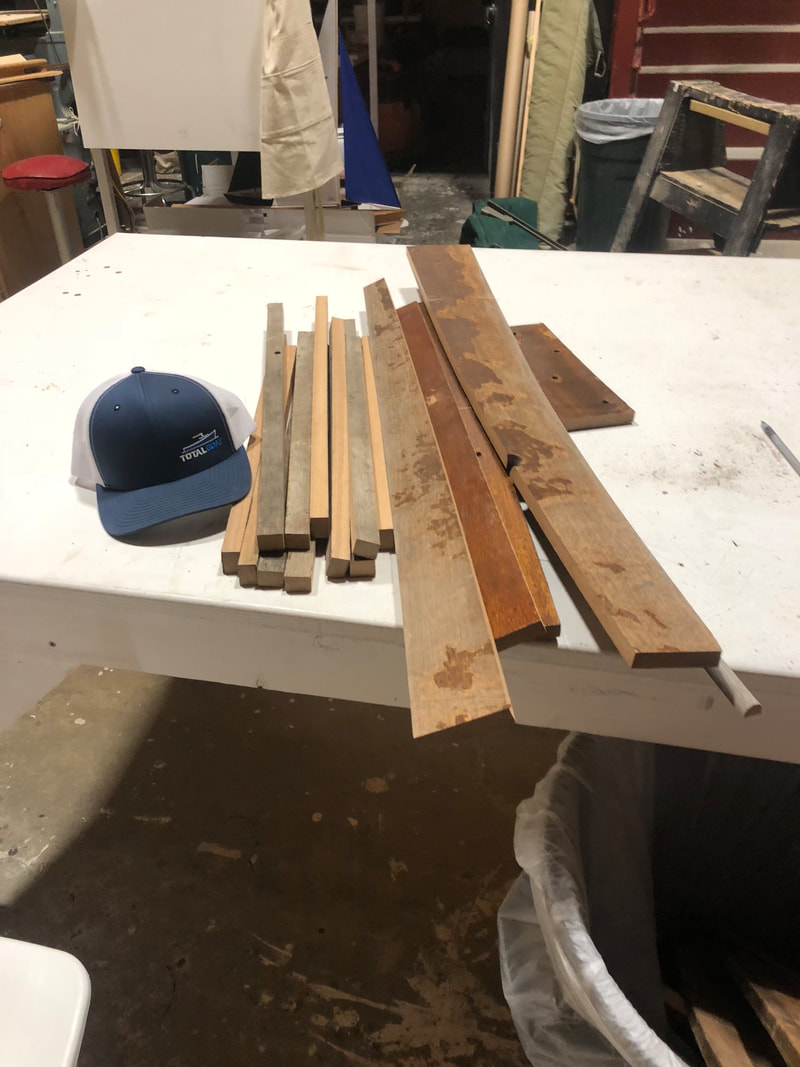 Today was a day that I have been waiting a while for. After surviving many storms on the mooring, it is finally haul day. Step one was to put the Whaler in the water, as it would be our tow boat. The 5:30 am wakeup was much easier on paper. 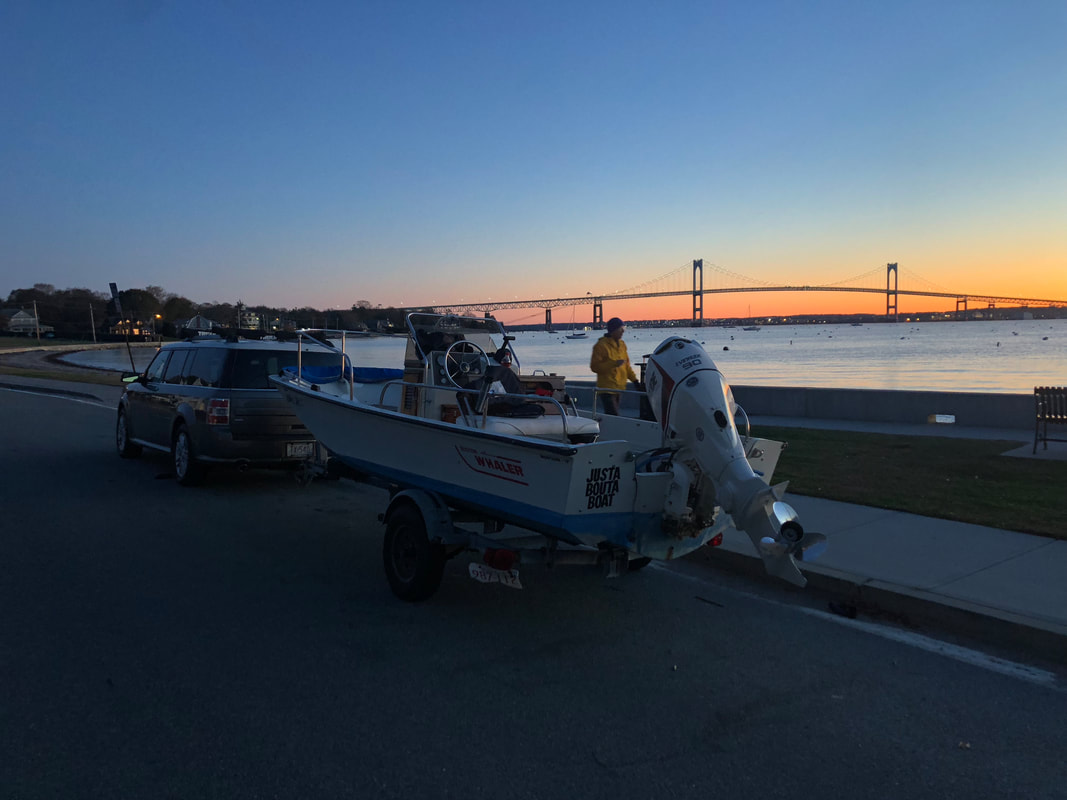 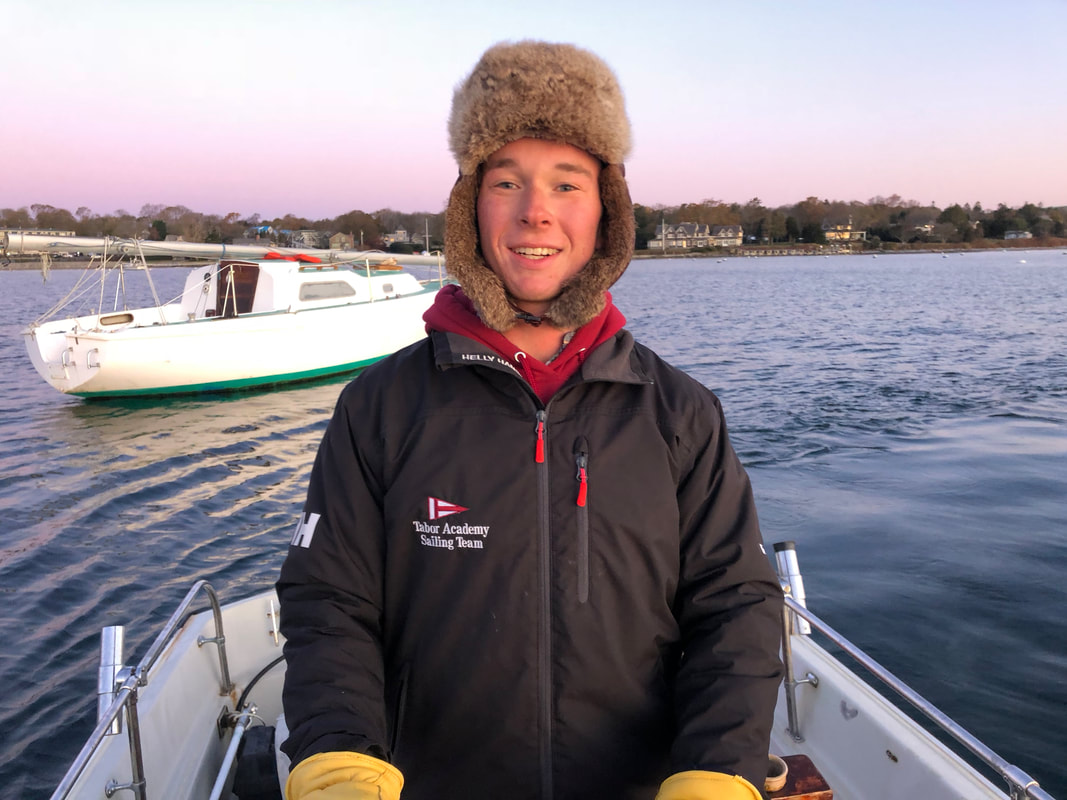 After putting the boat in the water, we tied up to the Pearson 26 and began the 40 minute journey to the Fort Adams ramp 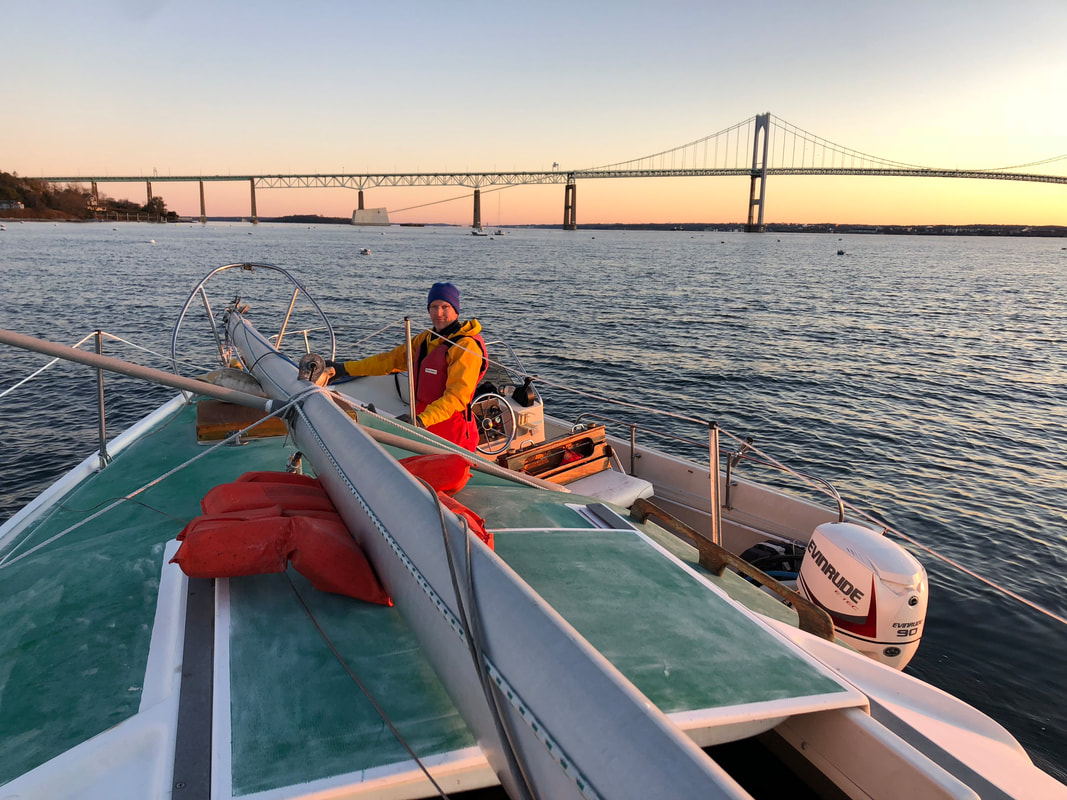   Once at the ramp the folks at Brownell Systems promptly arrived and hauled out the boat on their hydraulic trailer. Then, it was off to the boat yard 50 miles away in Mattapoisett Mass. where it was put on stands and blocks, ready for work to begin.  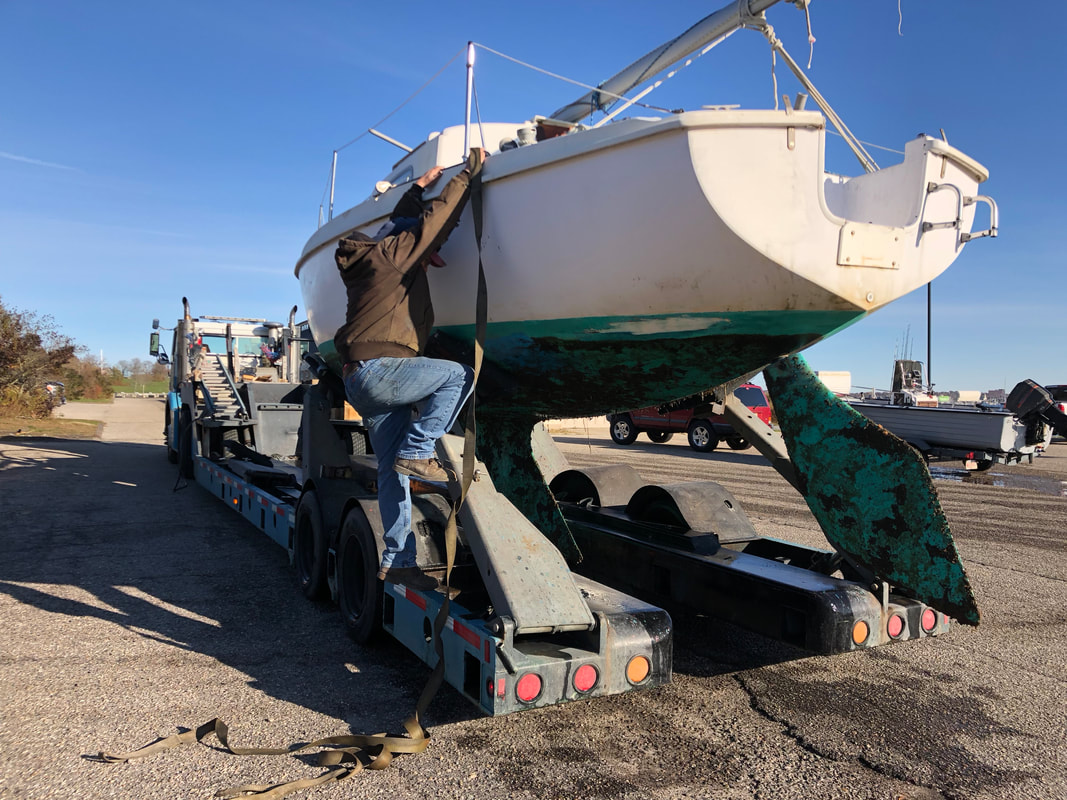  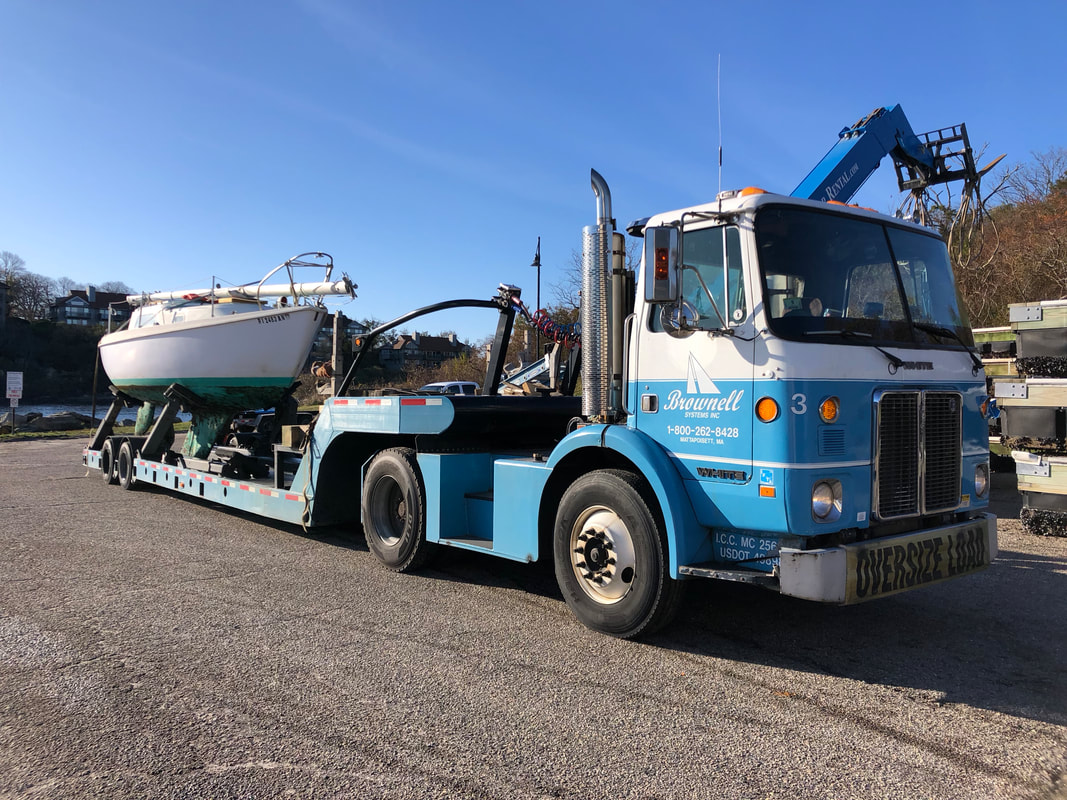 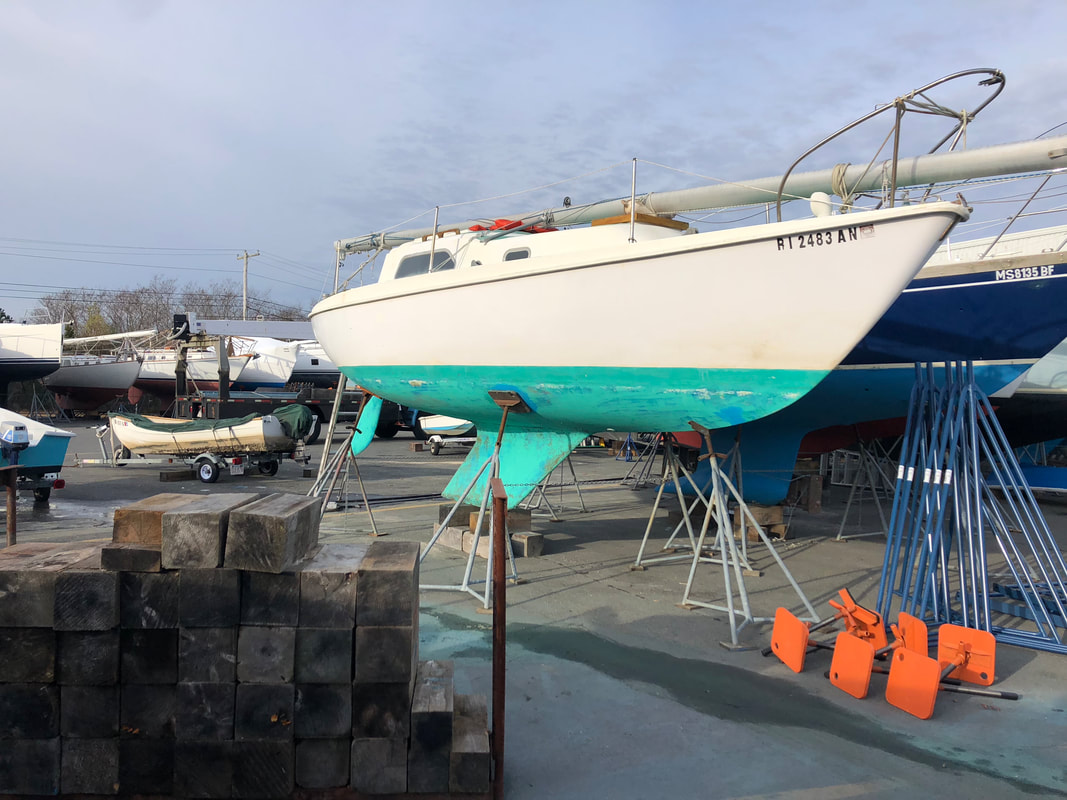 Today was a crisp day with a temperature of 32˚ in the morning. A decent storm had come through the previous day so I was curious to see the condition of the boat. Apart from the tiller breaking off and a little more water than usual in the bilge the boat did well. I spent some time removing the Port and Starboard main upper and lower shrouds. Removing the cotter pins proved tedious but doable, best achieved with a vice grip after removing the shroud tangs. After removing each shroud I labeled it and placed it in the row boat. I then grabbed the main sail to bring to Sperry Sails for reference. Today was an exciting day! It was the first day seeing the boat since the day I got her. A few days after acquiring the boat the headstay toggle separated and the mast fell. I was away at the time and did not know that this had happened. Luckily, some amazing people got the mast out of the water, onto the deck and told me about what happened. Thank you! Amazingly, there was no damage at all to the hull or rig apart from the headstay toggle and gooseneck. A haul day has been set and the boat will be transported to Brownell Systems in Mattapoisett, MA for the refit to begin. She will live there for the next seven or so months until being launched and sailed back to Jamestown in June. I will be sure to post all the progress and problems that occur throughout the project, as I am sure there will be many. Below are some photos of the boat in her current condition and the beginnings of a work list. Enjoy and stay tuned for updates! 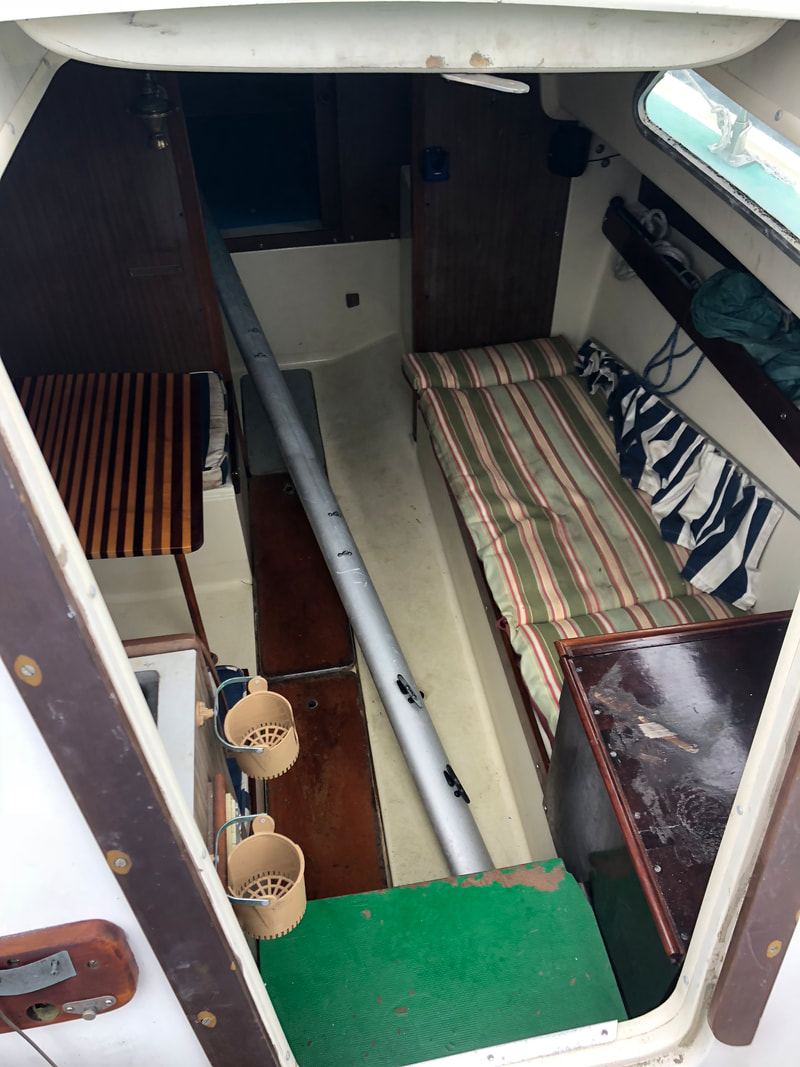 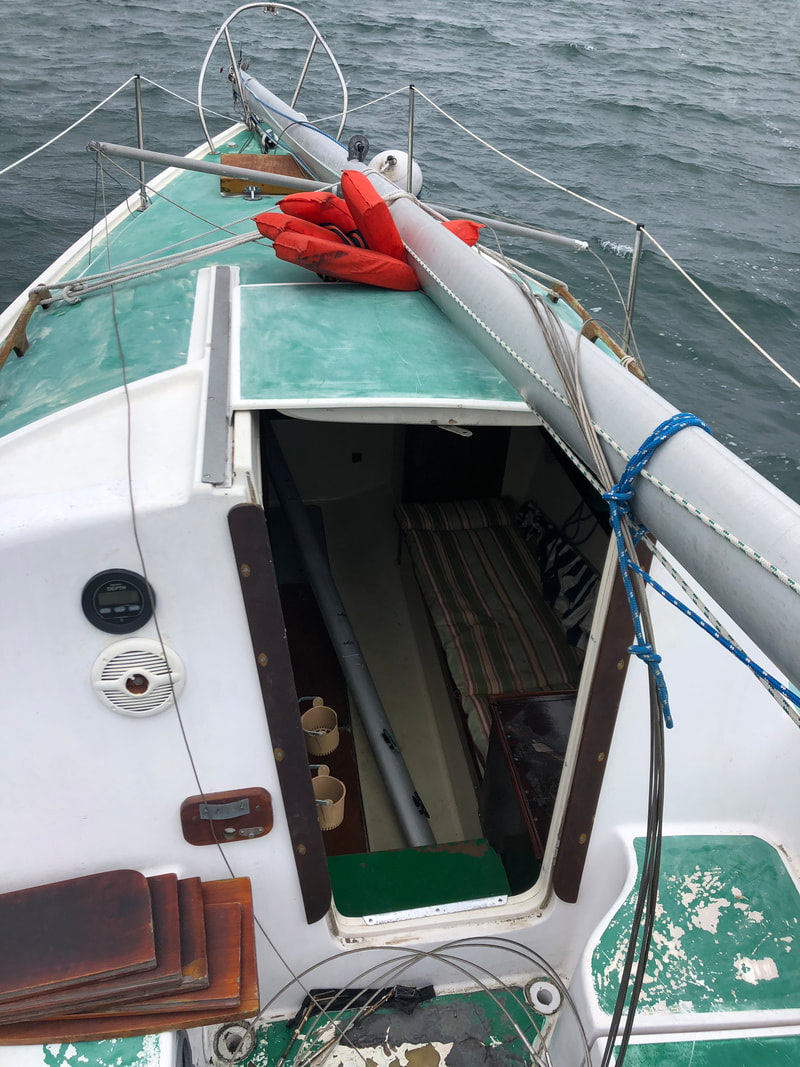   |
About MeHello! My Name is Stuart Wemple. Welcome to my blog about the refit of my Pearson 26, Why Knot. |


 RSS Feed
