|
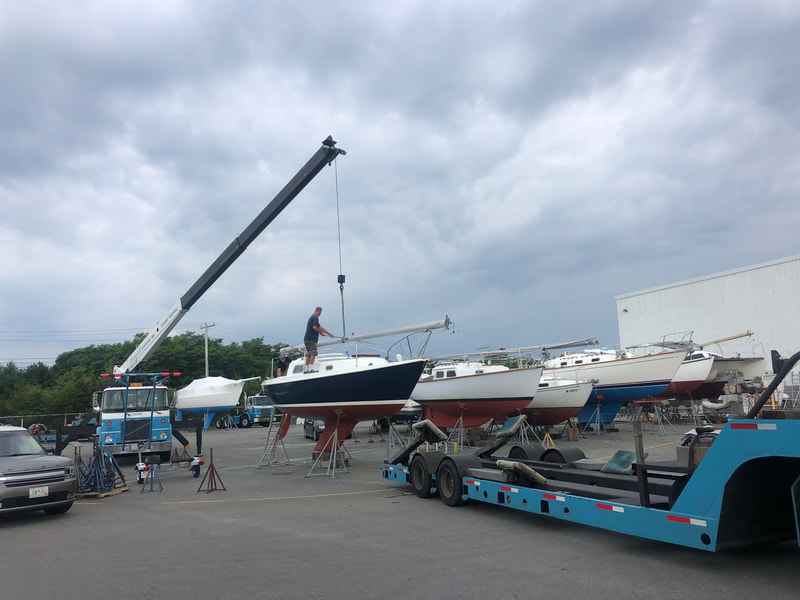
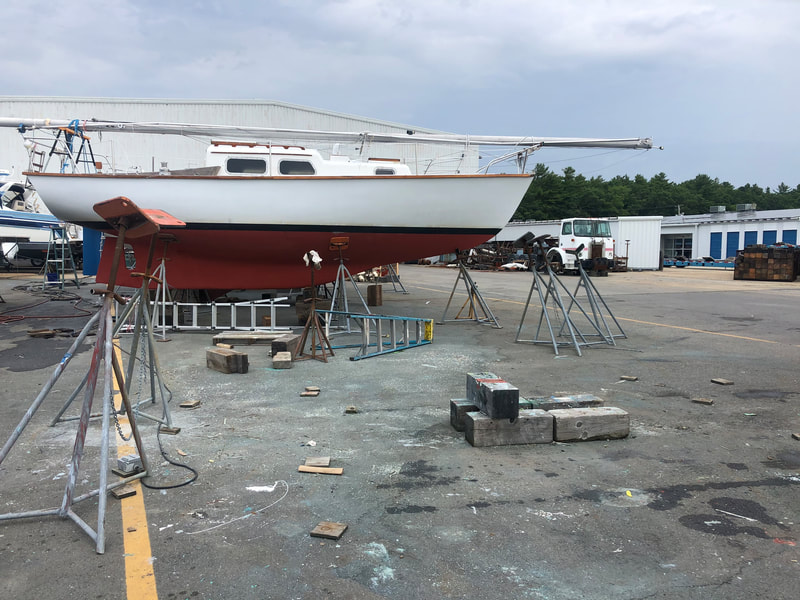
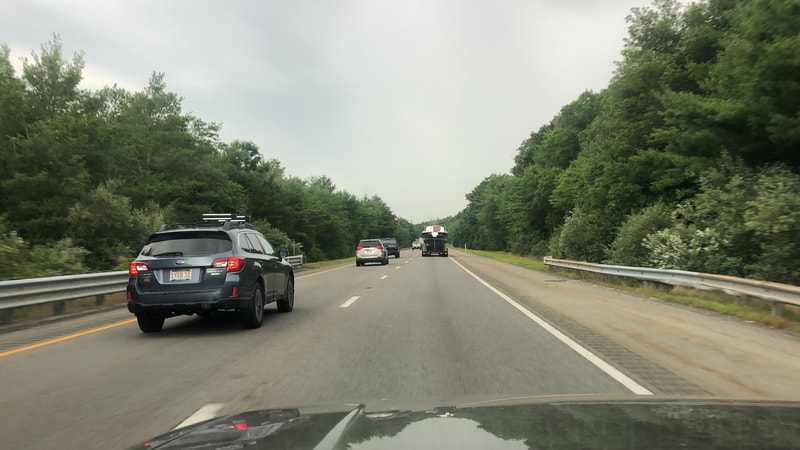
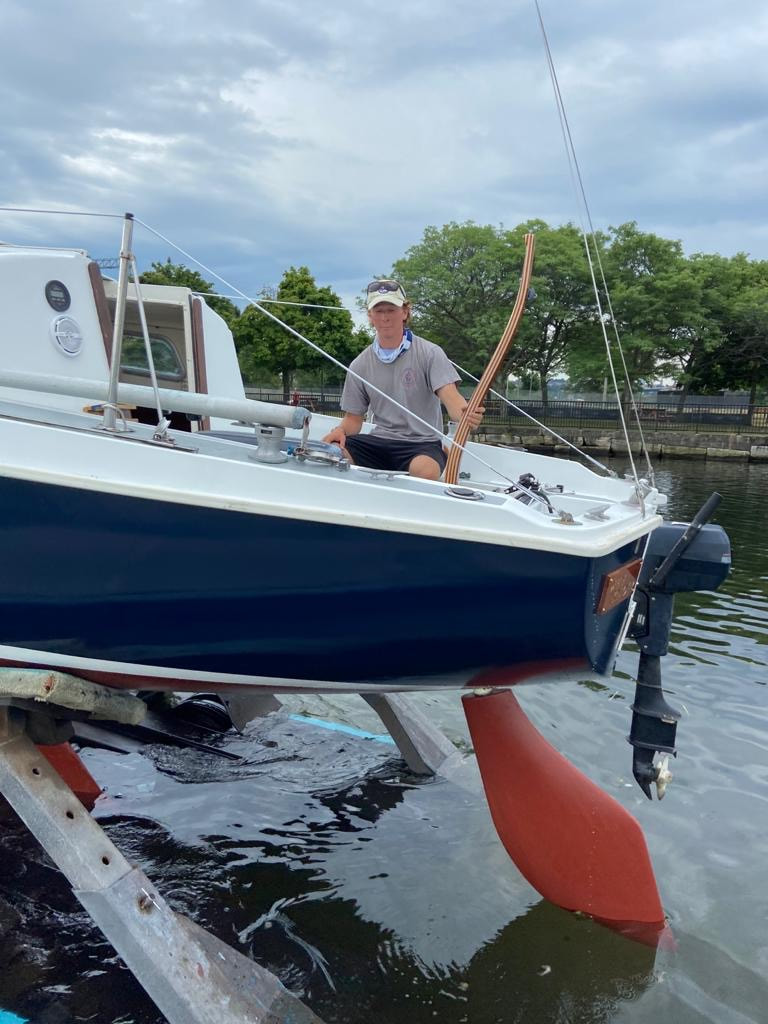
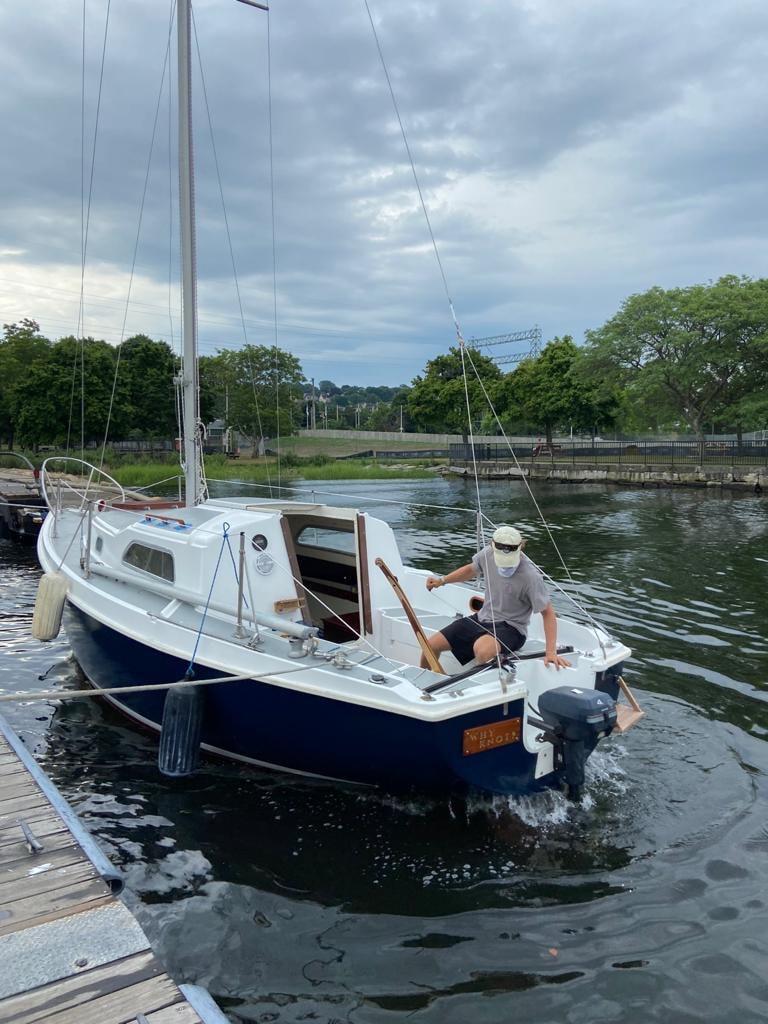
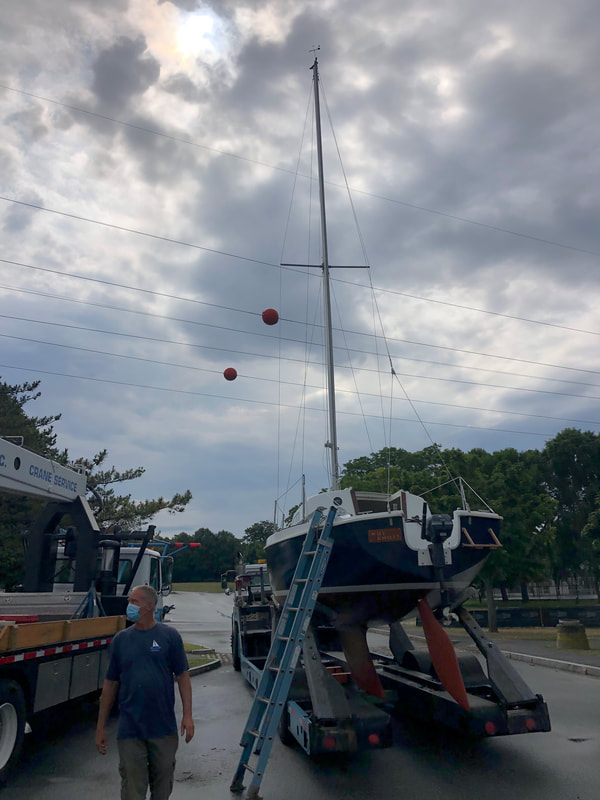
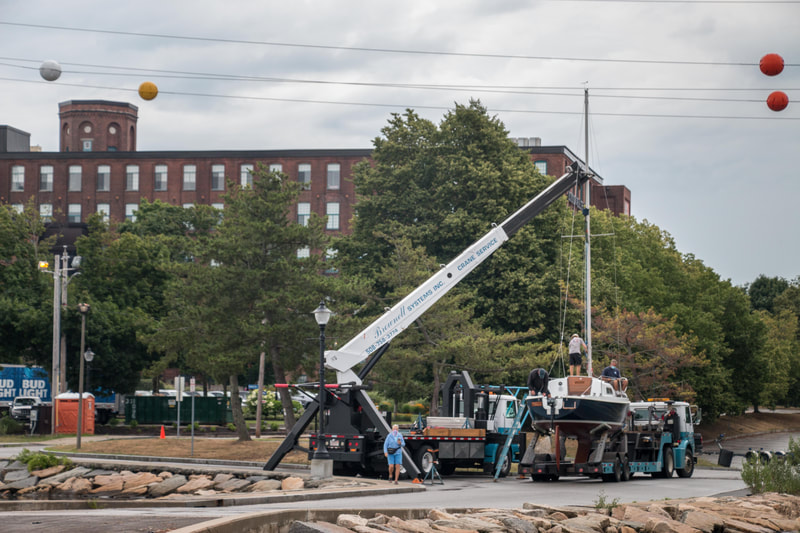
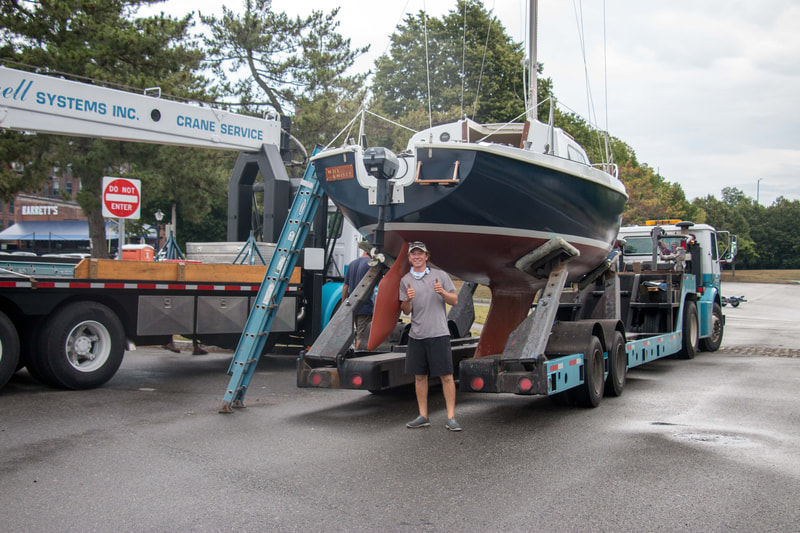
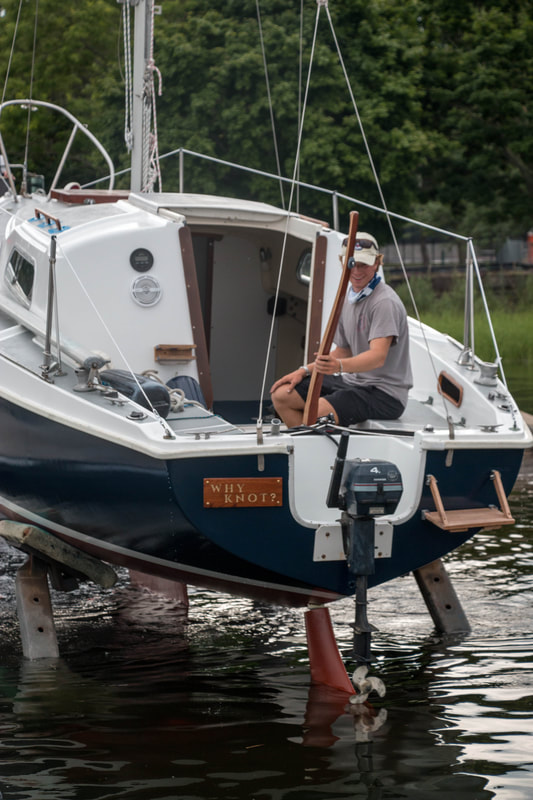
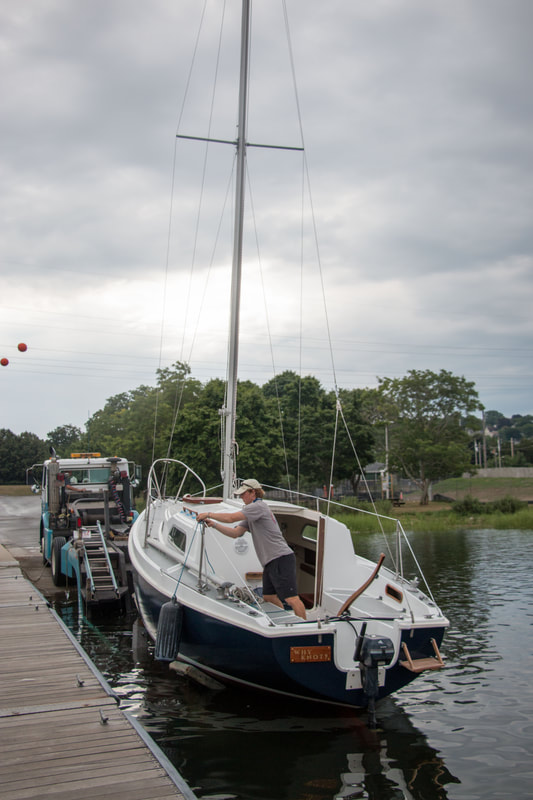
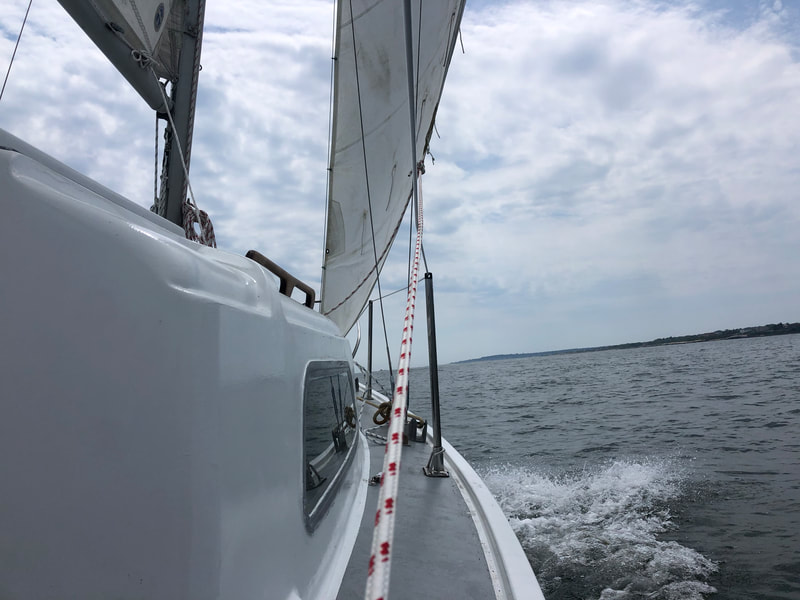
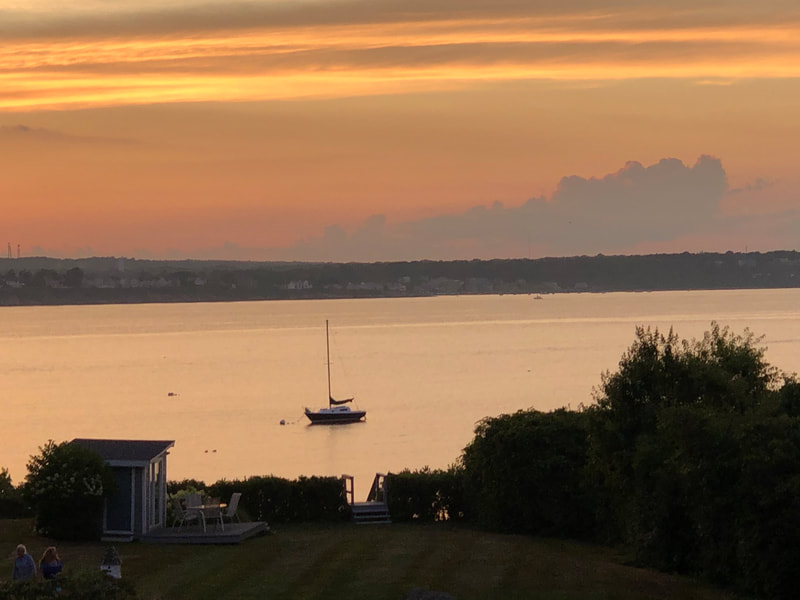
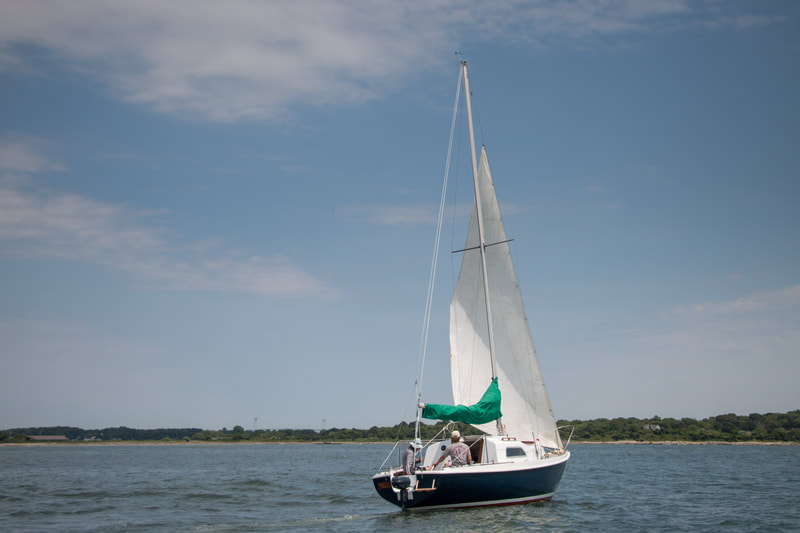
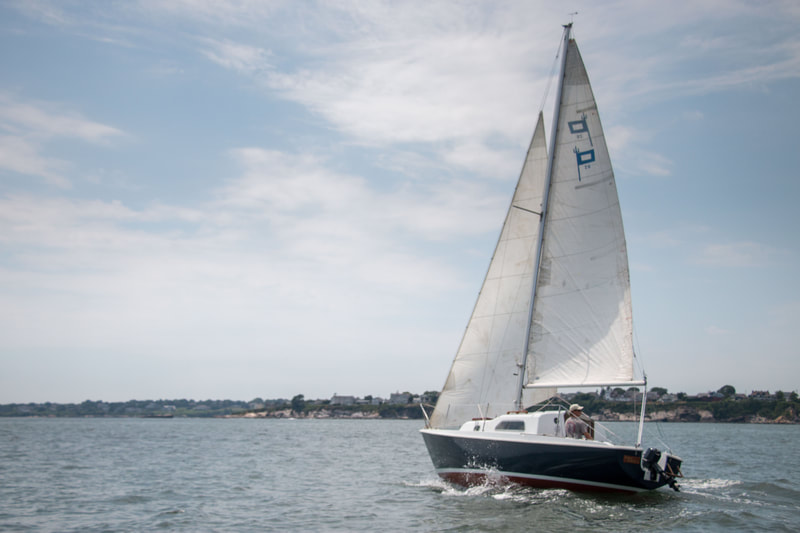
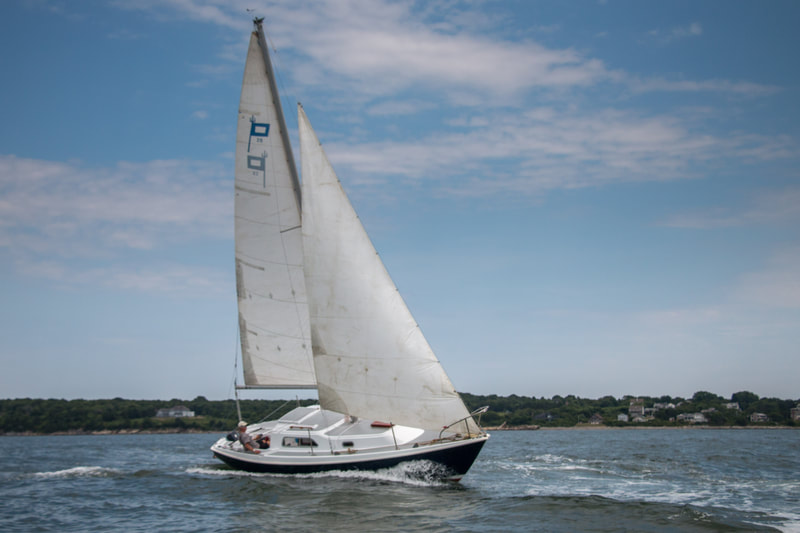
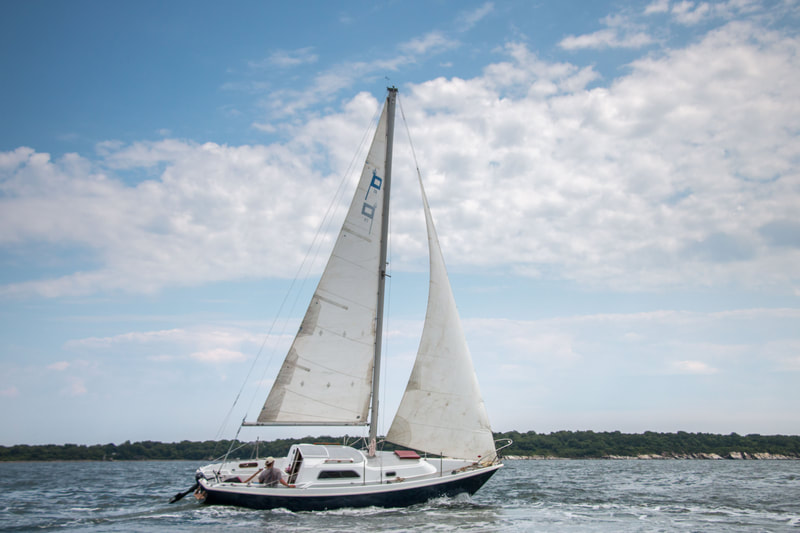
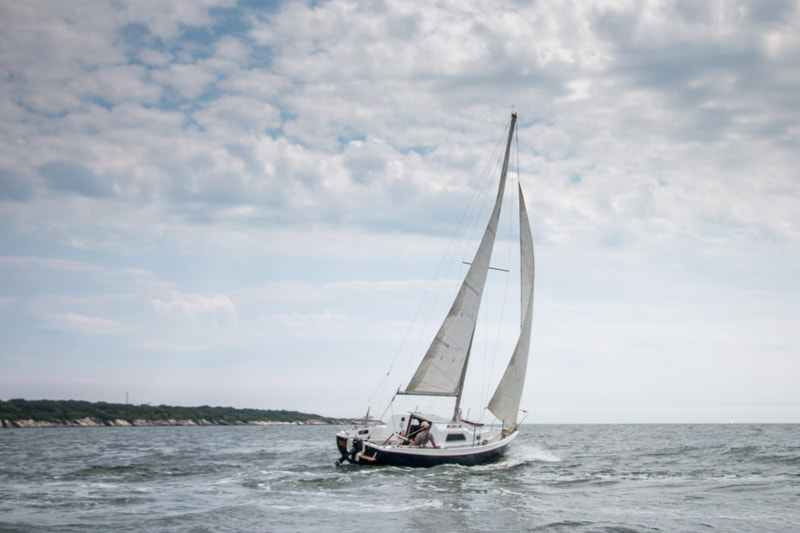
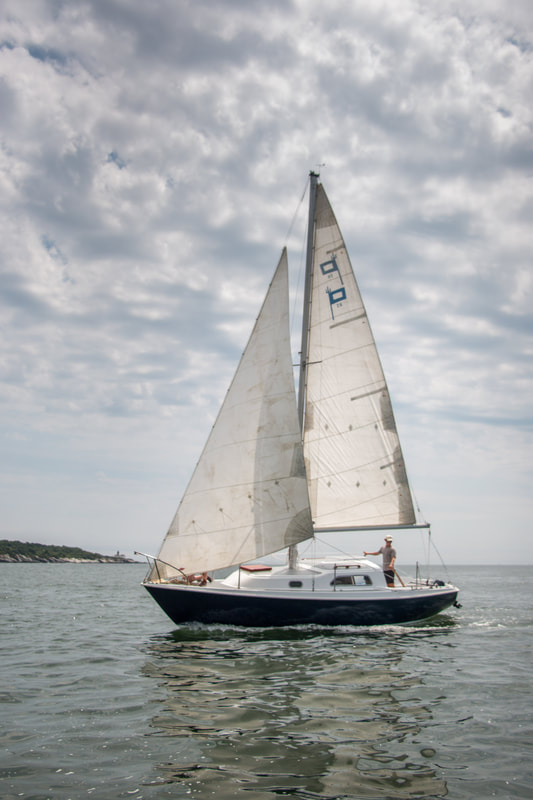
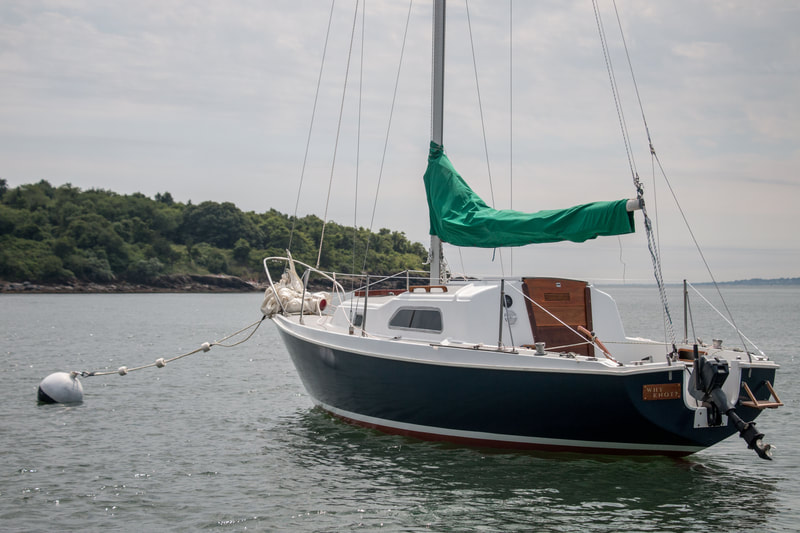
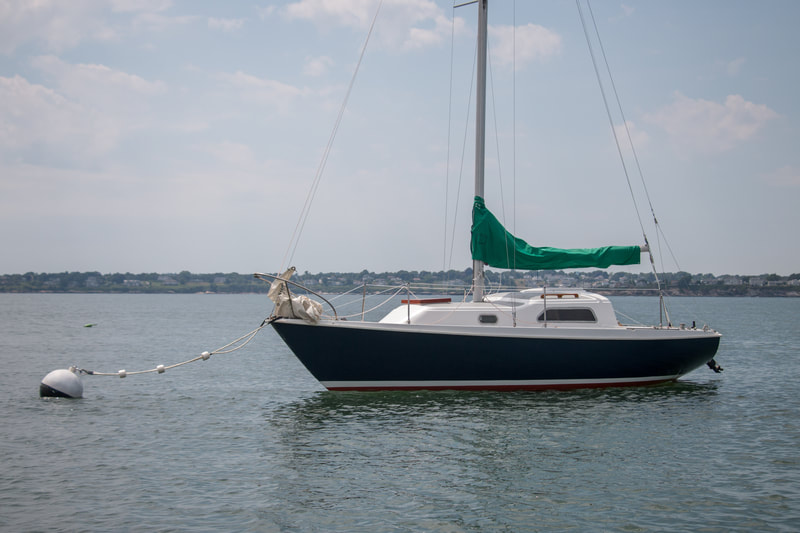
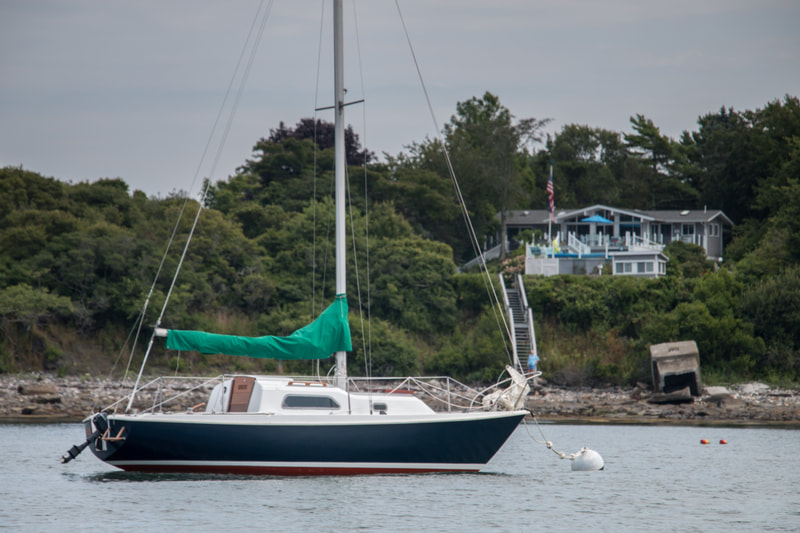
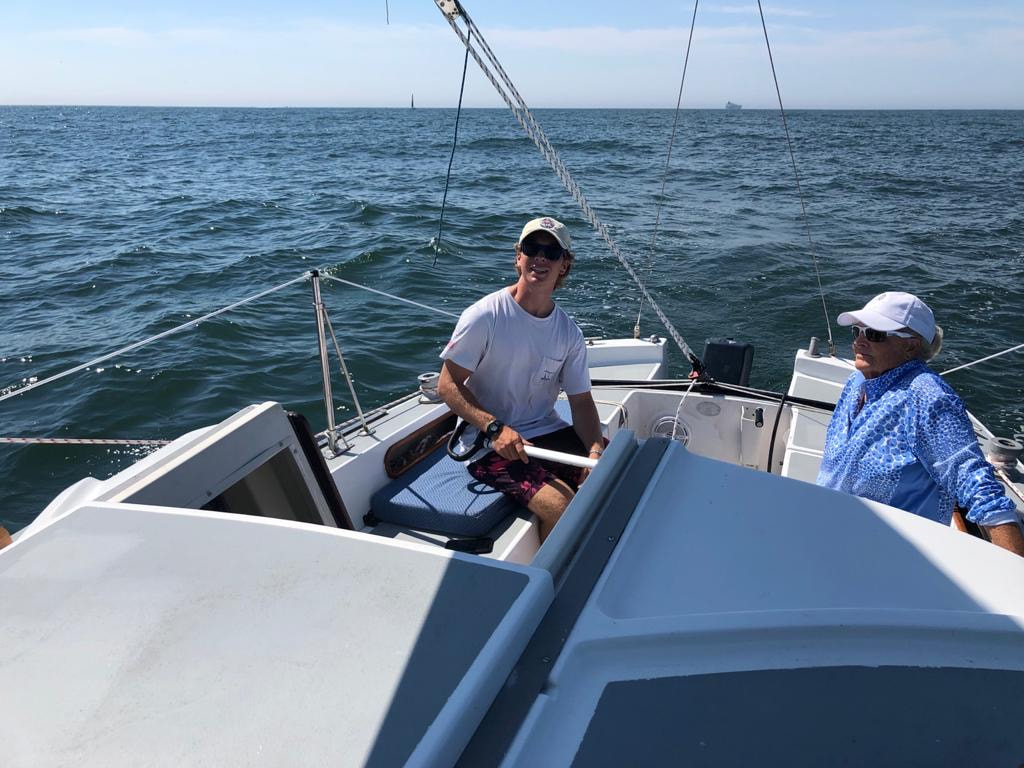
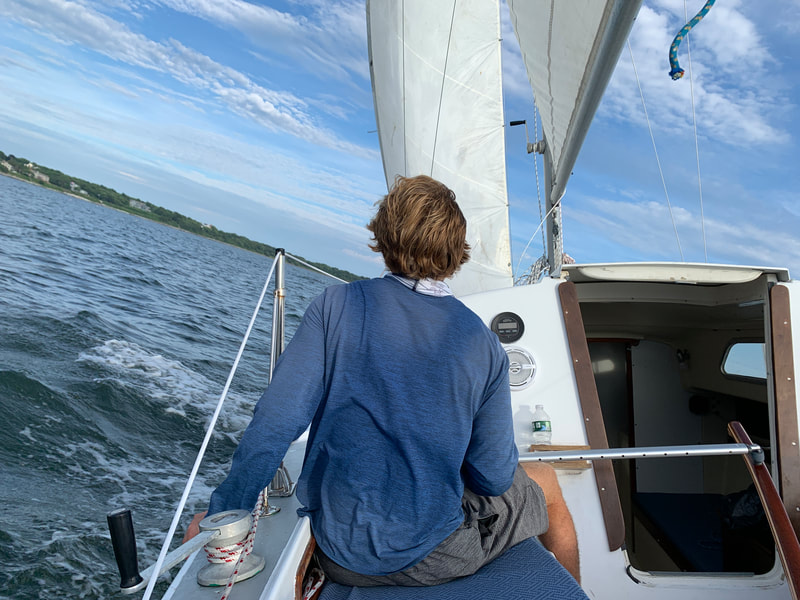
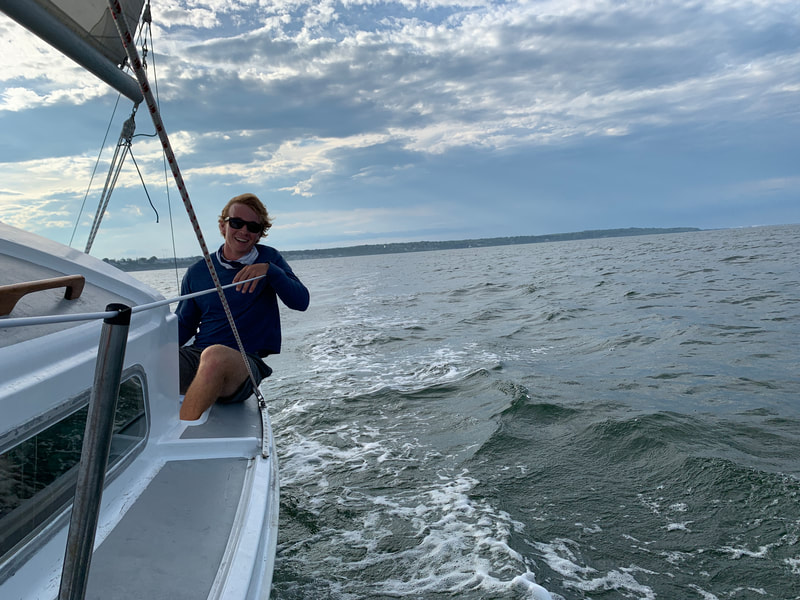
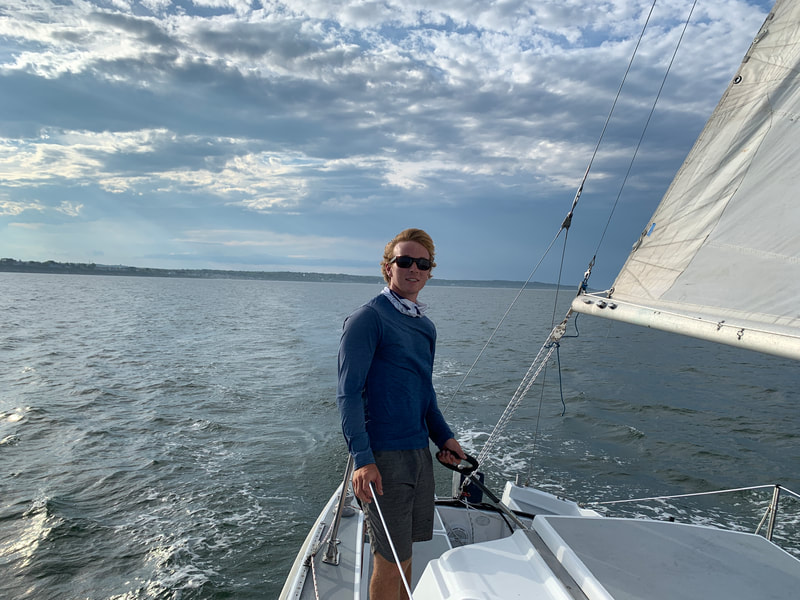
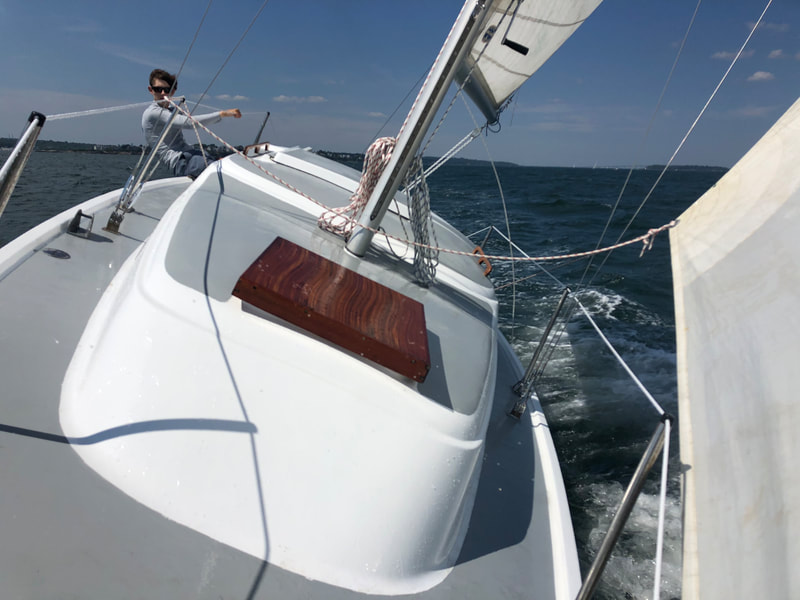
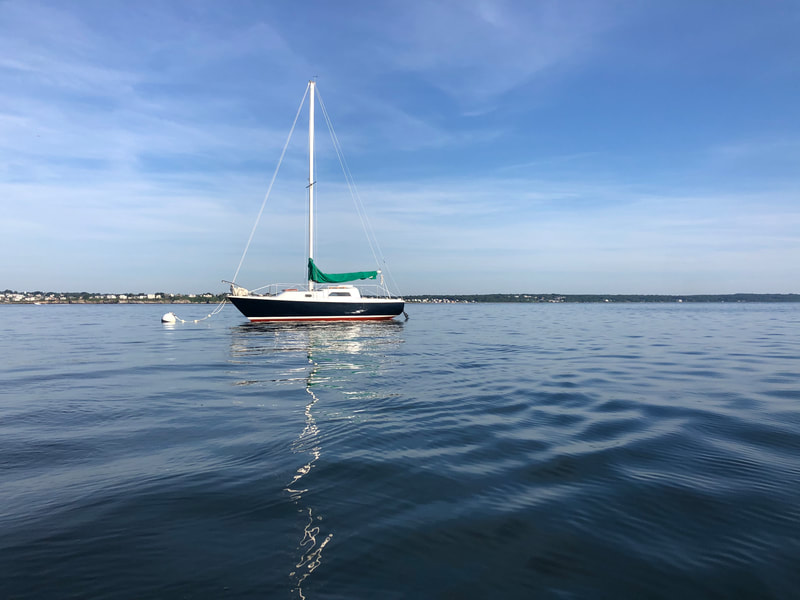
At 0800 Why Knot was picked up in the boat yard for transport, leaving an empty spot behind. Very exciting! And she's on the road to fall river Mast stepped and in the water she goes! We then towed the boat to Jamestown as it was absolute glass but the wind filled in towards the end so we set sail and sailed the last bit to the mooring. Finally, here are some photos from recent sails on Why Knot with friends and family. Thank you to all who have been fallowing and supporting this adventure. I will be sure to post both here and on my instagram @wemplephoto photos and stories for adventures to come!
2 Comments
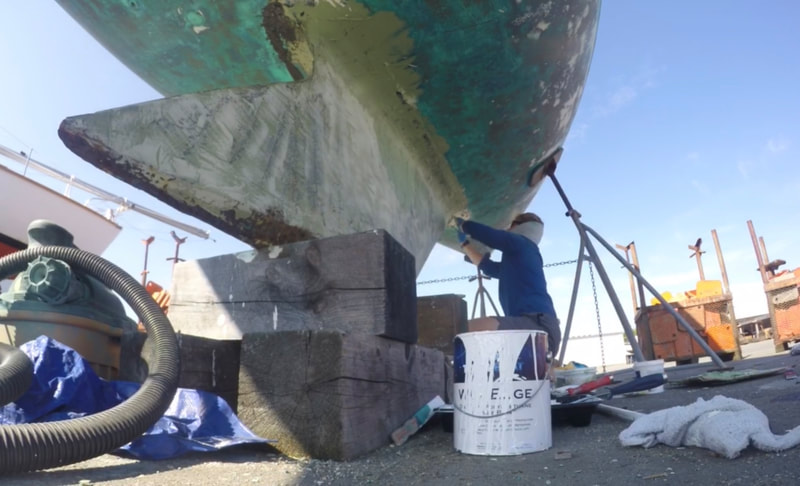
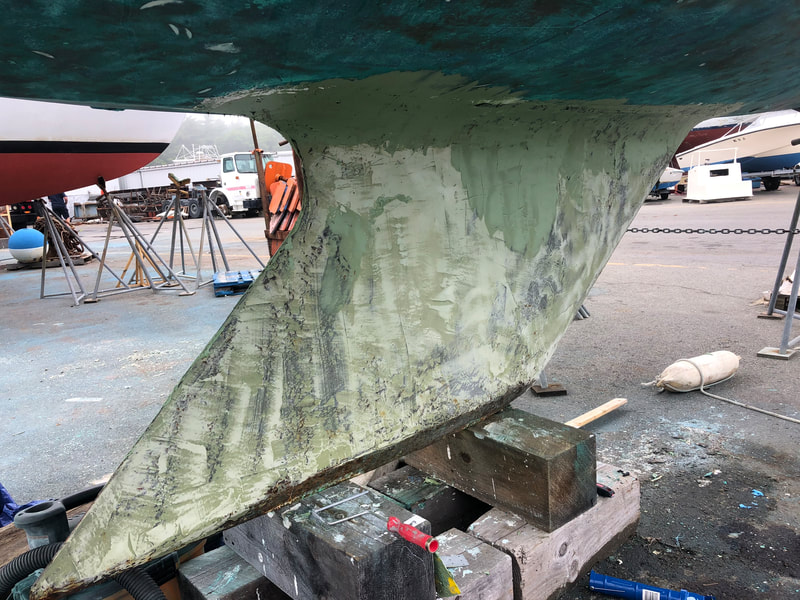
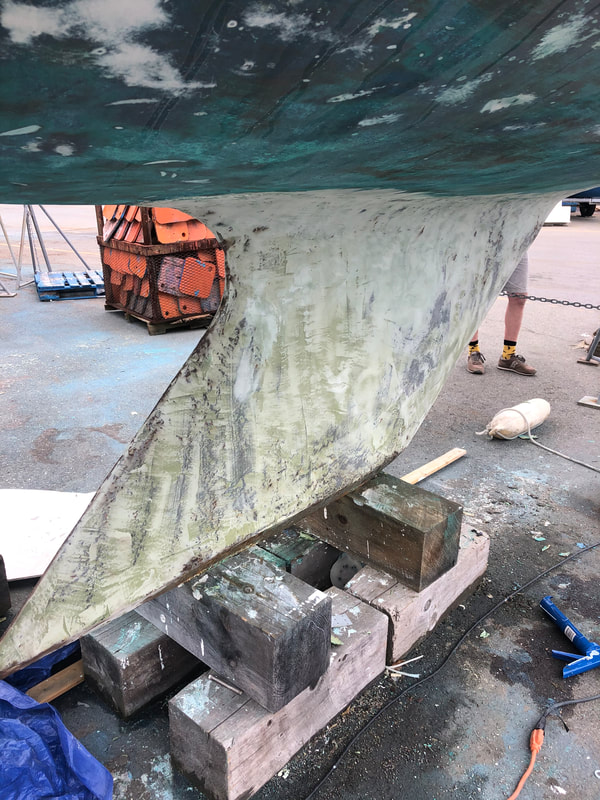
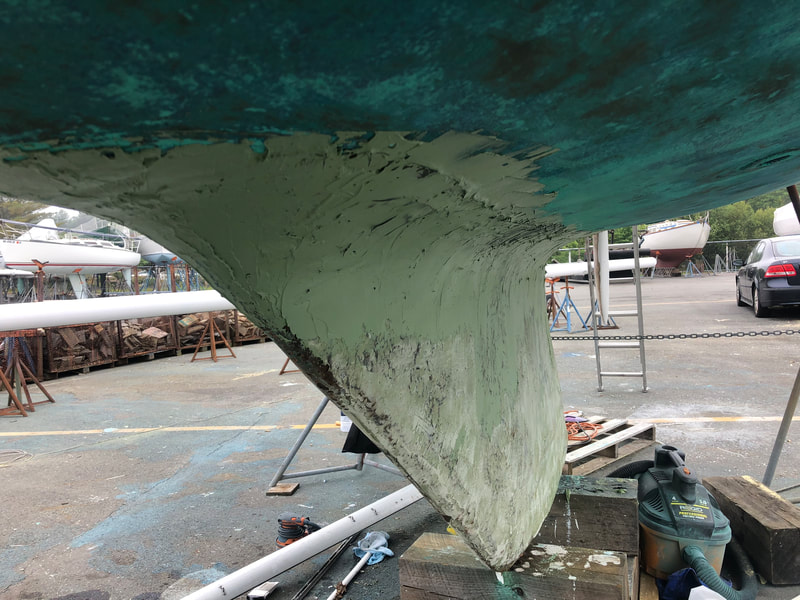
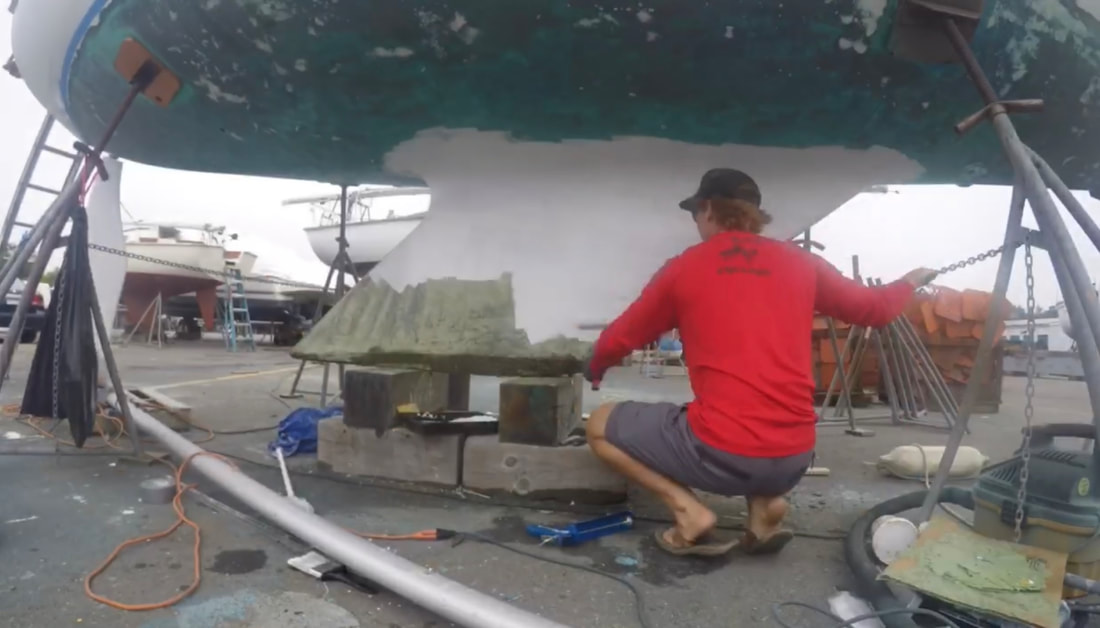
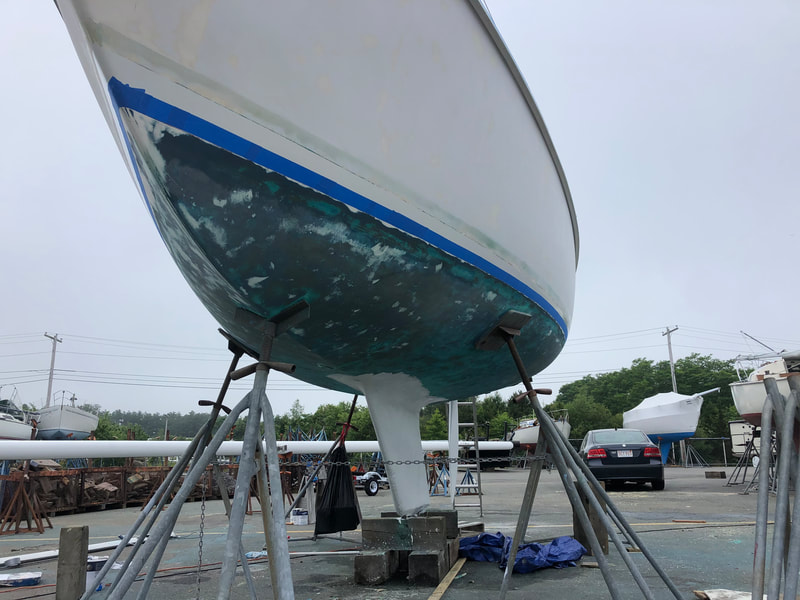
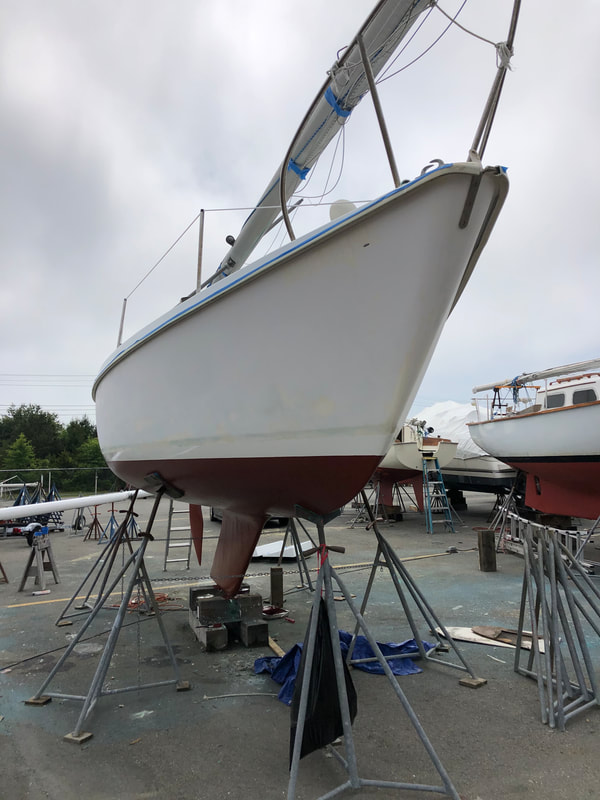
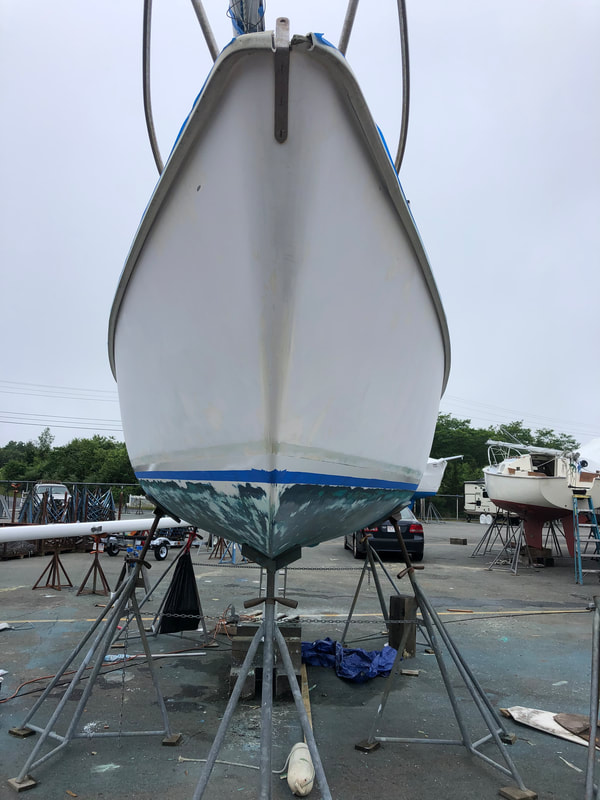
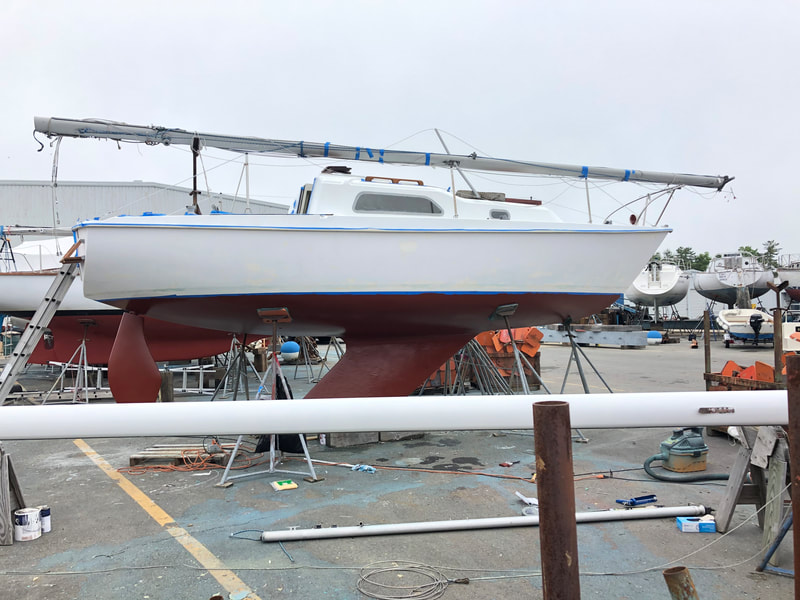
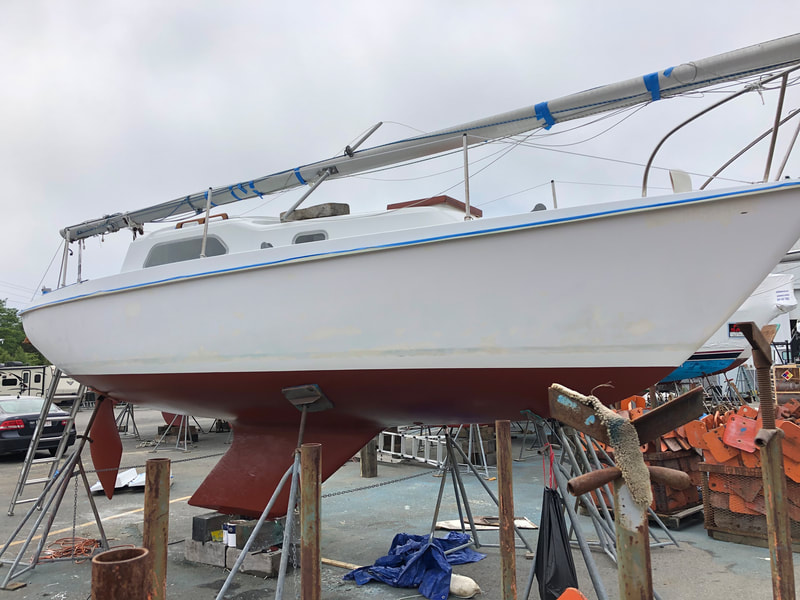
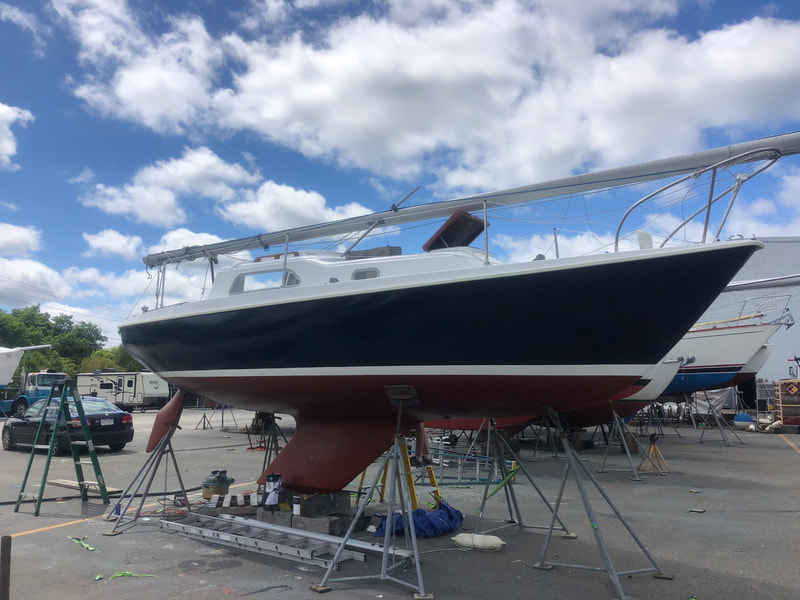
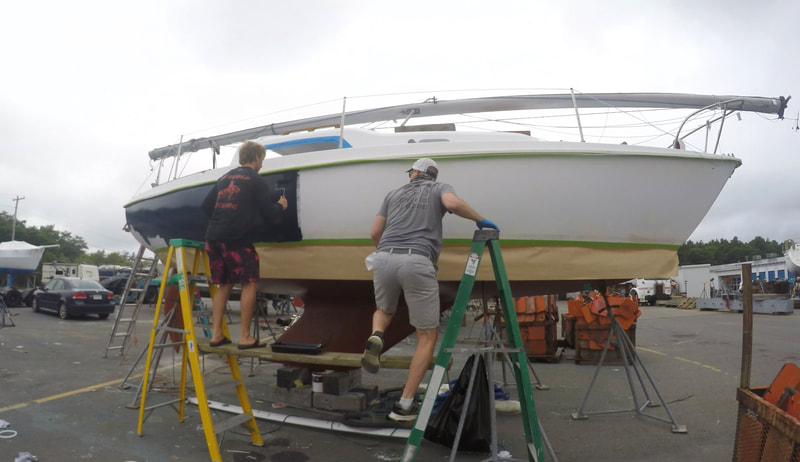
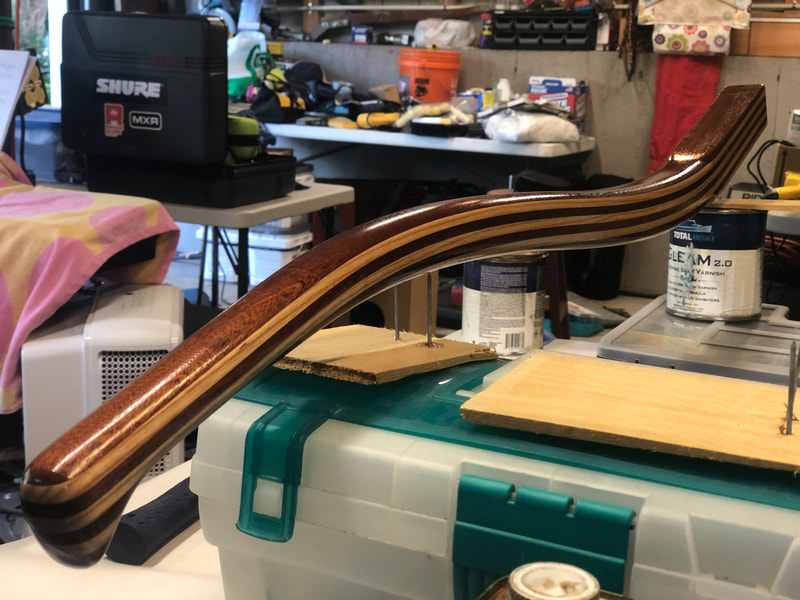
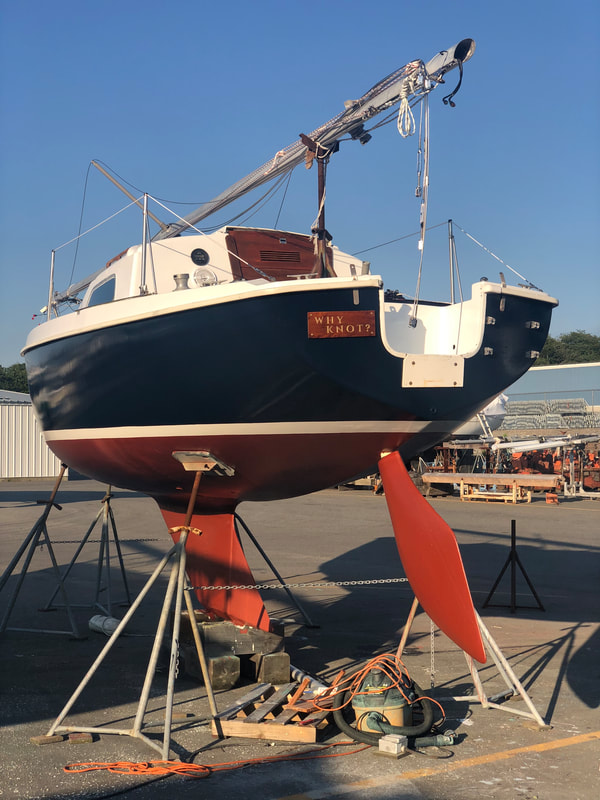
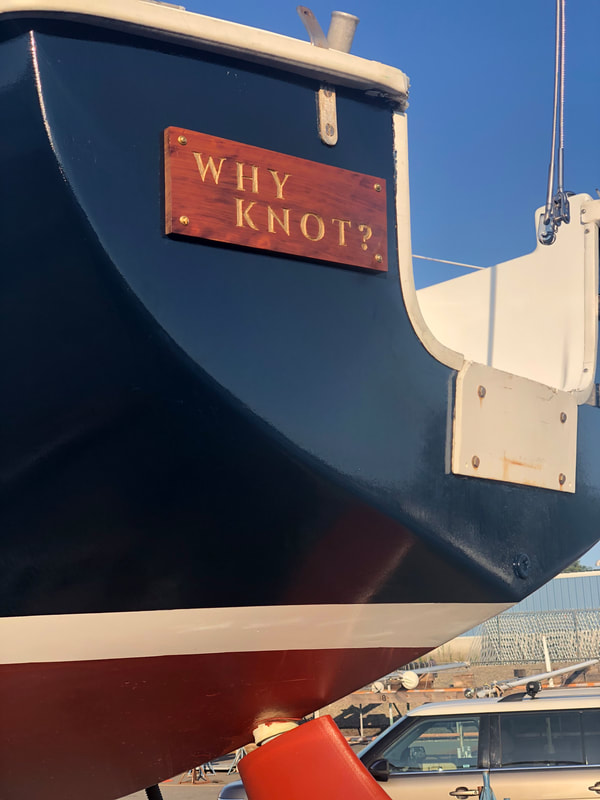
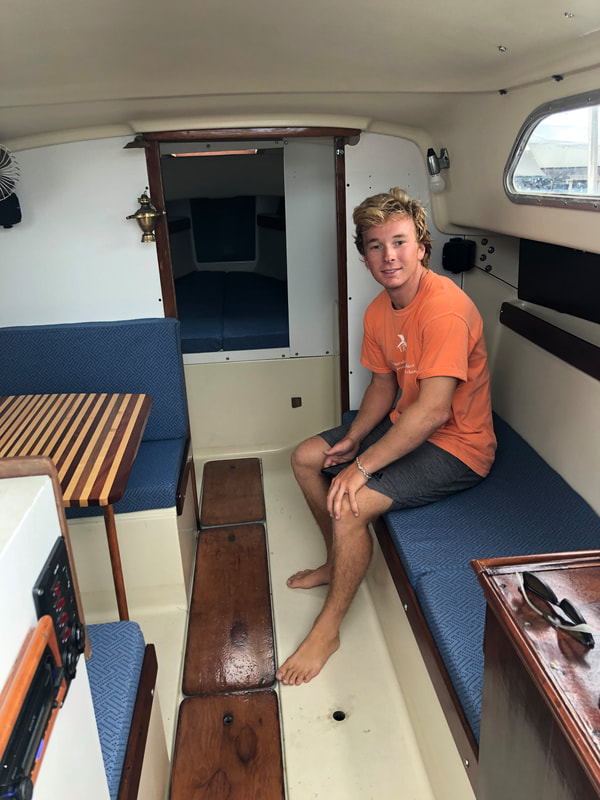
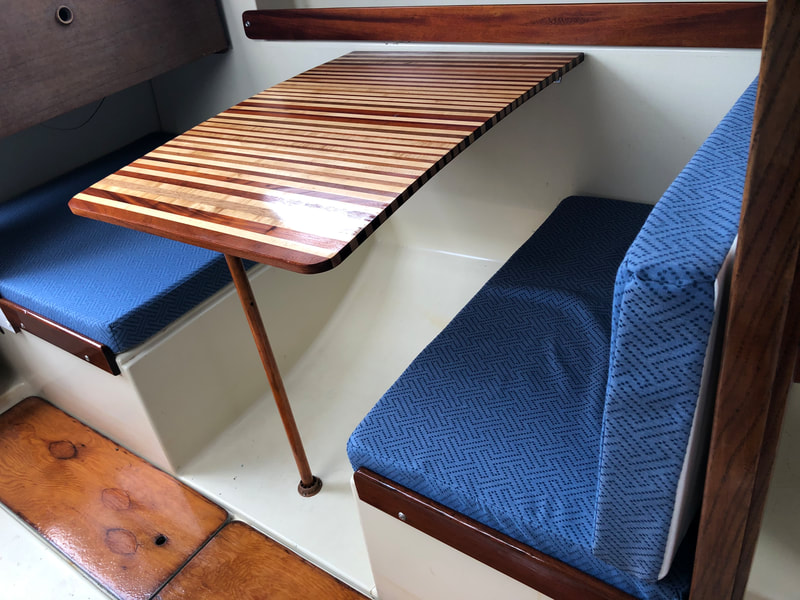
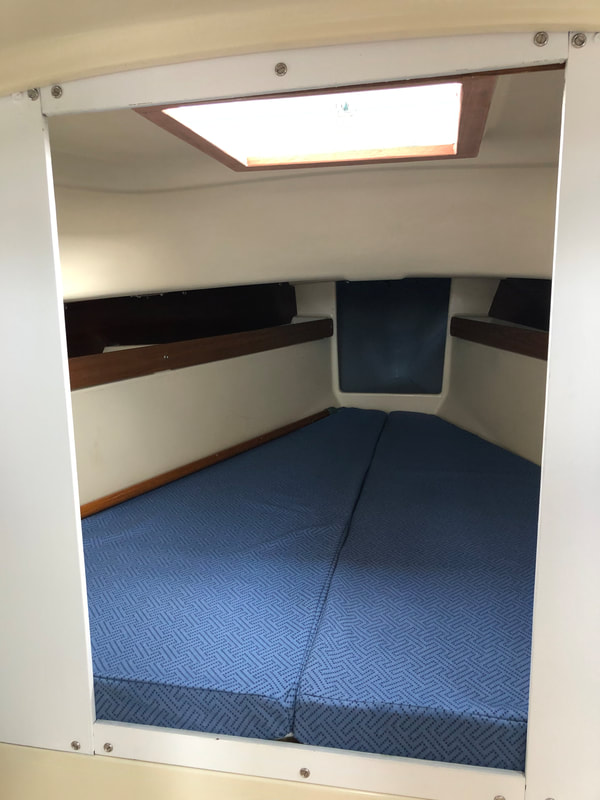
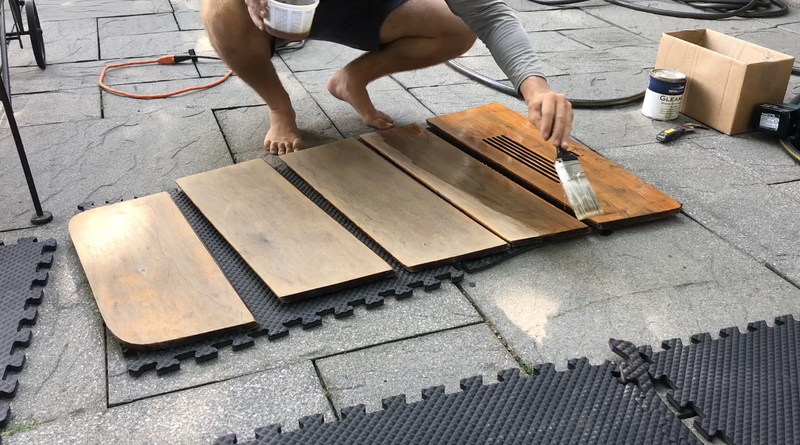
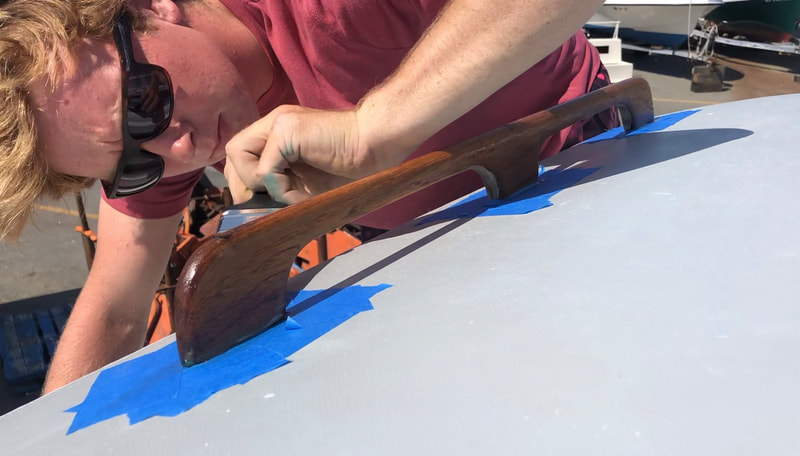
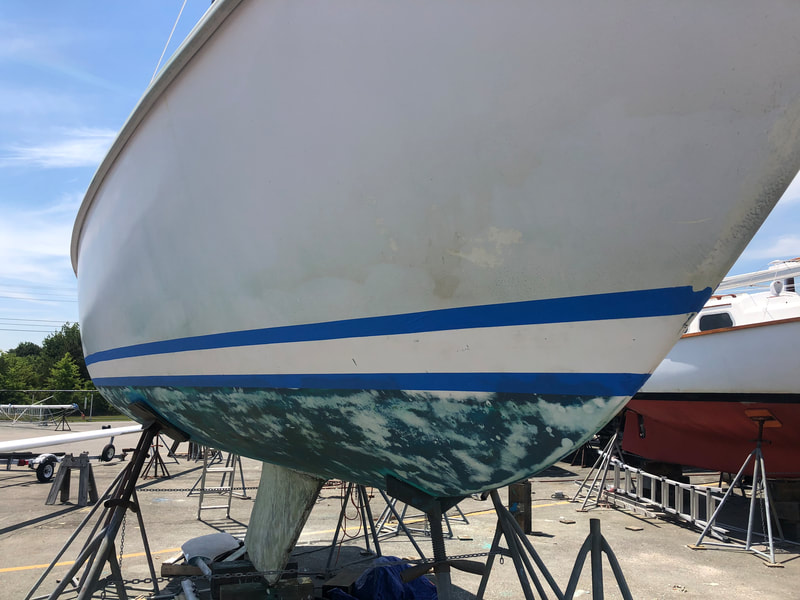
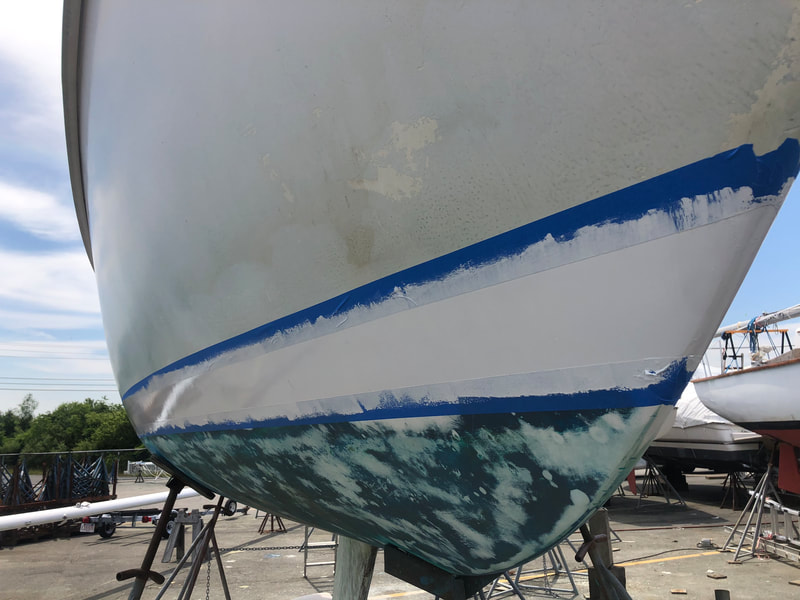
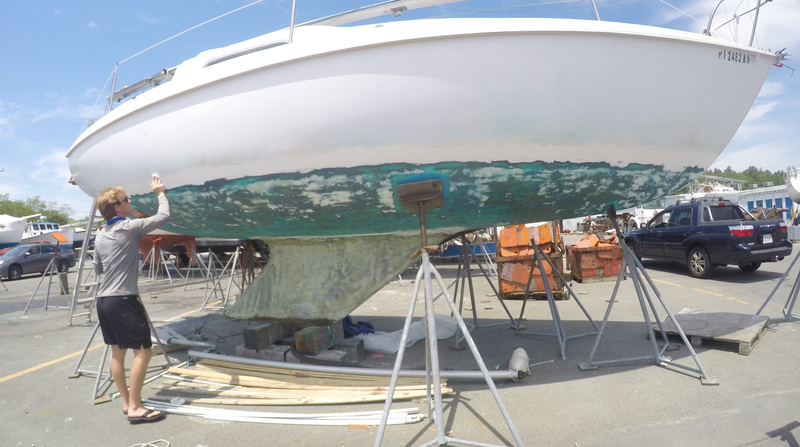
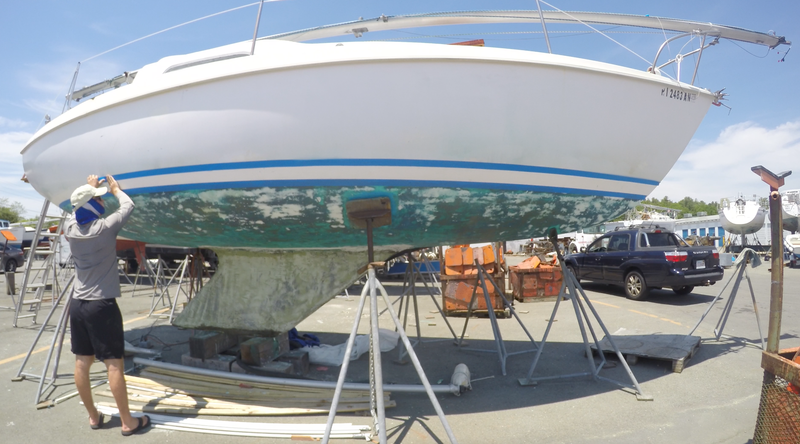
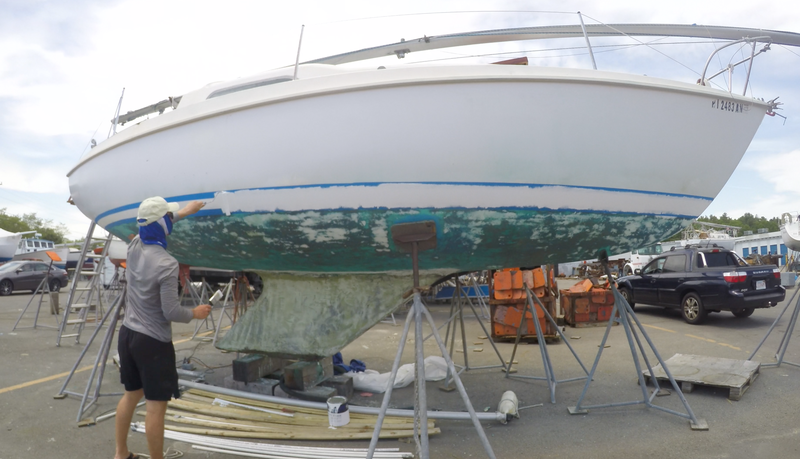
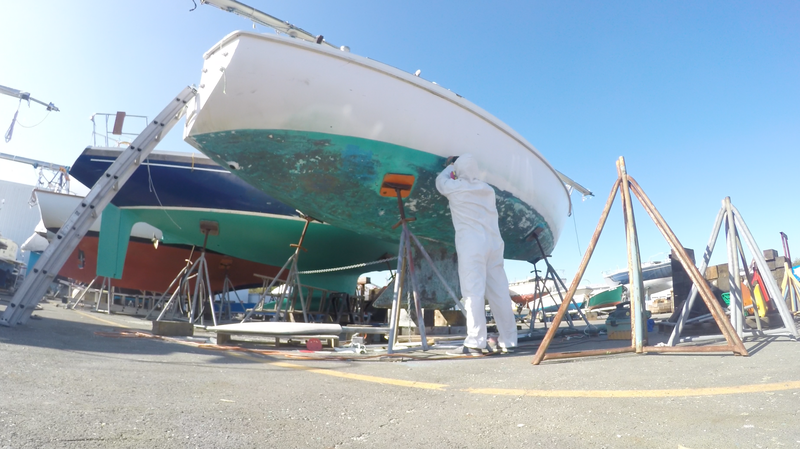
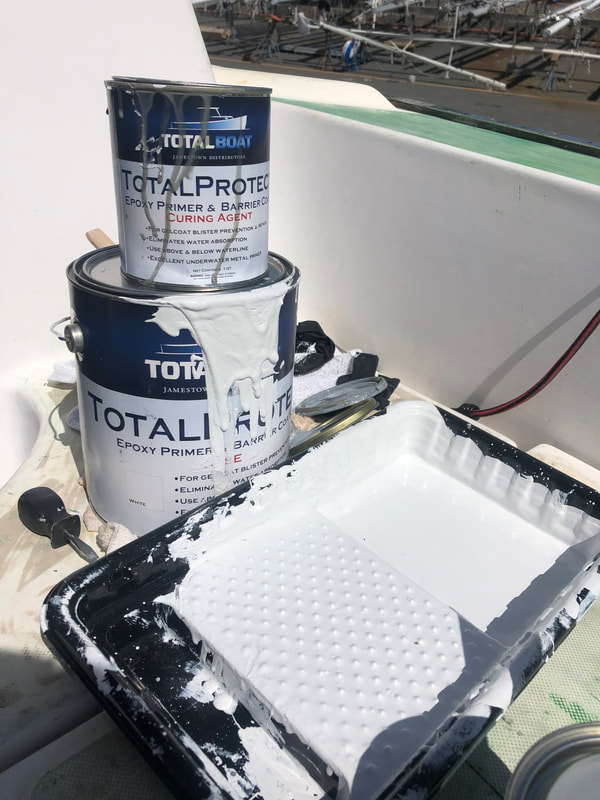
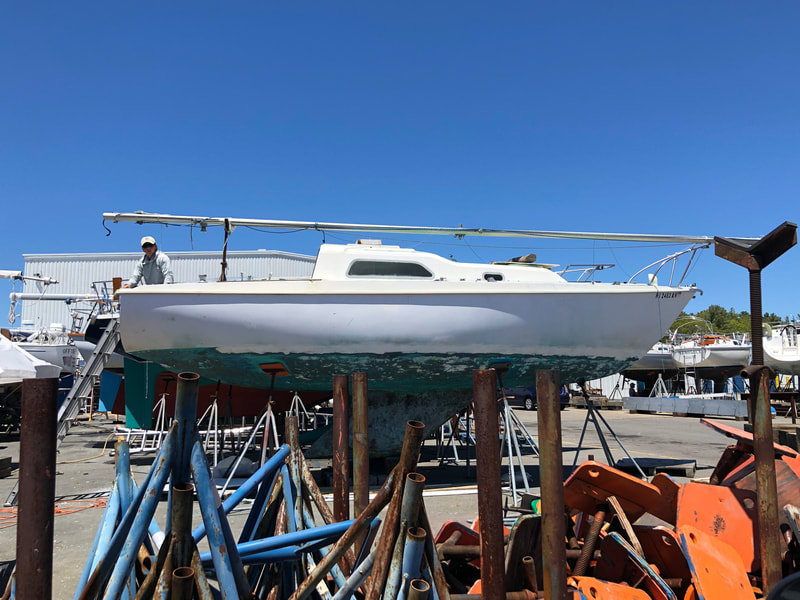
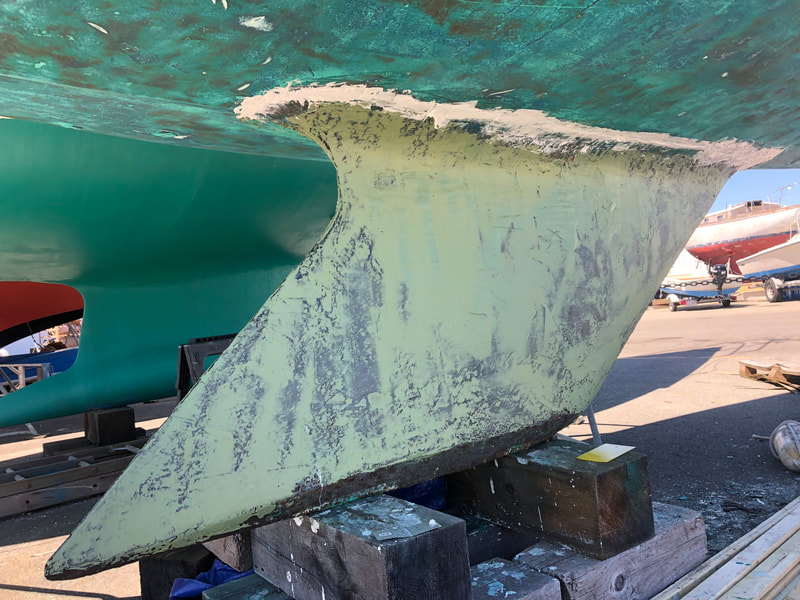
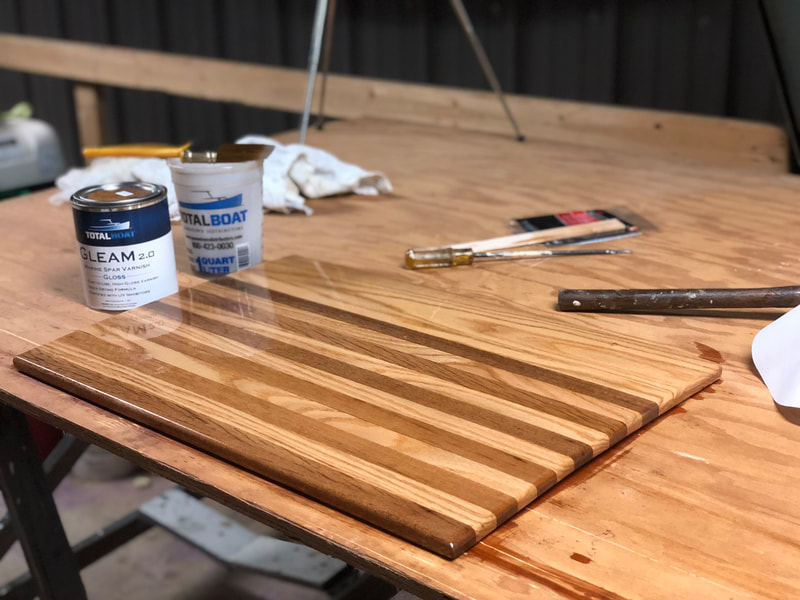
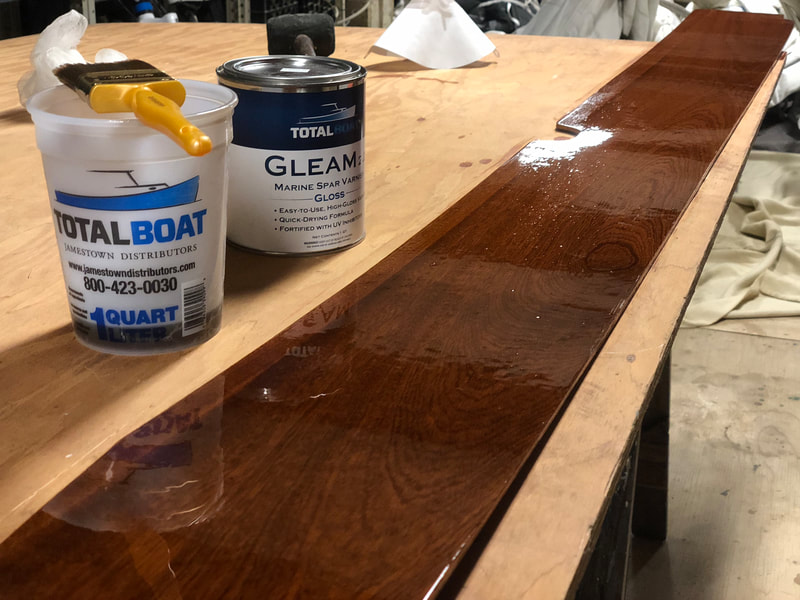
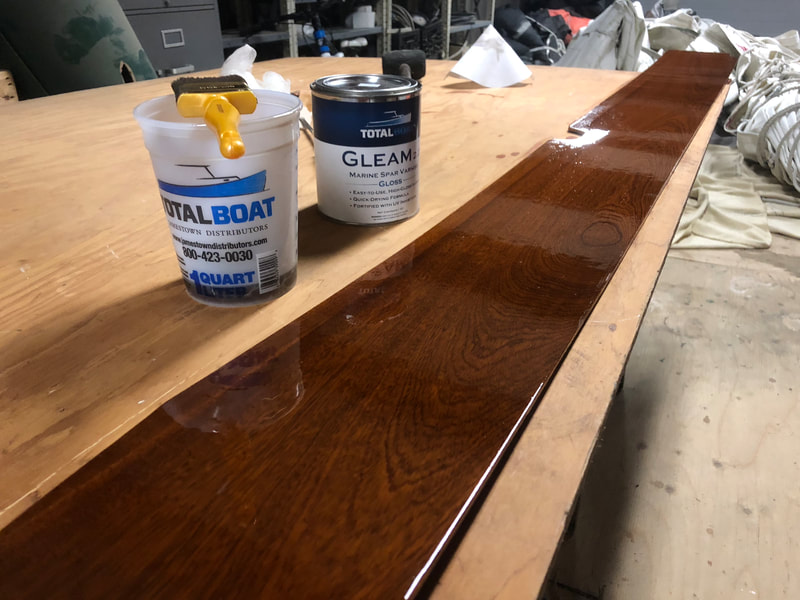
Fairing the keelTo fair the keel I used TotalFair fairing compound. I prepped the area by grinding as much of the rust off the keel as possible and sealing the joint with TotalBoat SEAL. Once this was cured, I mixed and applied the fairing compound sanding after with 80 grit paper. Barrier coating the keelIn order to protect the keel from rust I used a two part epoxy paint from TotalBoat called TotalProtect. Prep for this paint is very important. The day of painting I sanded the keel with 80 grit and wiped it down with a rag. I then mixed the paint and rolled it on, allowing it to become thumbprint tacky in-between coats. The final product is a durable shell to the keel that I can paint with bottom paint. Bottom paintingI painted the bottom with help from my dad using TotalBoat Spartan antifouling paint. The application was a fairly simply process. We simply rolled two coats of the paint on using a 3/8 nap roller. The boat has been in the water for a month and looks great so far! Painting the topsidesAfter painting the bottom my dad and I painted the topsides with TotalBoat WetEdge topside paint. We rolled and tipped three coats of this paint onto the hull for a glossy finish, sanding with 220 grit in-between coats. This scuffs the surface to give the next coat better adhesion. The boat is pretty much done at this point. Down to the finishing touches! Finishing touchesMy mom generously made me all new cushions for my boat. She spent a full week working on them and they look absolutely amazing. Here you can see the V-berth, starboard bunk and port booth that also becomes a bunk. The cushions really pulled the boat together. I also had a new tiller built as the old one was snapped and mangled from the mast falling on it. Here you can see the tiller with the first coat of Gleam 2.0 gloss varnish on it. Finally, I varnished and installed the name plate that I built in Bermuda. The boat is complete. Now time to sail!
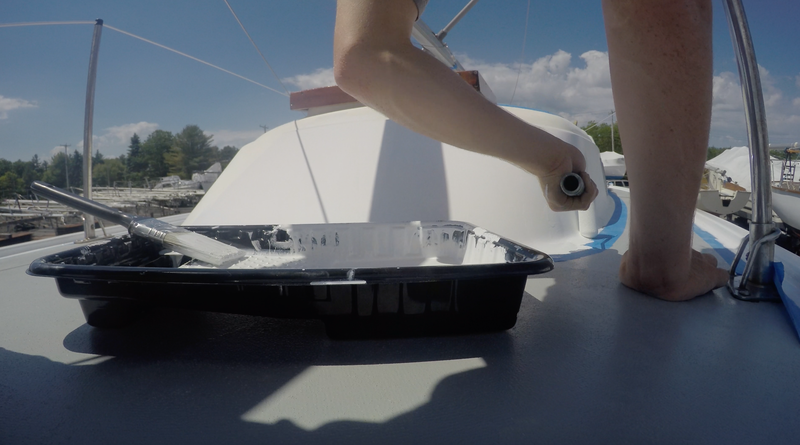
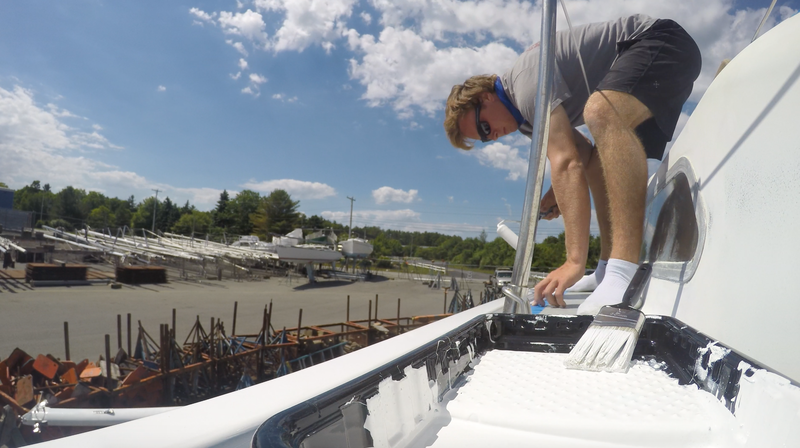
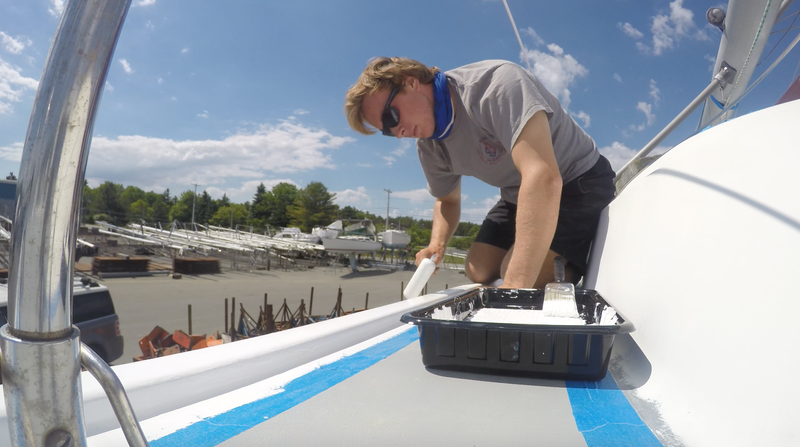
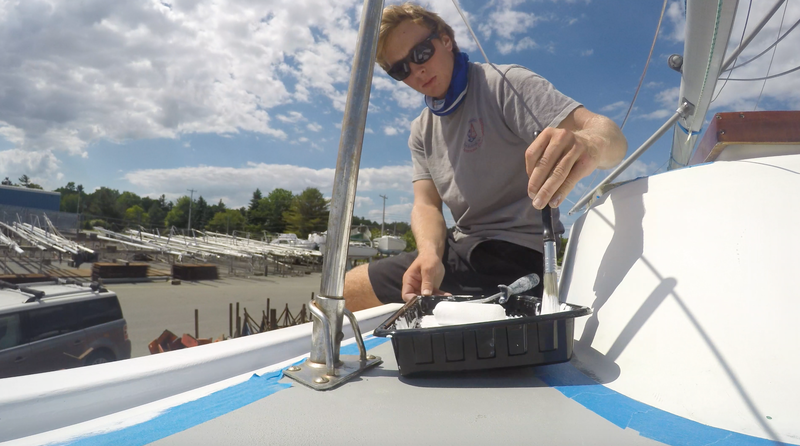
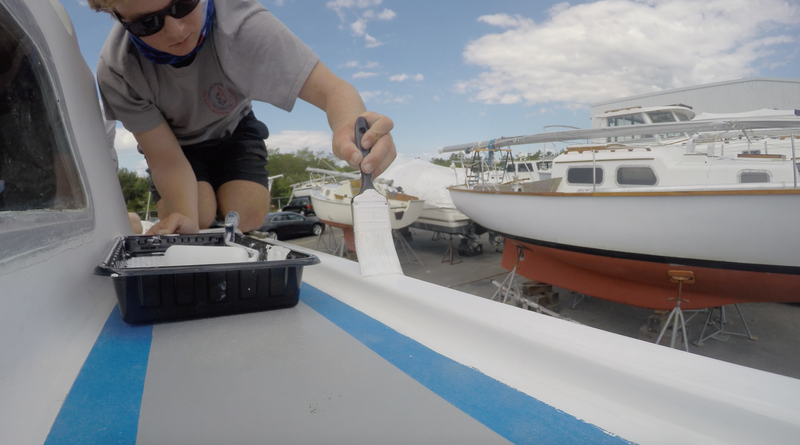
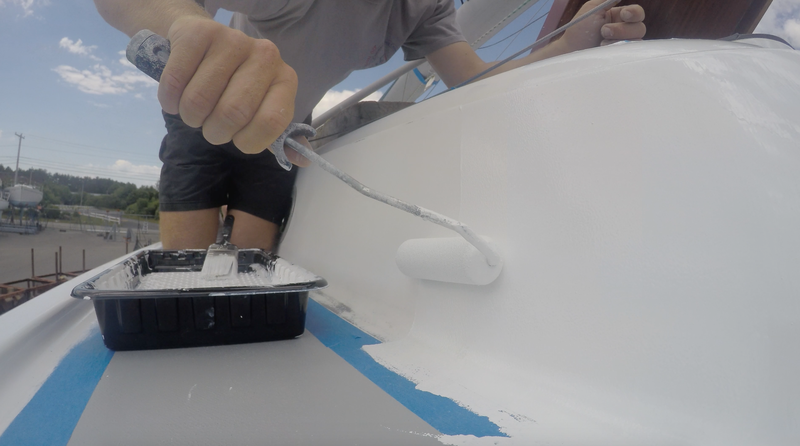
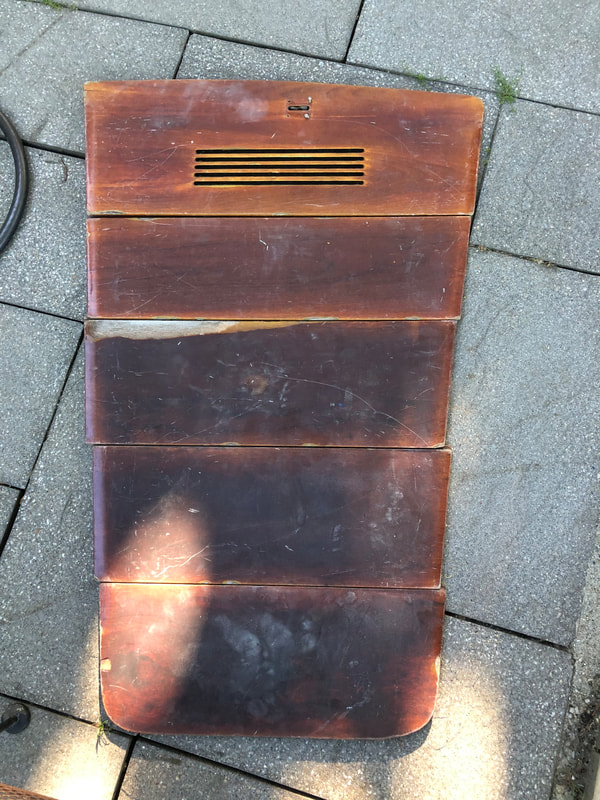
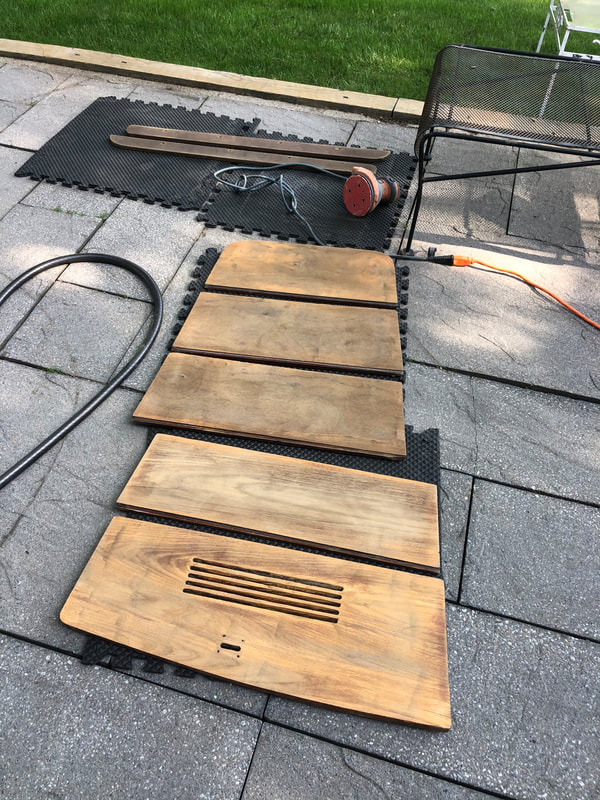
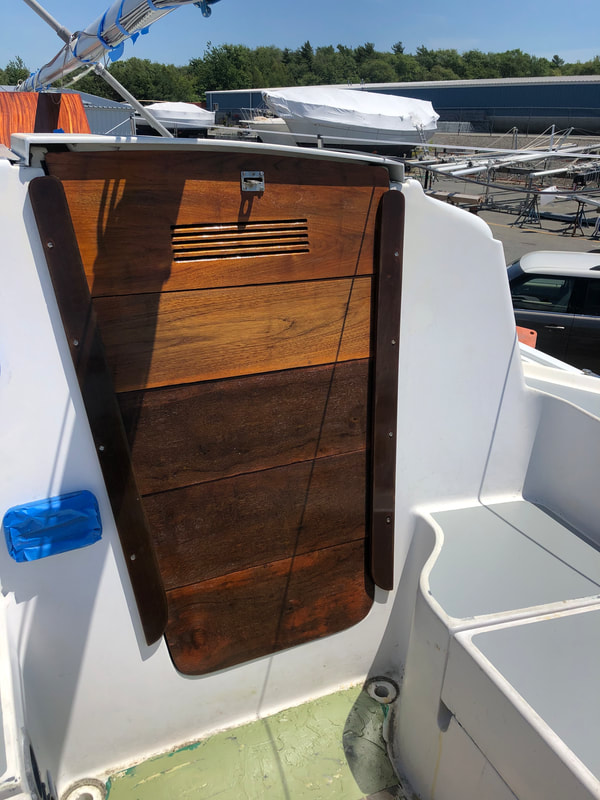
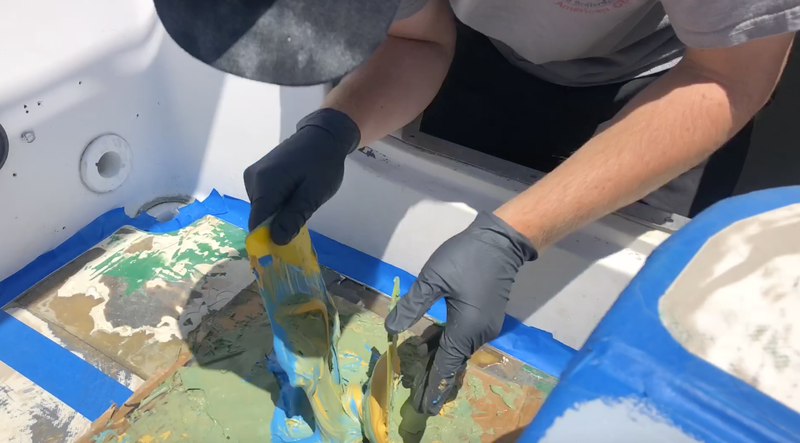
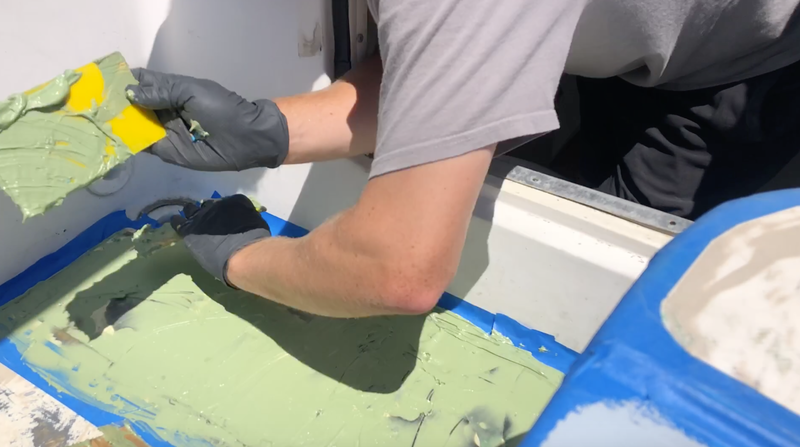
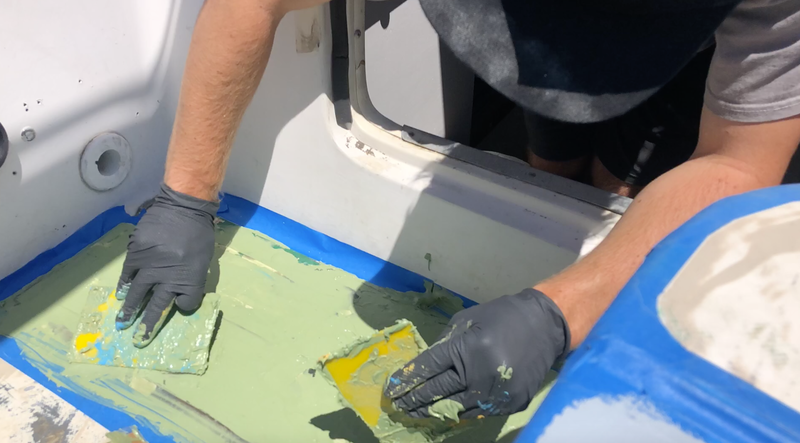
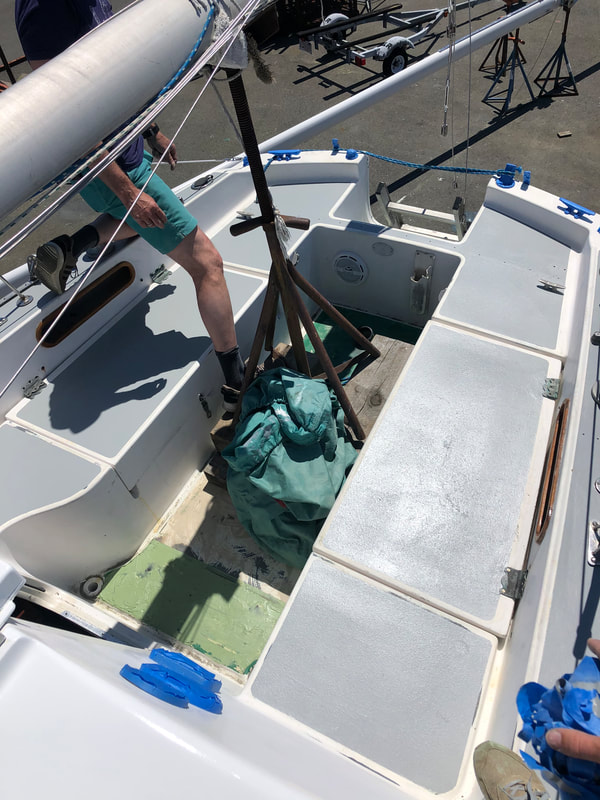
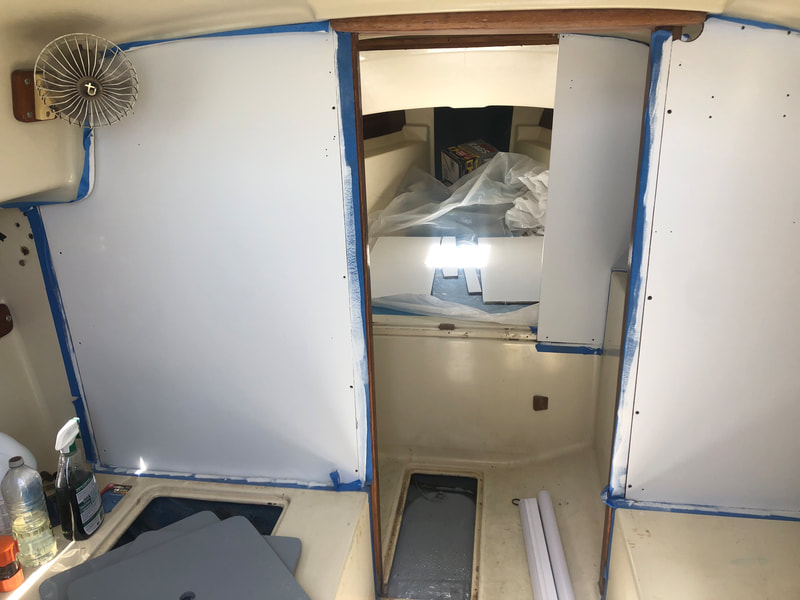
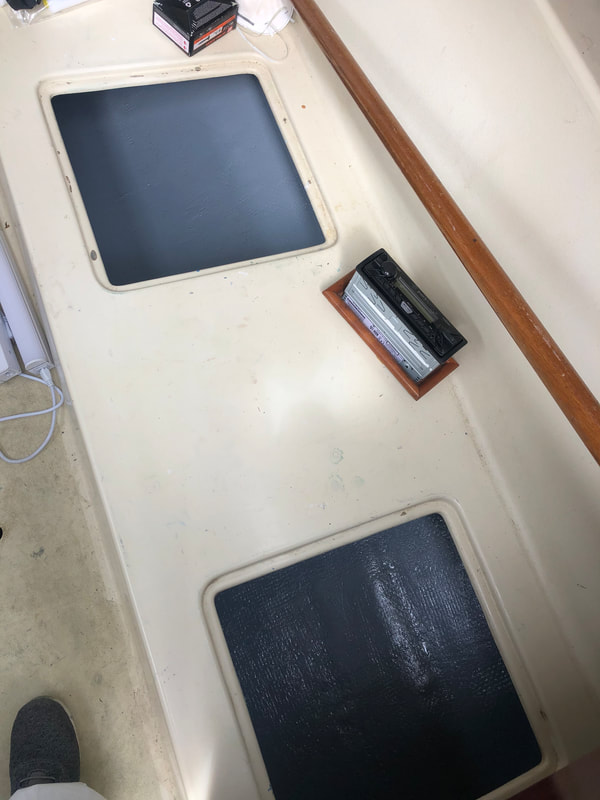
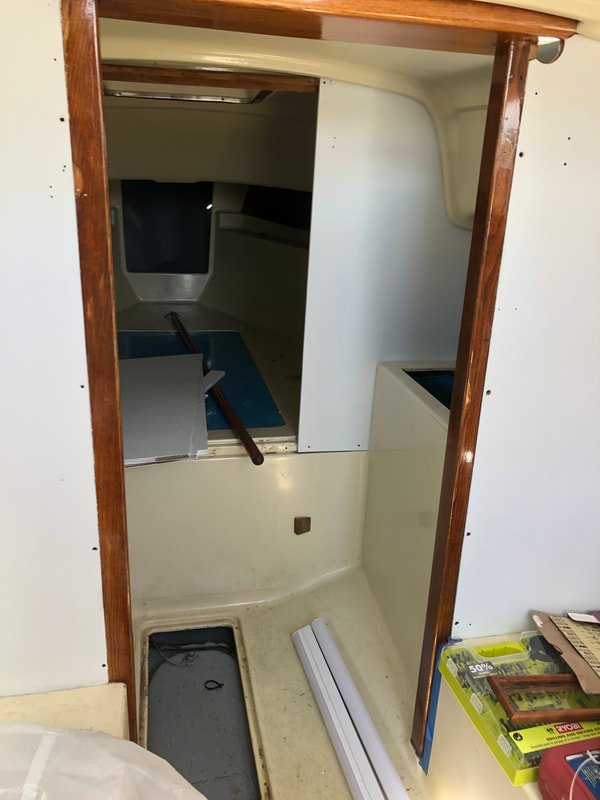
I began by painting all of the white surfaces on and around the cabin white. The original paint had faded and did not look good any longer. My dad and I rolled and tipped two coats of white TotalBoat WetEdge topside paint onto the area. I still have to paint the cockpit, which should happen tomorrow afternoon. The fresh paint is much shinier and nicer than the old paint, giving the boat a fresh look. I also spent some time refinishing the companionway slats. The original varnish was chipping off and was in all around poor condition. I spent some time again with the heat gun and scraper (yay!) removing all the old varnish. I then refinished the slats with TotalBoat Gleam 2.0 gloss varnish. They look much better now. I feel it is so important to have the slats looking good as they are a first impression for those coming to sail. Varnishing the grab rail with TotalBoat Gleam 2.0 gloss varnish. I went back and forth on doing this. I really liked the look of varnished grab rails but there is quite a bit more maintenance involved. I decided that it was worth the work in the future. The varnish looks fantastic. Fairing the cockpit sole with TotalFair While I was working on painting the white around the cabin my dad painted the seats grey with TotalTread nonskid paint. Now when I sit in the cockpit it is beginning to feel like a boat.
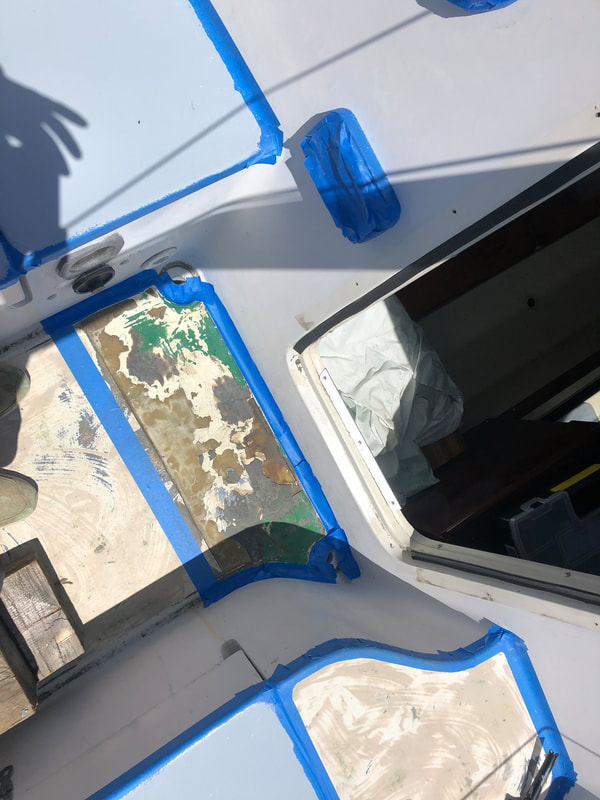
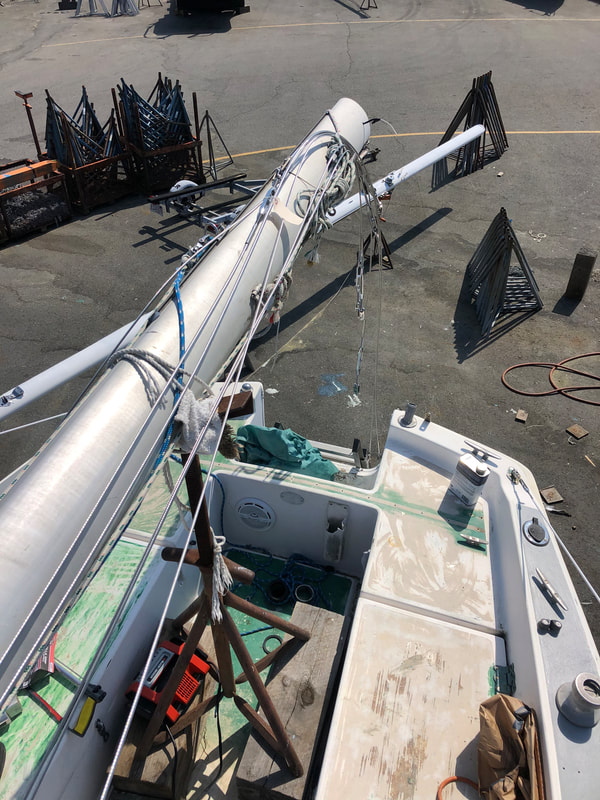
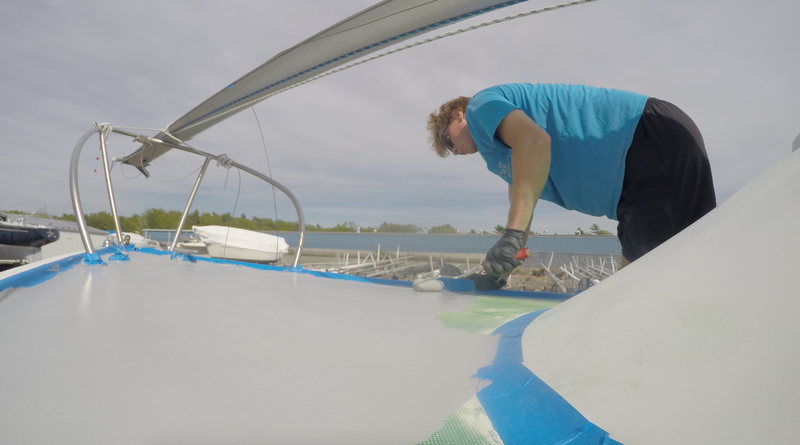
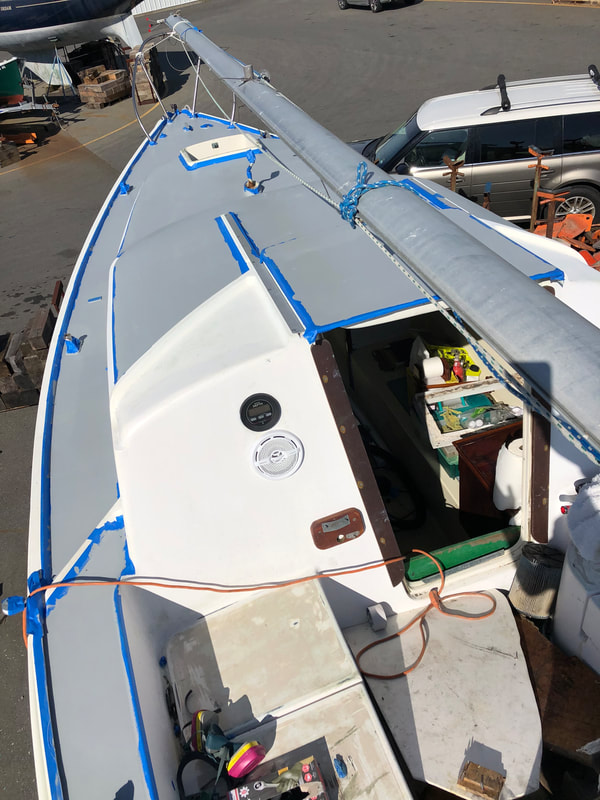
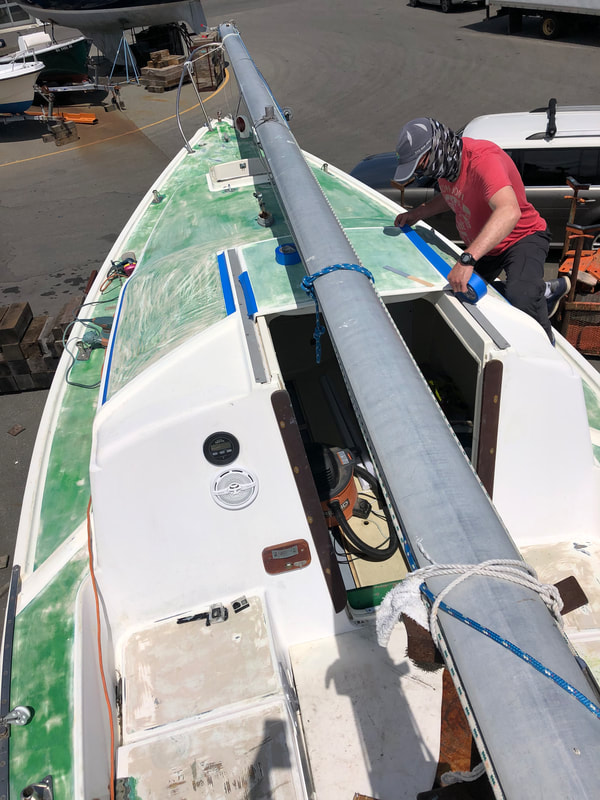
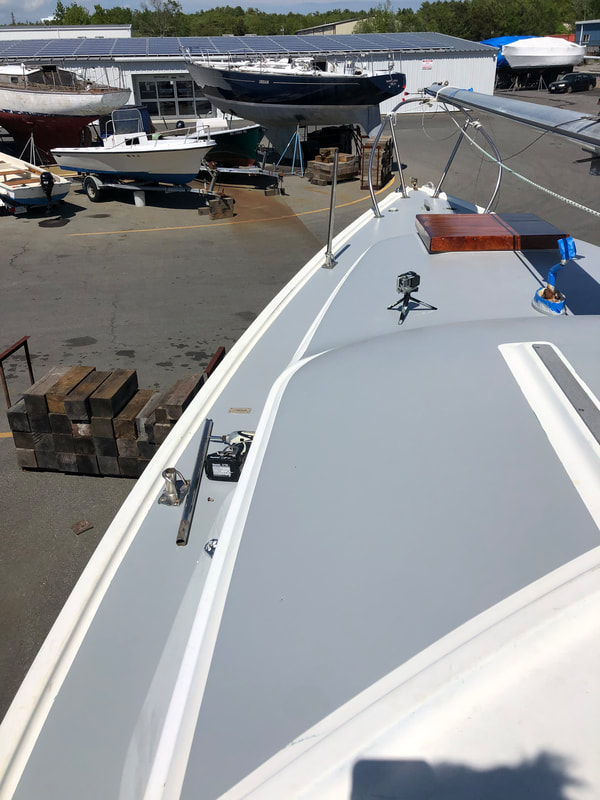
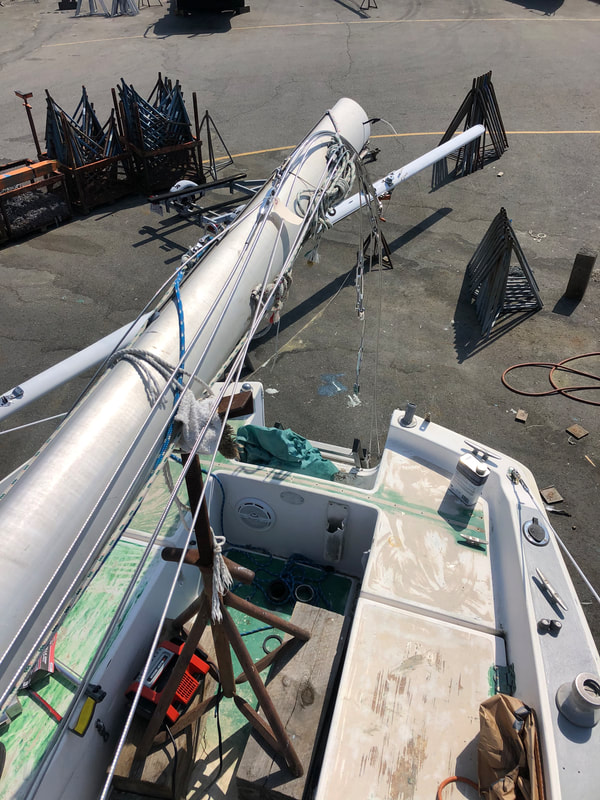
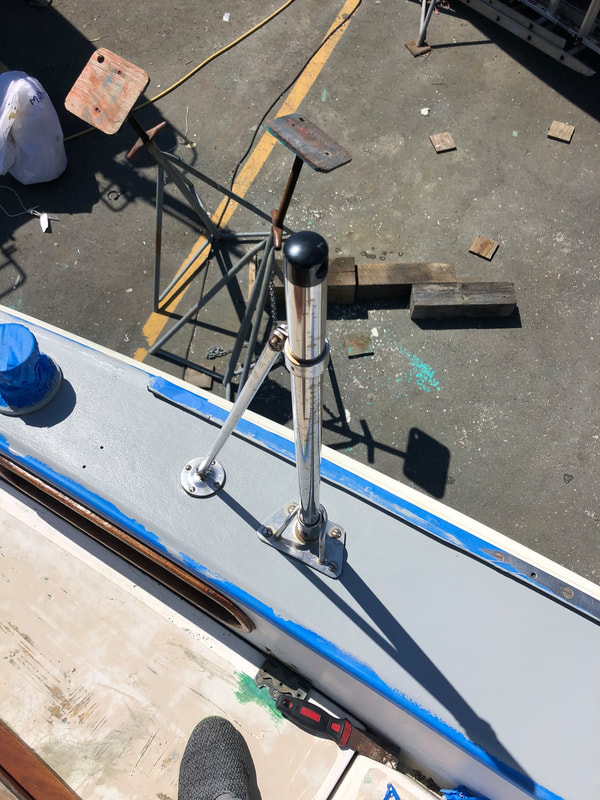
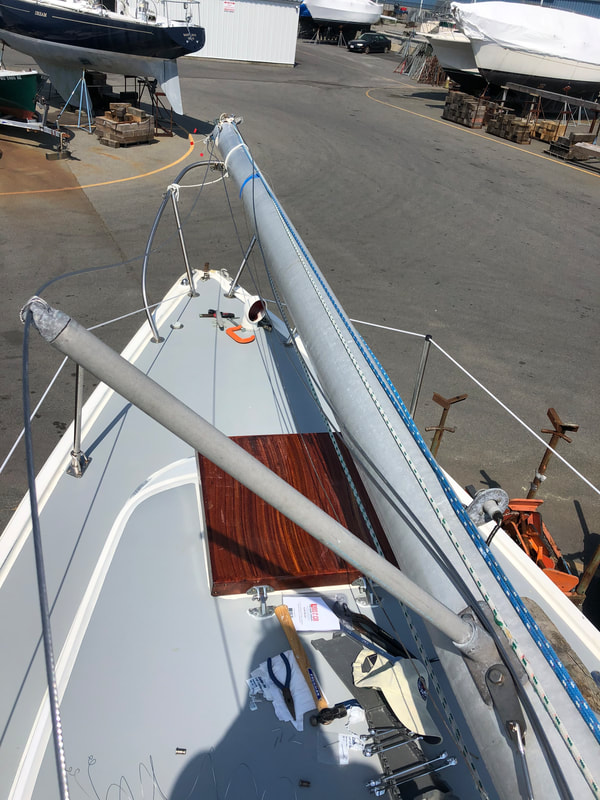
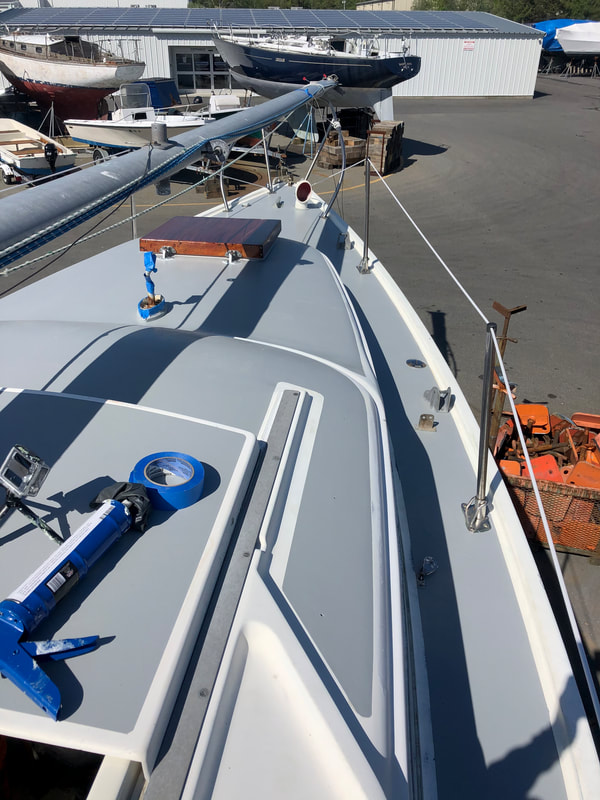
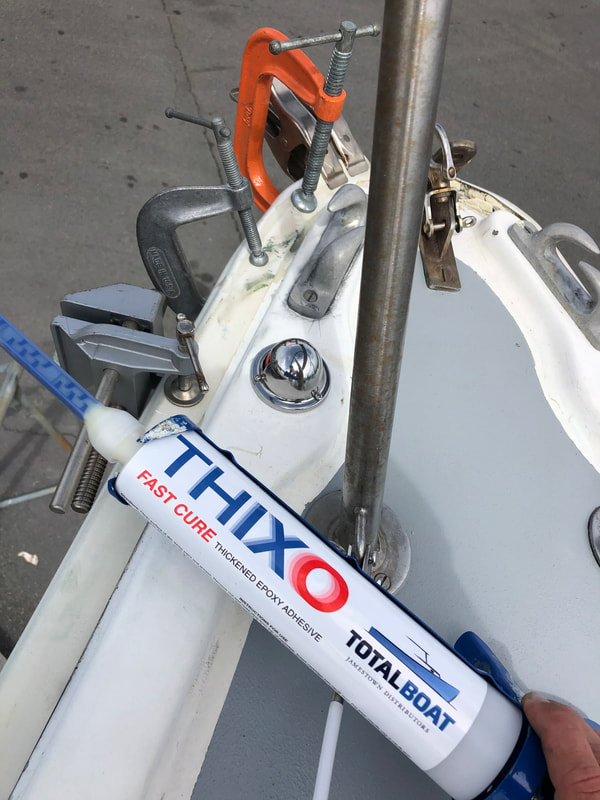
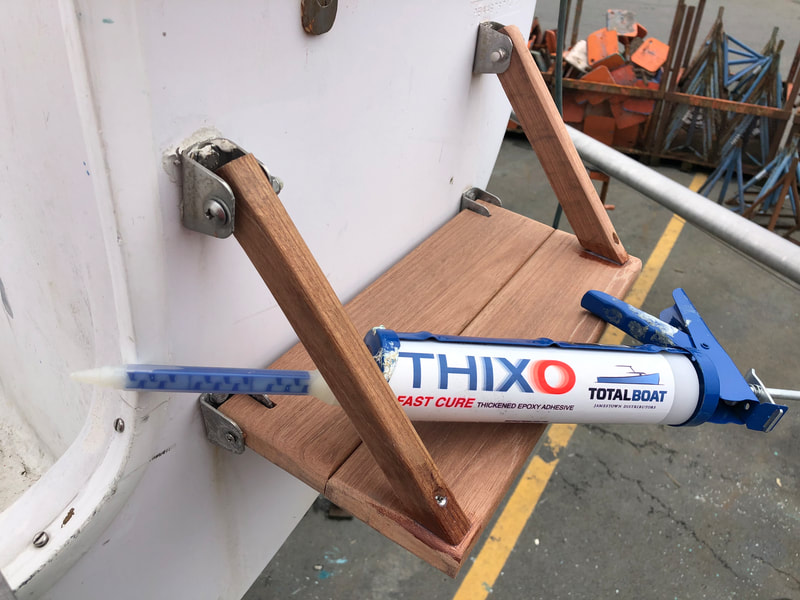
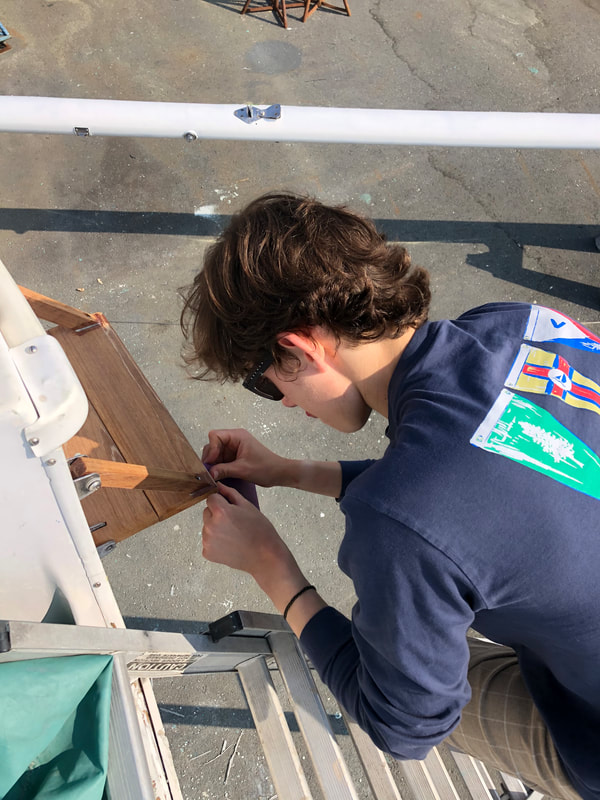
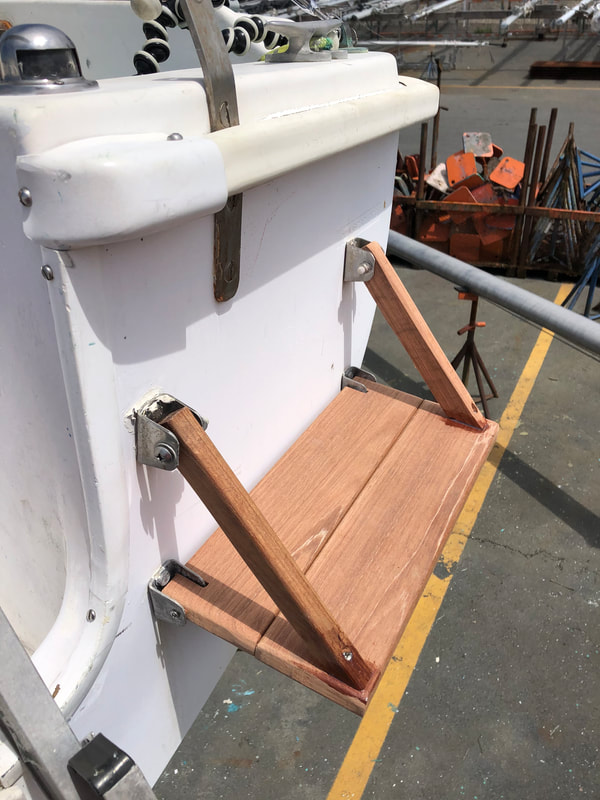
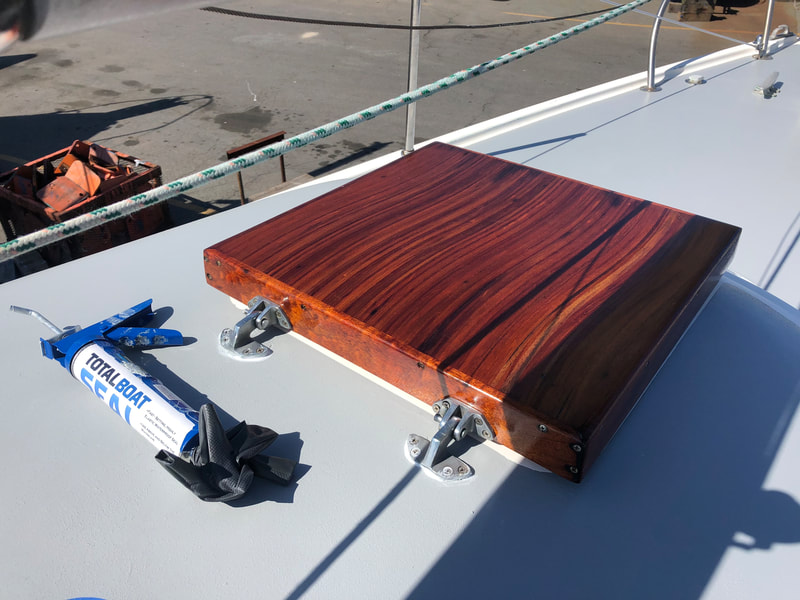
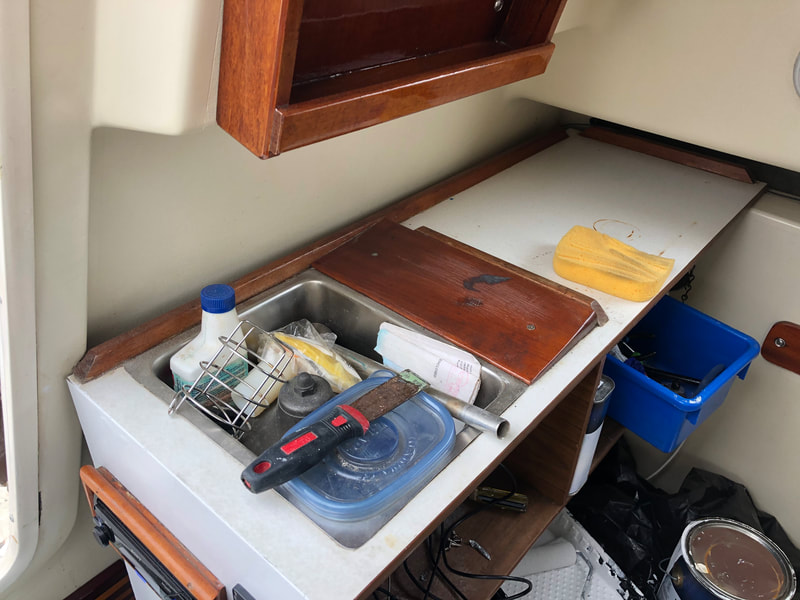
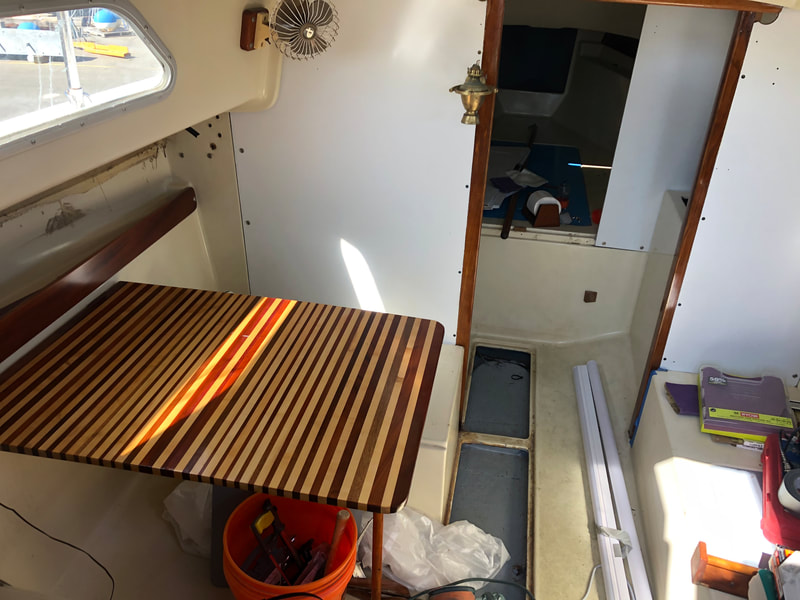
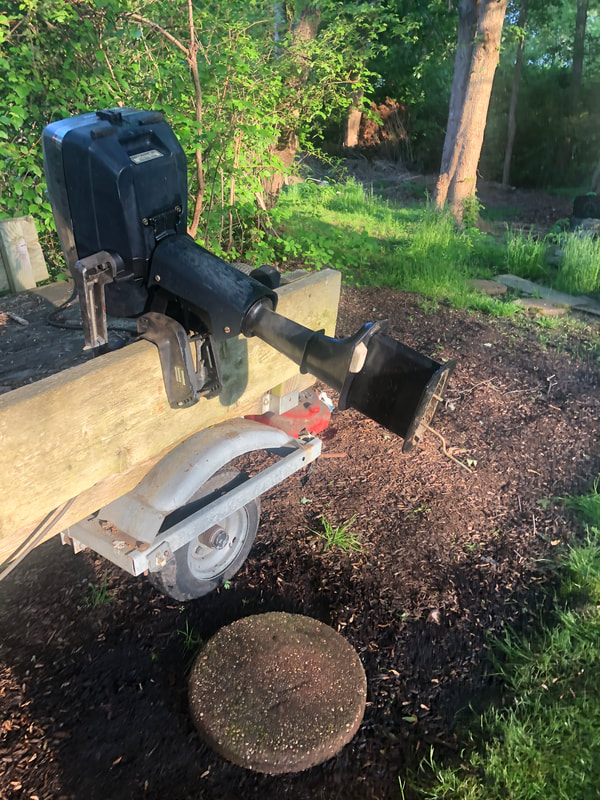
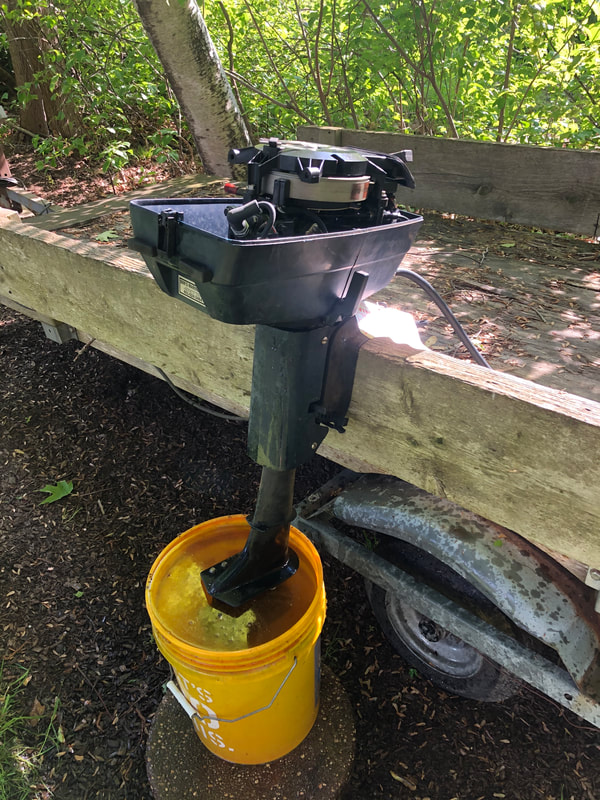
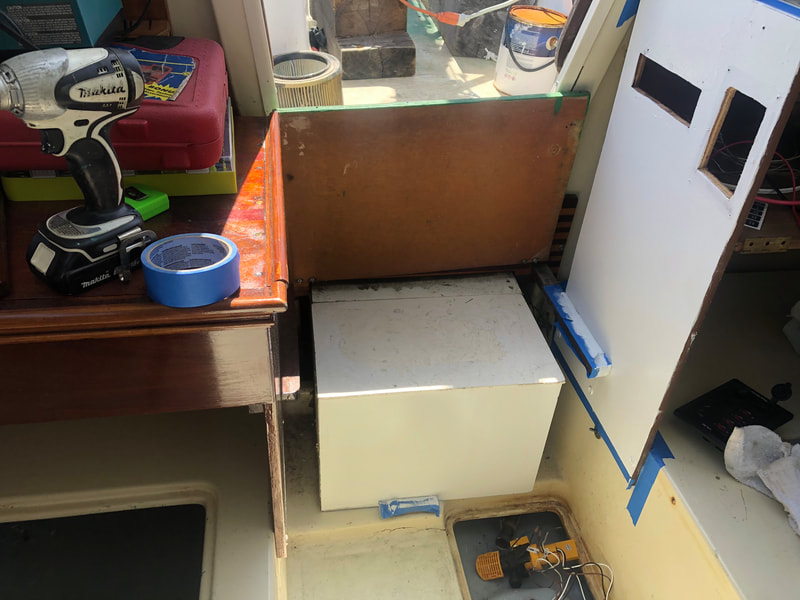
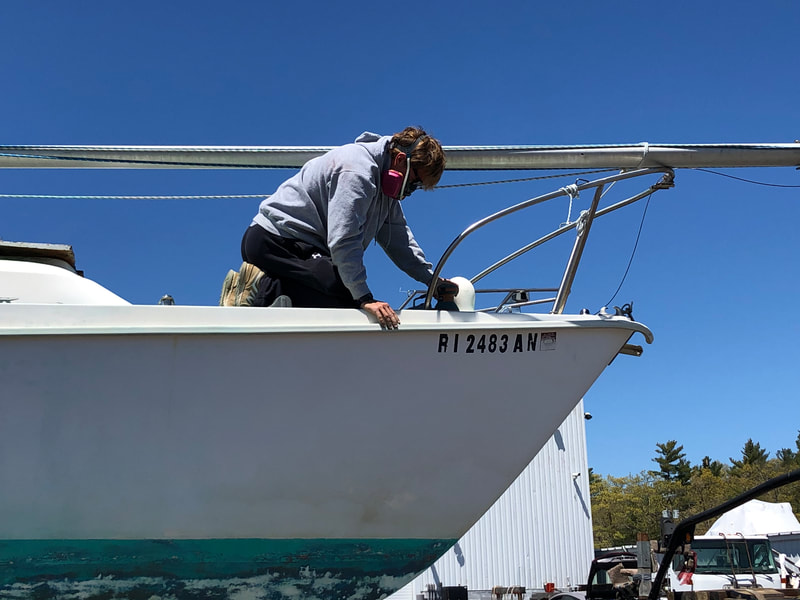
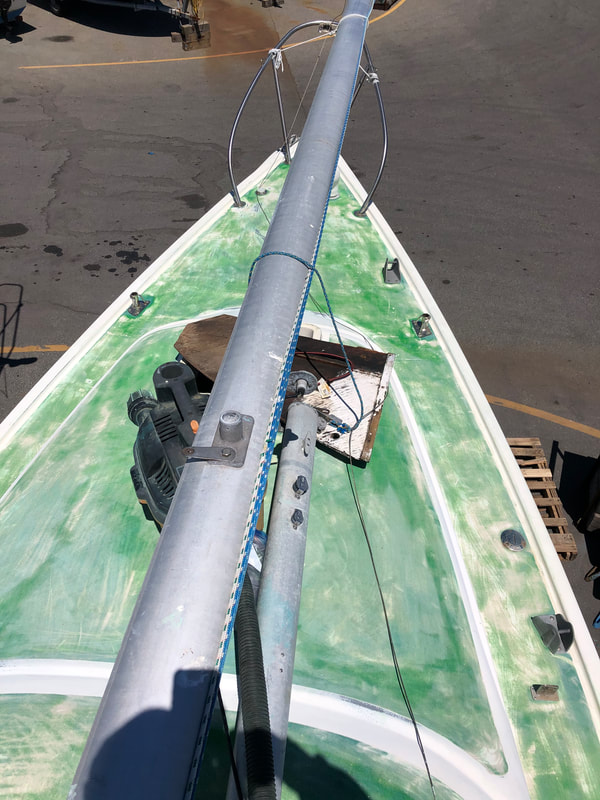
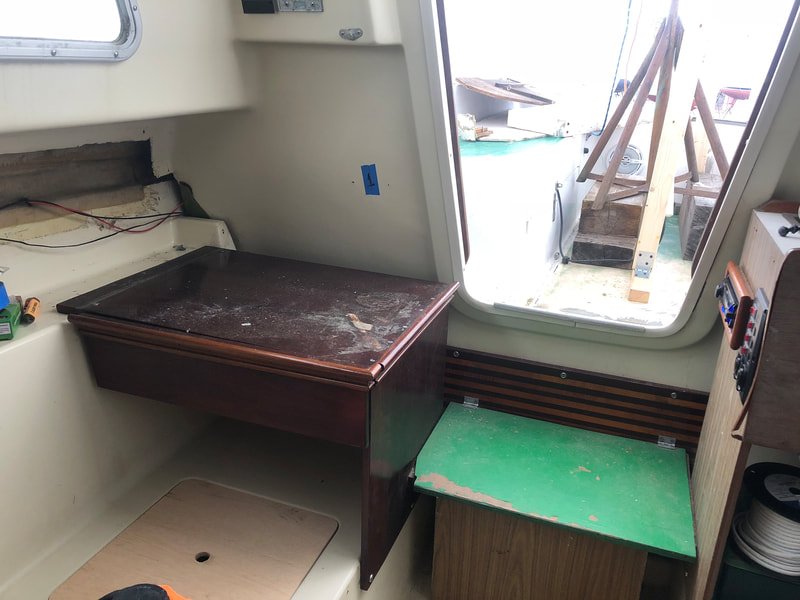
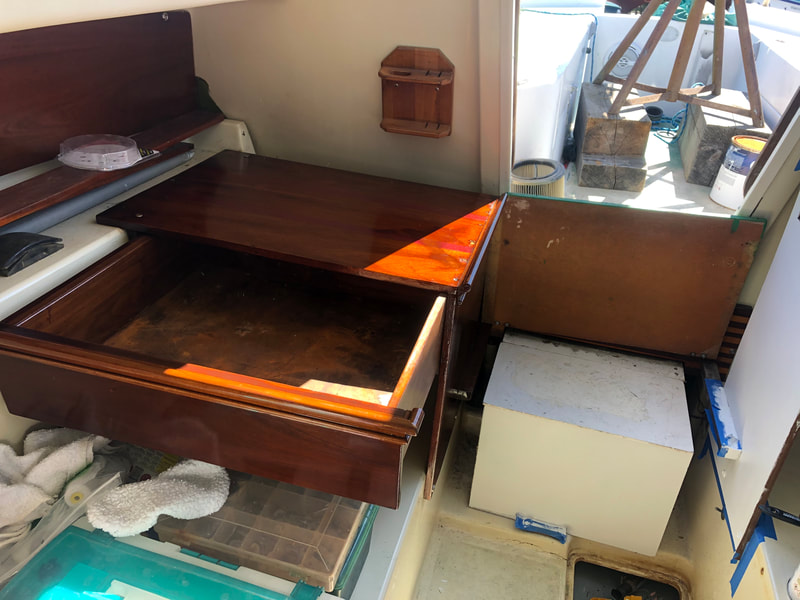
One of the least desirable aspects of the boat was the green deck paint. It was faded and wore off on everything that it came into contact with. I spent the winter sanding this paint in preparation for a fresh coat. I painted the deck light grey with TotalBoat TotalTread nonskid deck paint. I still have to paint the cockpit but I am very happy with how the deck turned out. The new paint really makes the boat feel fresh. Another recent project was painting the boot stripe. Originally there was not a boot stripe but when I started sanding the hull I discovered an old red stripe that had been painted over with antifouling paint. I sanded the antifouling paint off and prepped the area with TotalBoat surface prep and dewaxer. I then painted a new boot stripe on with TotalBoat WetEdge paint. Today I also was able to install my new standing rigging and life lines that I got from R and W rope. The new rigging and lifelines look fantastic. I have installed the hatch, sealing the hardware with TotalBoat SEAL. I built a mahogany swim step secured with Thixo, a thickened epoxy that comes in a tube that is very easy to use. My friend Connor came by and helped sand the wood smooth. I also used Thixo to attach the rubrail back to the keel-hull joint on the bow. The new step has been installed and the table is back in. The wood around the kitchenette got a refresher coat of TotalBoat Gleam 2.0 which looks much better. A huge thank you to my uncle Charles for loaning a 4hp motor to help get me back home when the wind dies. The motor had been sitting since 2006 but was very well maintained and in good condition. All it needed was new gear case lubricant and a new water pump. That has been replaced and the motor is ready for action.
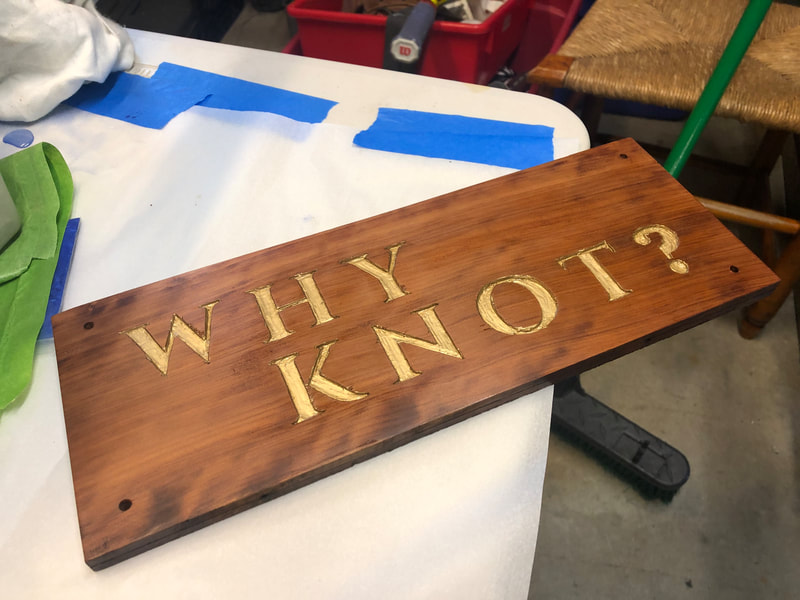
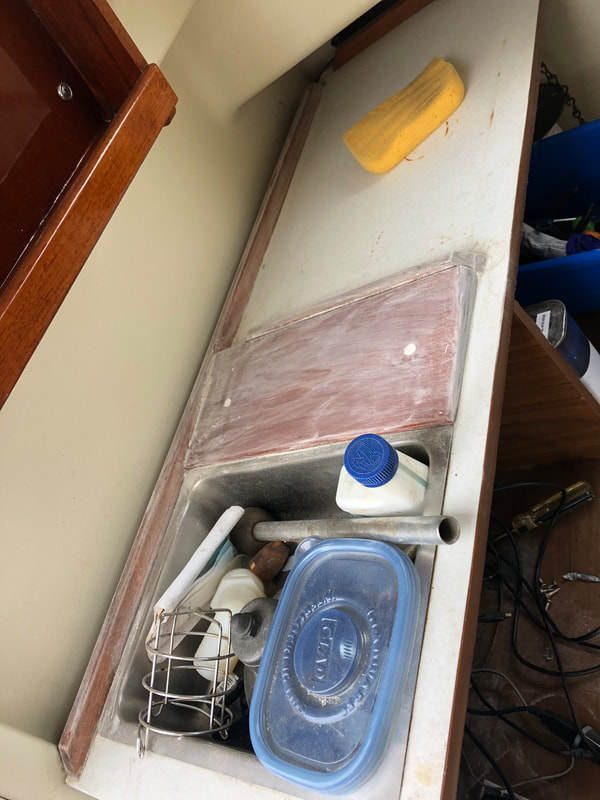
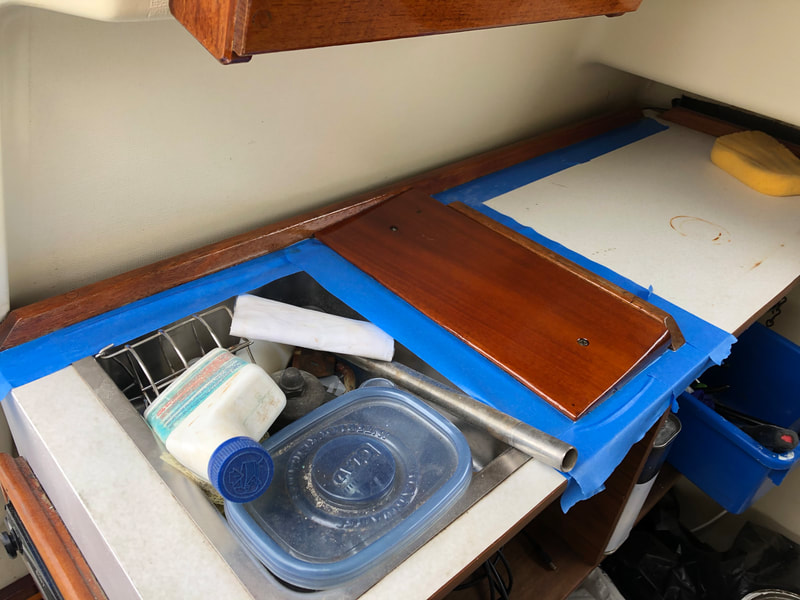
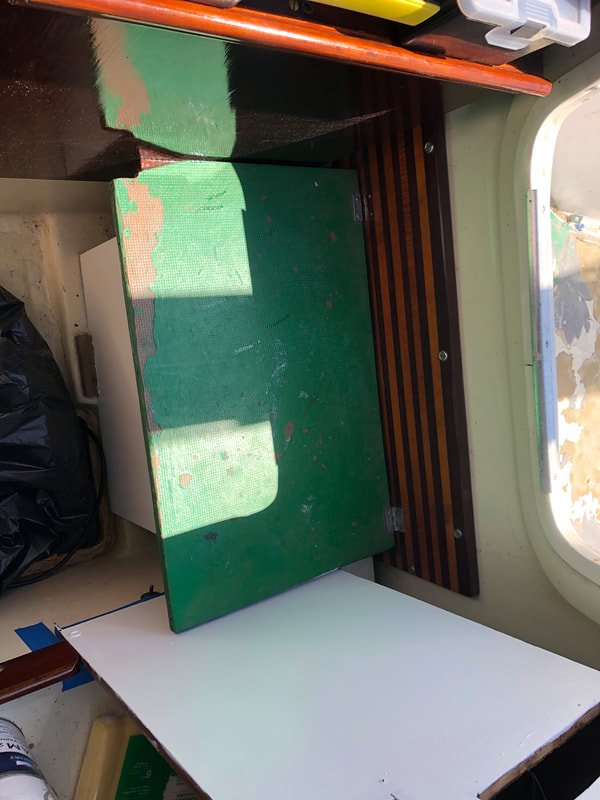
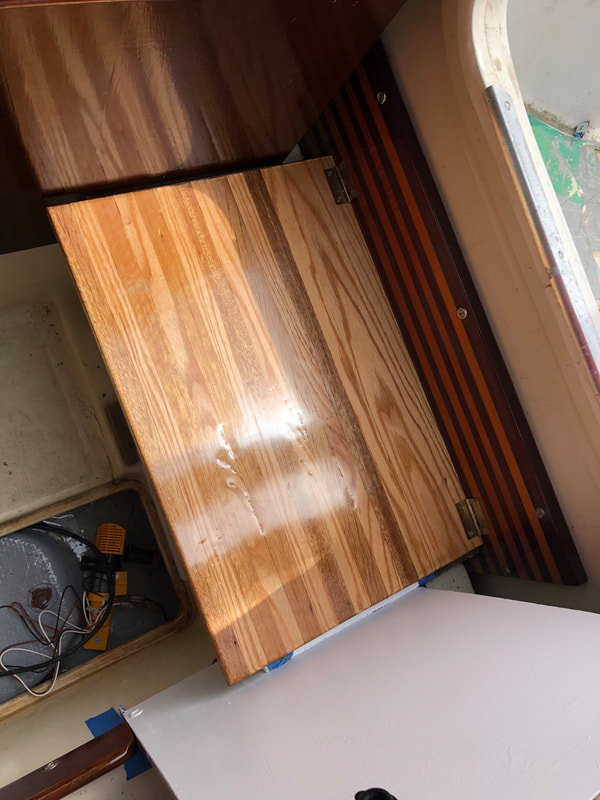
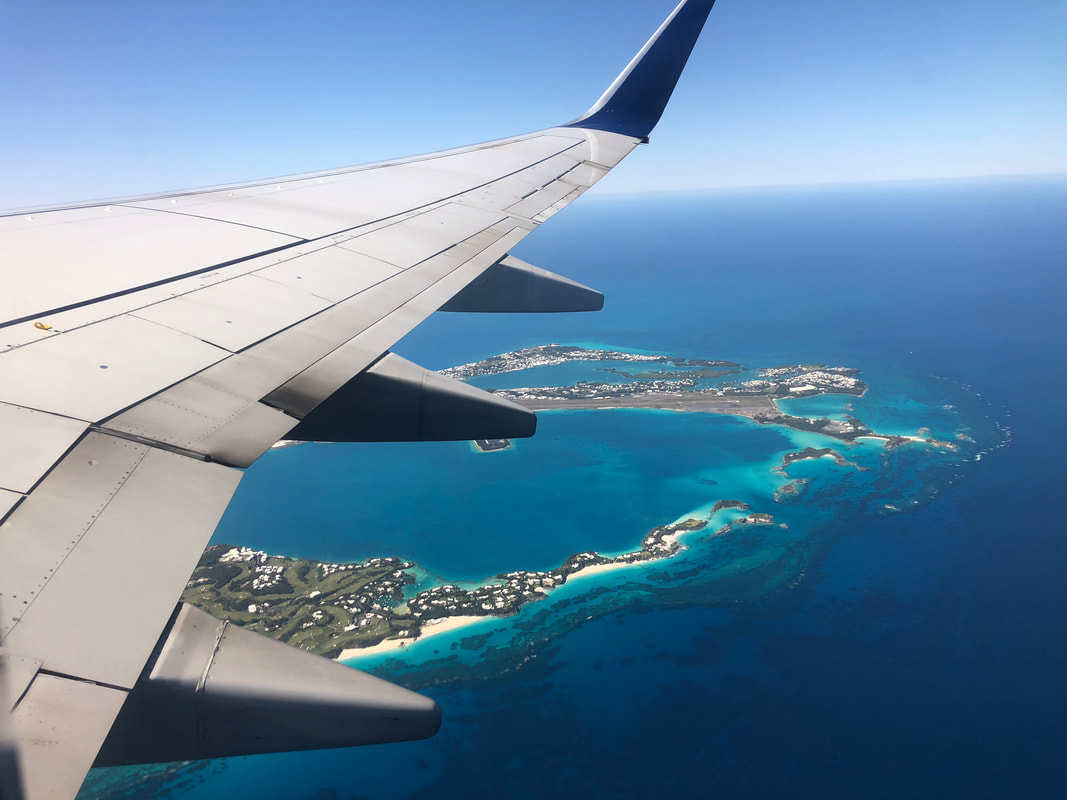
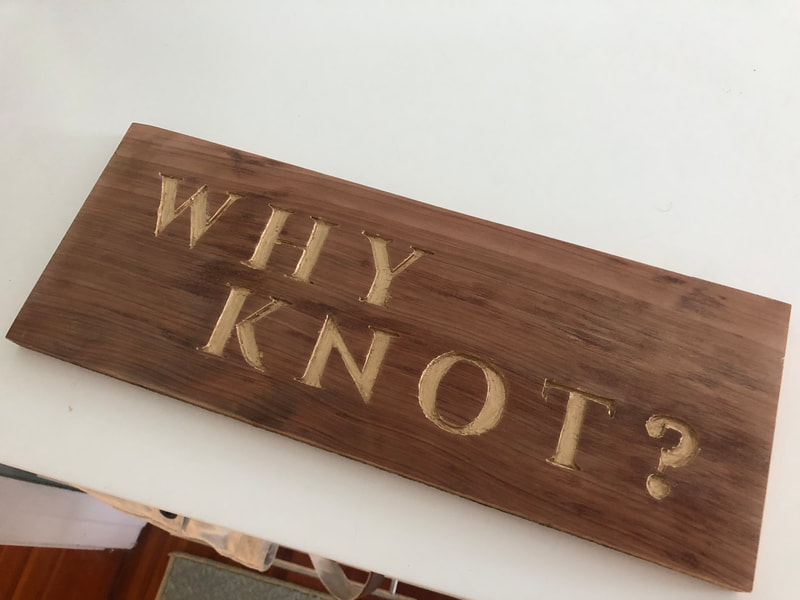
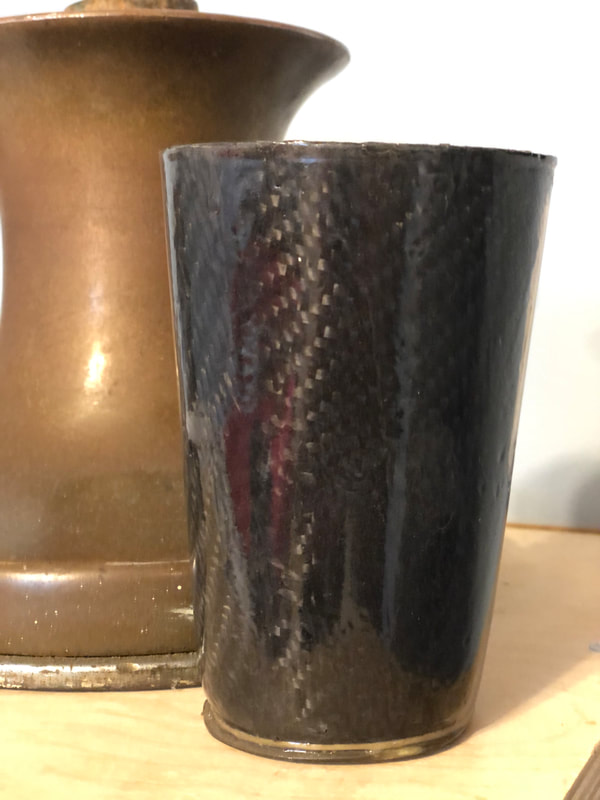
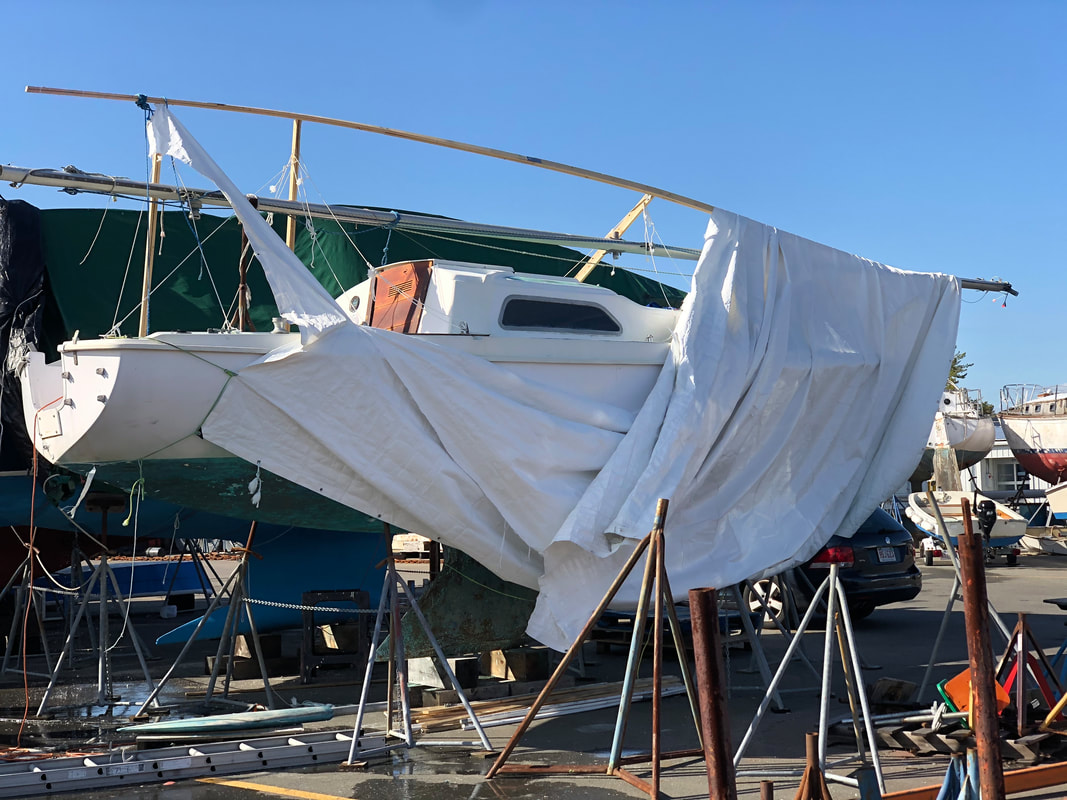
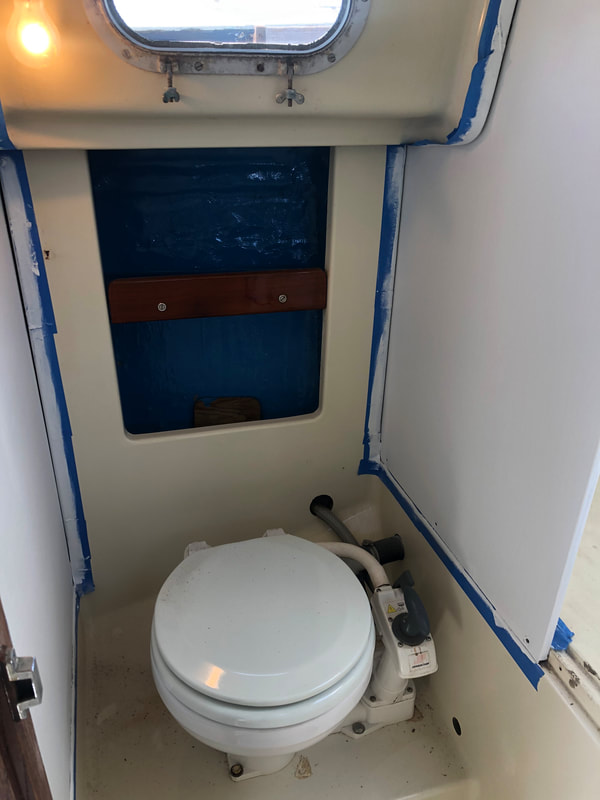
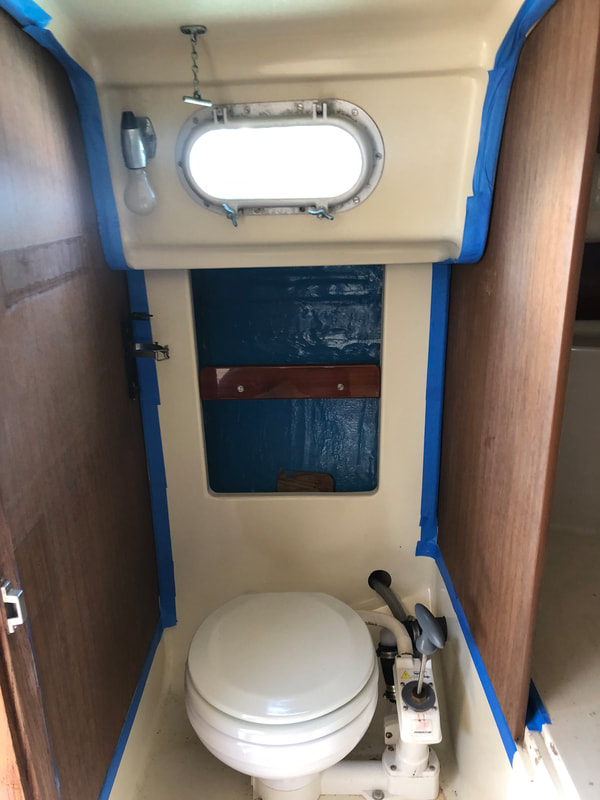
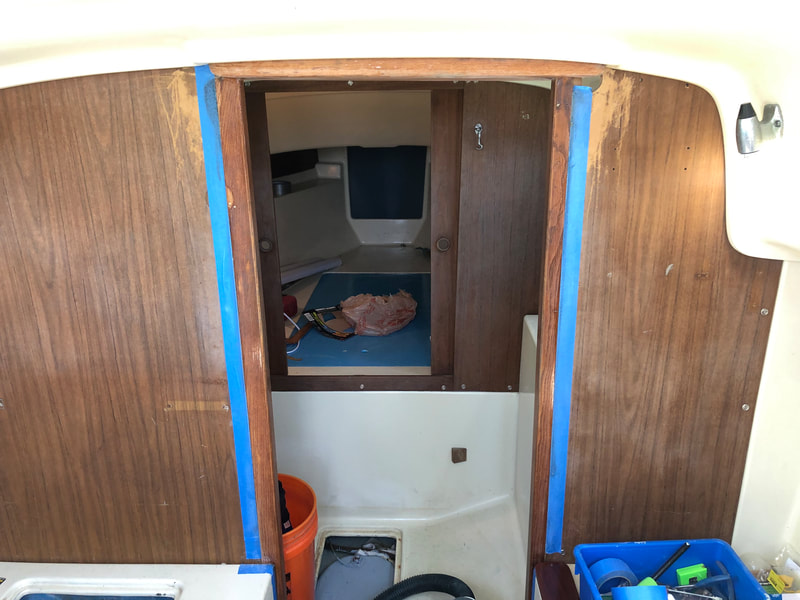
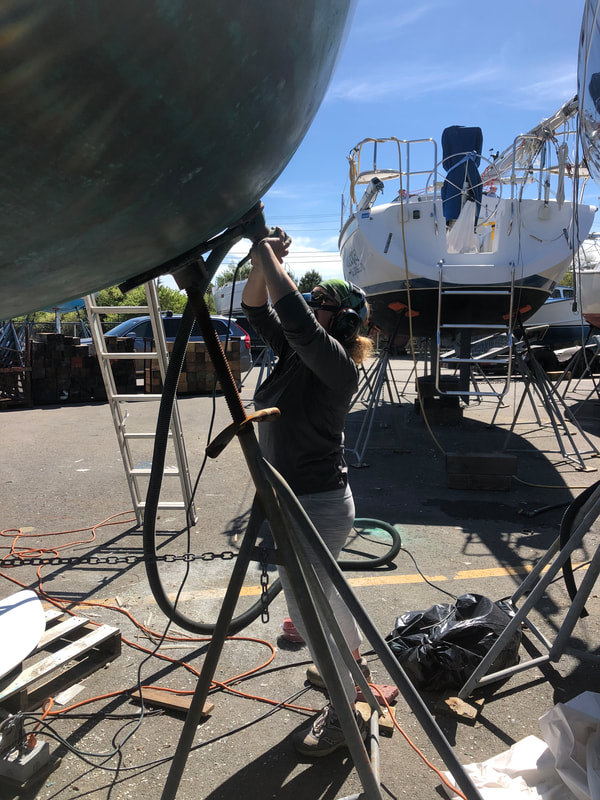
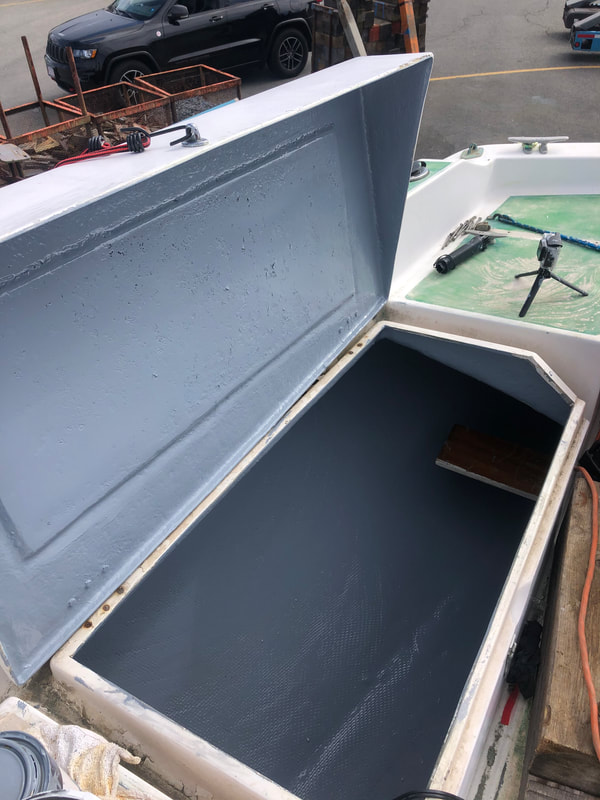
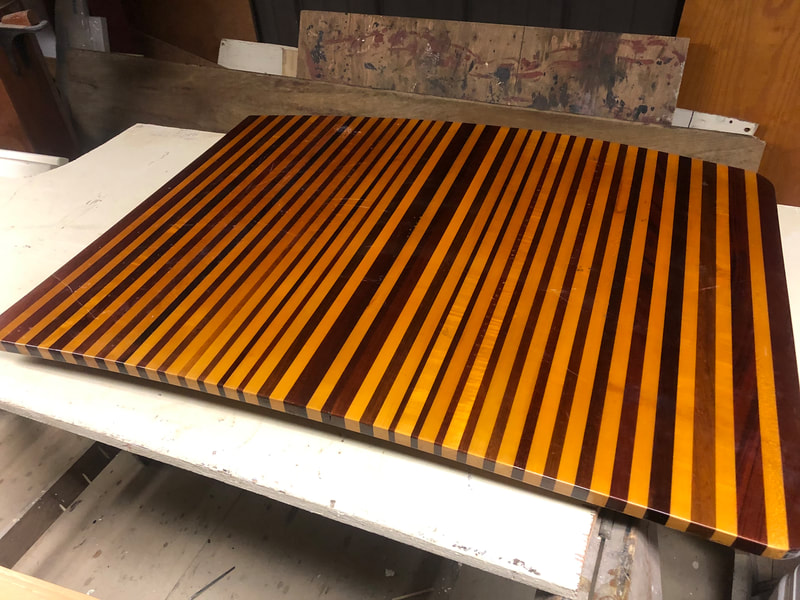
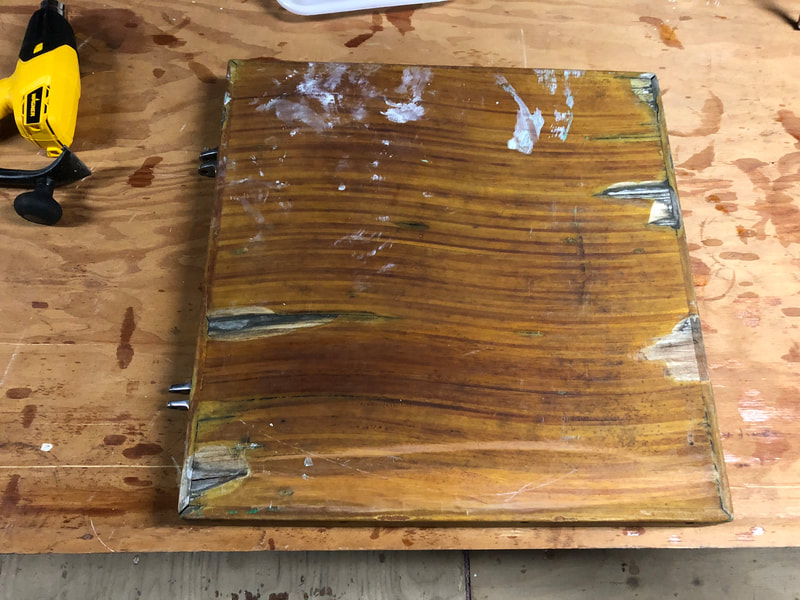
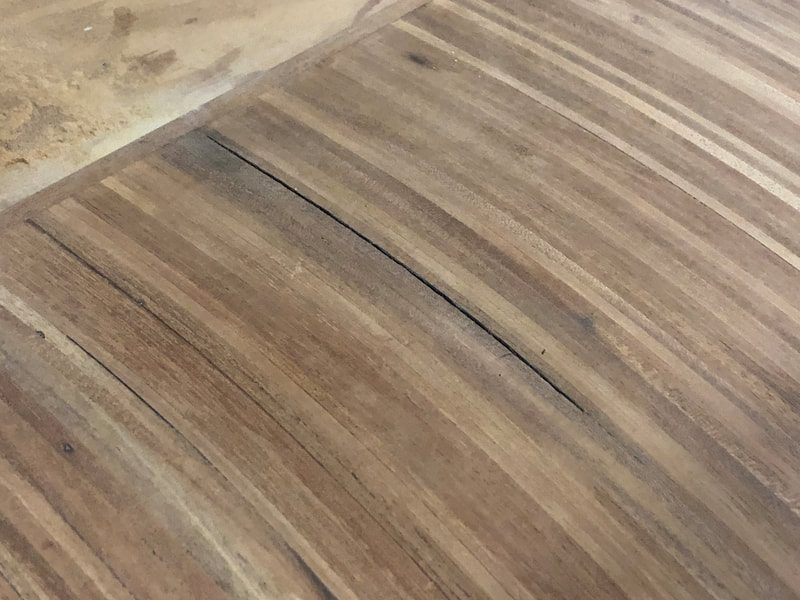
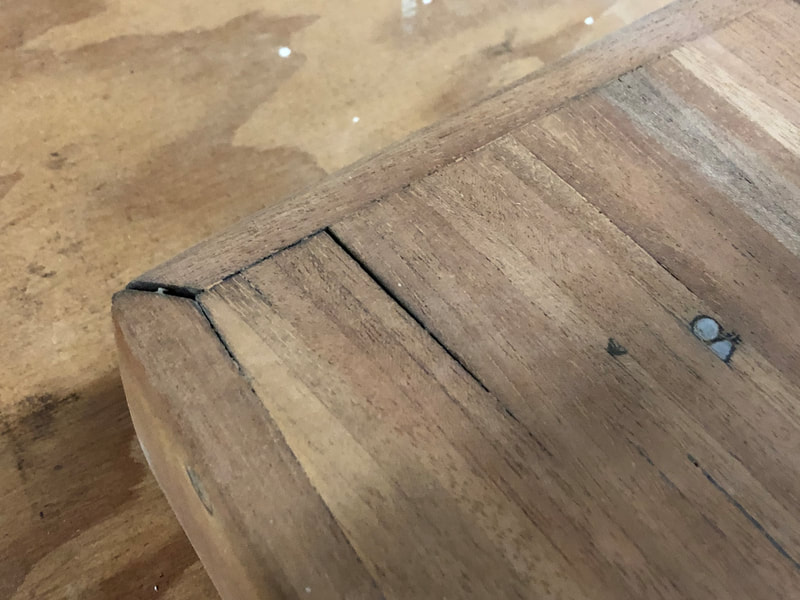
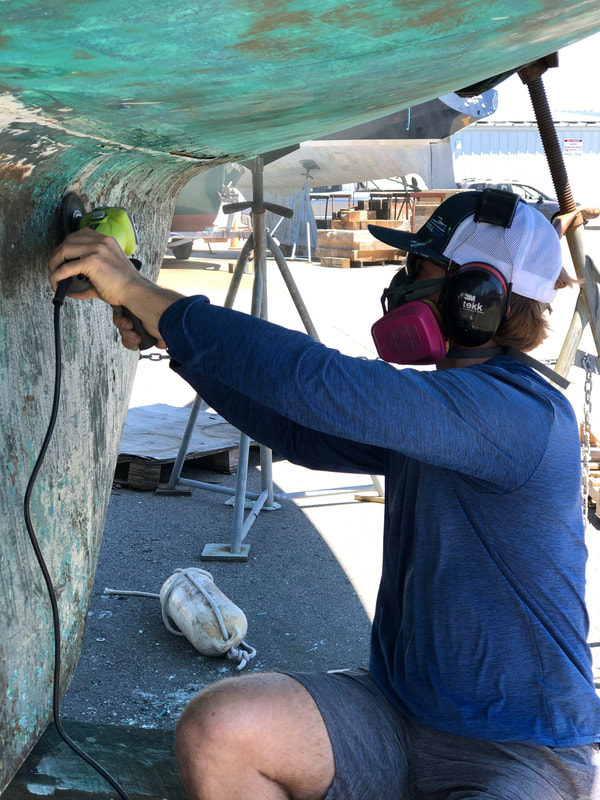
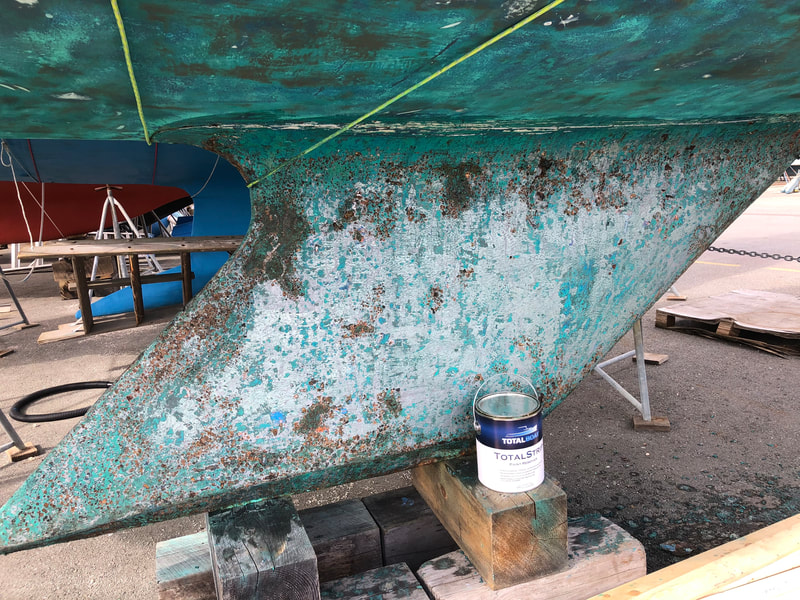
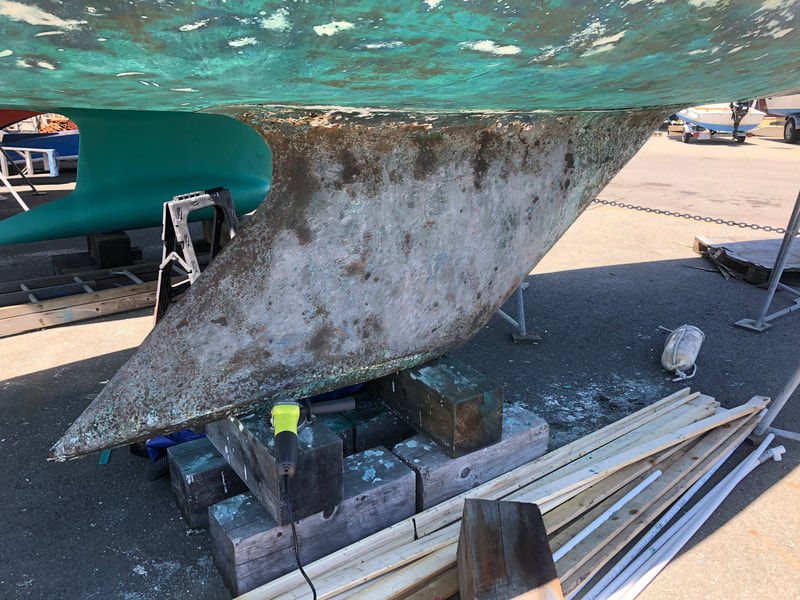
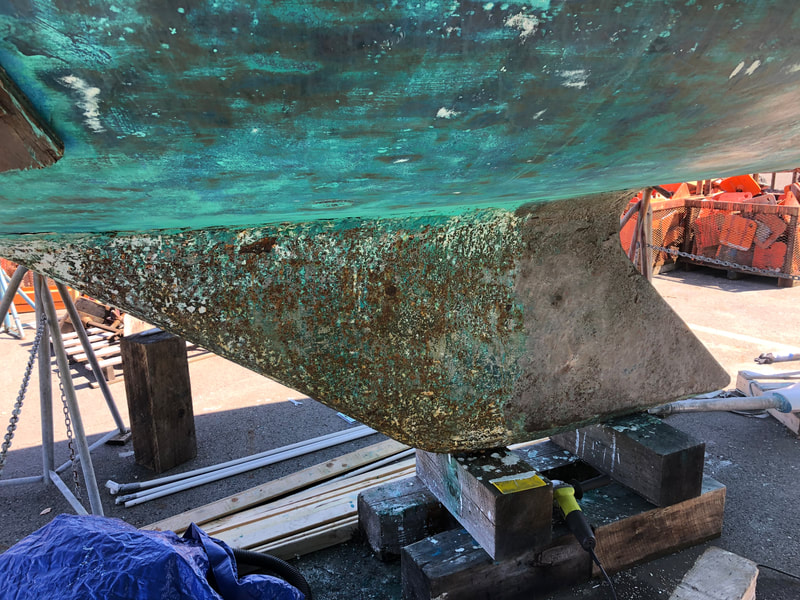
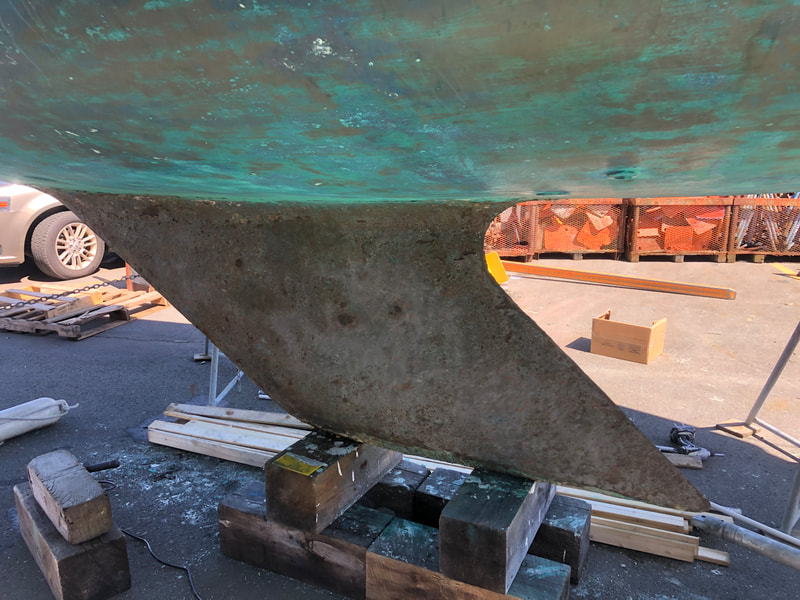
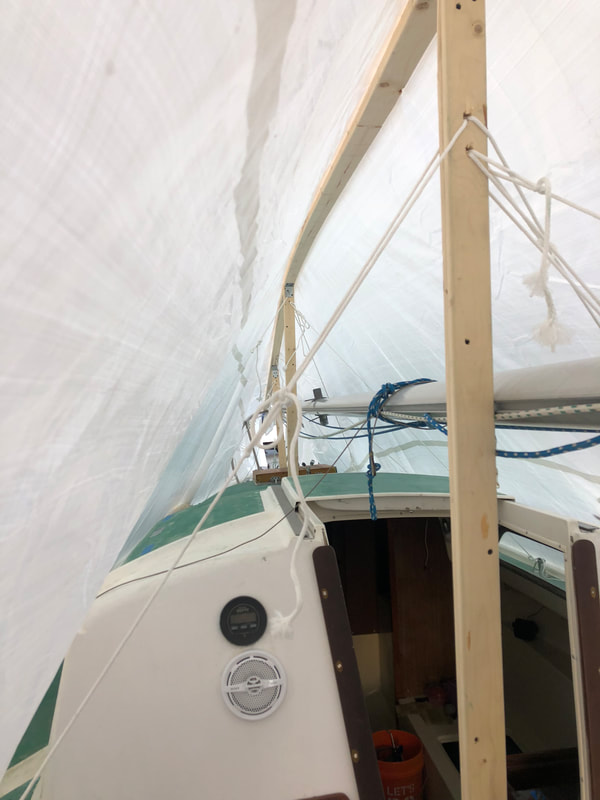
After an exciting two month un-expected semester abroad in Bermuda I was sad to leave but very excited to get working on the boat again. I brought back with me a couple of souvenirs. First, a name plate that I had carved at my friend Felixs house. They gave me a piece of 250 year old Bermuda cedar that was part of a building located on Front street in Hamilton, the countries capitol, to carve it out of. I then painted the name of the boat, Why Knot, in gold. The second item is a carbon fiber cup that I made. This will be essential for the boat to break the 6.25kt barrier. This is kind of like the speed of light for Pearson 26s. All joking aside I thought it was a fun project. Pictured below is the name plate and carbon cup. The first visit back to the boat was slightly disheartening. During my time away both my dad and my friend Connor checked in on the boat multiple times, including a couple weeks before I returned. Every time they went the tarp looked pretty good. When I got to the boat for the first time the whole thing was a mess. It was quite windy a couple days earlier and I think that storm ended the cover. Luckily not much water had made its way into the boat and all is well. I then got restocked with supplies from TotalBoat and it was back to work. The first activity was painting all the brown fake vinyl wood white. For this I used TotalProtect, a two part epoxy paint that is very durable. I applied three coats, sanding in-between coats when they had dried for too long. Here you can see the before and after for painting. The white really pops and makes the small cabin feel a bit larger. I also finished up sanding the old green deck paint. I sanded it with 80 grit sand paper to knock off the loose material and provide an even surface for the new nonskid paint to bond. Next step - fairing the cockpit sole and painting some sweet new paint on there With the help of my mom we sanded the old waterline off in preparation for a new boot stripe. Next, I applied a second coat of grey epoxy bilge paint to the sail locker and starboard cubbies. This will fully cover these areas, protecting them well from the sails and gear getting tossed in for years to come. Many months later the desk, table, compression posts and hatch are all completed. The desk, table and hatch were all scraped down to bare wood. For the desk and hatch I scraped off the old varnish and sanded to 320. I then filled in the cracks in the hatch with many rounds of TotalBoat penetrating epoxy. Once that cured I applied two coats of Wood Sealer and four coats of Gleam 2.0 varnish, roughing it up in-between coats with Scotch-Brite and sanding with 320 grit before the final coat. The change is especially noticeable in the hatch. It looks almost new. For the desk I striped all the varnish, sanded to 320 and then stained it mahogany to match the rest of the interior. I then applied Wood Sealer and Gleam 2.0 varnish to complete it. Finally, for the compression posts I sanded the original varnish with 320 grit and applied a couple more refresher coats. The final project that I began was the keel. The keel is iron and was quite rusty when I got the boat. Also, at the keel-hull joint there was some separation and the sealant was no longer doing its job. My plan for the keel was to go over it with a scraper and TotalStrip to knock the bottom paint off. This stuff basically turns bottom paint into water in 15 mins. Then, grind as much of the rust off the keel as possible with a wire brush on an angle grinder and remove the loose sealant. Once the old sealant is gone I will apply new SEAL, fair the keel with TotalFair, fair the keel-hull joint with TotalFair, and then barrier coat the keel with TotalProtect before applying bottom paint. This weekend I ground down the keel, applied SEAL to the starboard side and applied TotalFair to the keel. It was quite a laborious task but the keel looks much better already.
I just wanted to let everyone know why there have not been many posts recently. I left for what was going to be a short trip to Bermuda on March 13th, but amidst the Coronavirus pandemic I decided it would be best to wait out the storm here. Right after I made that decision the airport shut down. So, for a while longer I will remain in Bermuda. Stay tuned for photos of this adventure though! Also, I do have some photos with me of Why Knot from about a month ago that I will make a couple posts with. Stay tuned for those. Stay healthy and safe and I hope to be back at the boat working soon enough to get her in the water this summer!
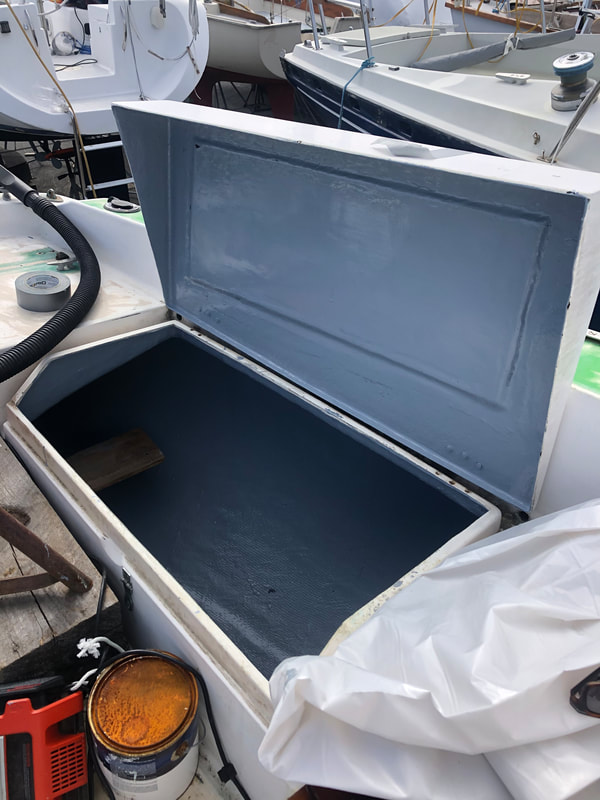
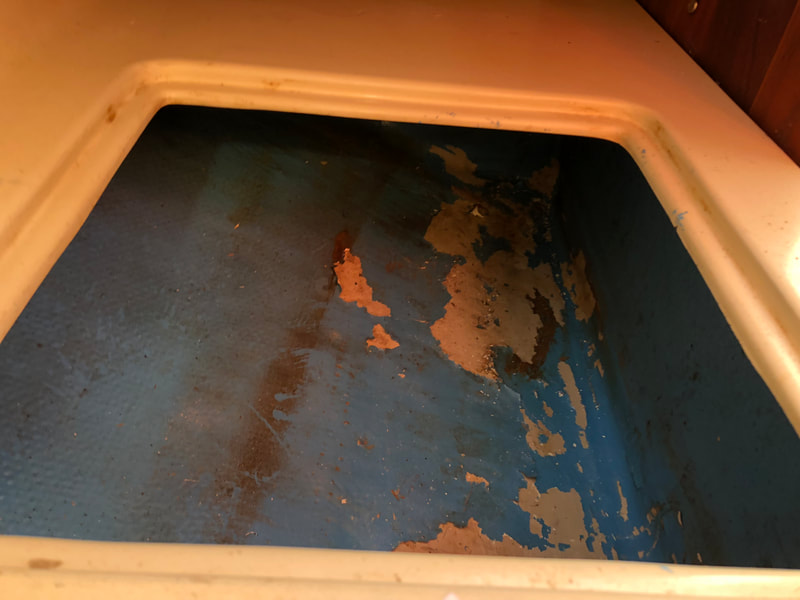
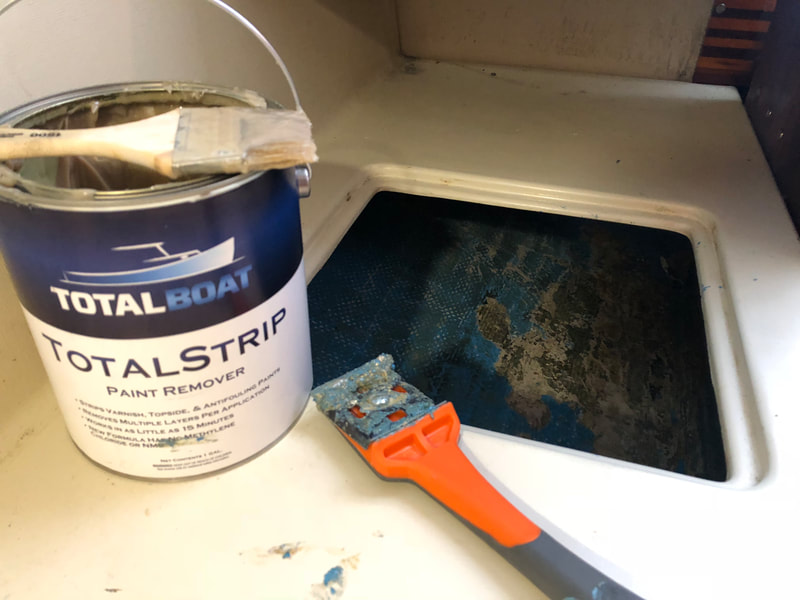
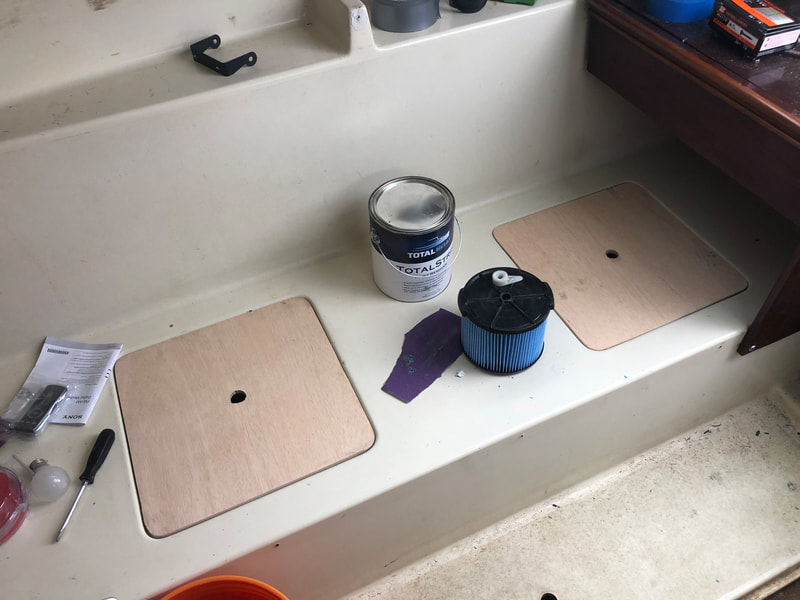
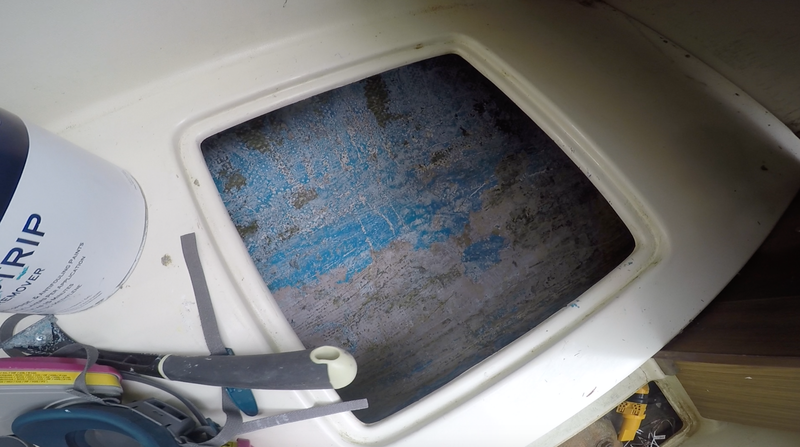
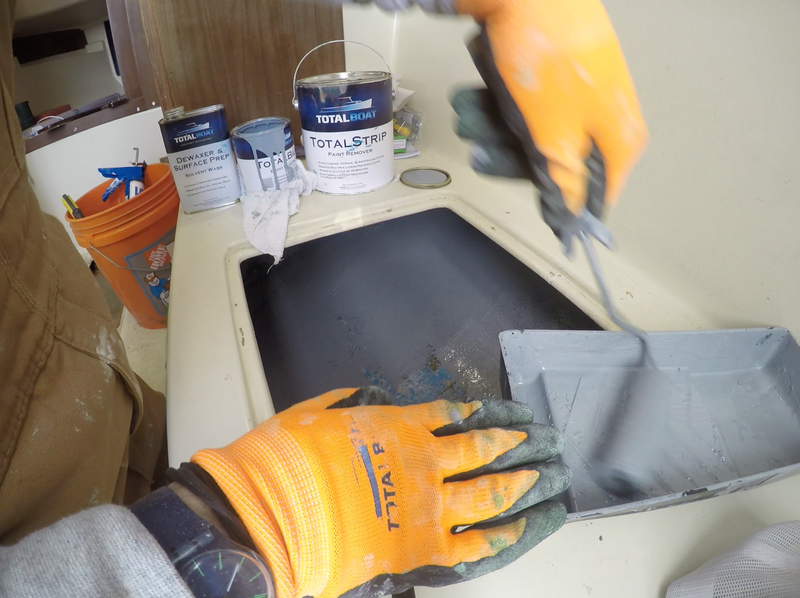
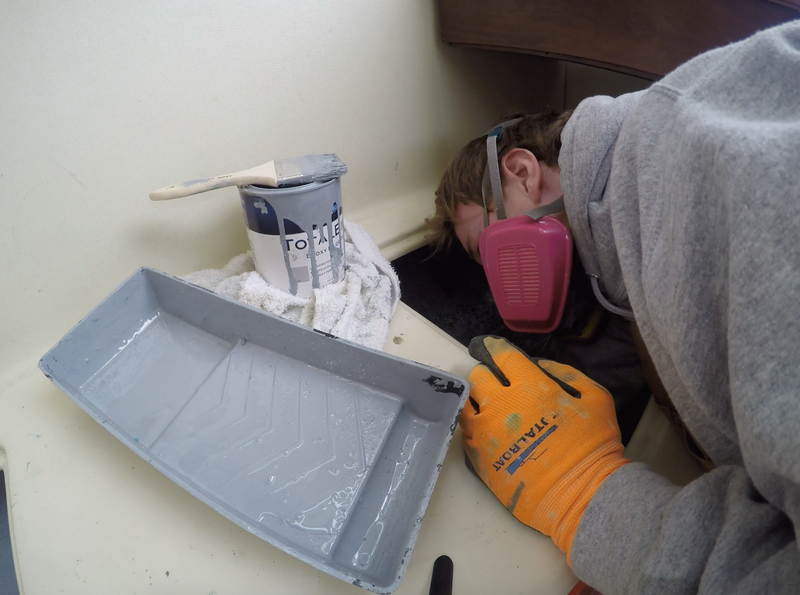
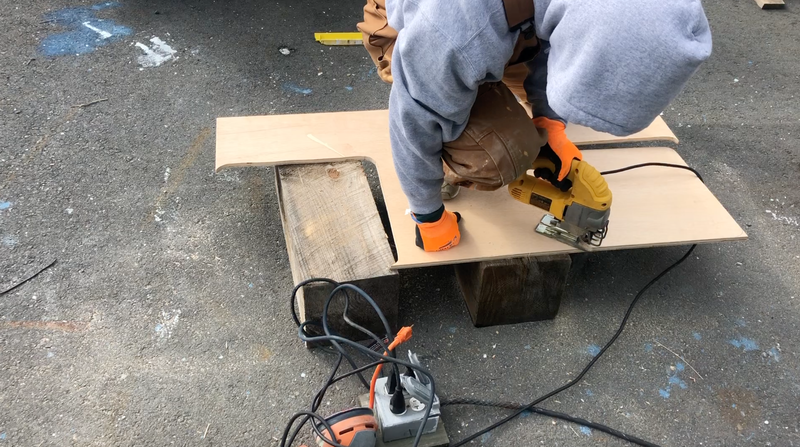
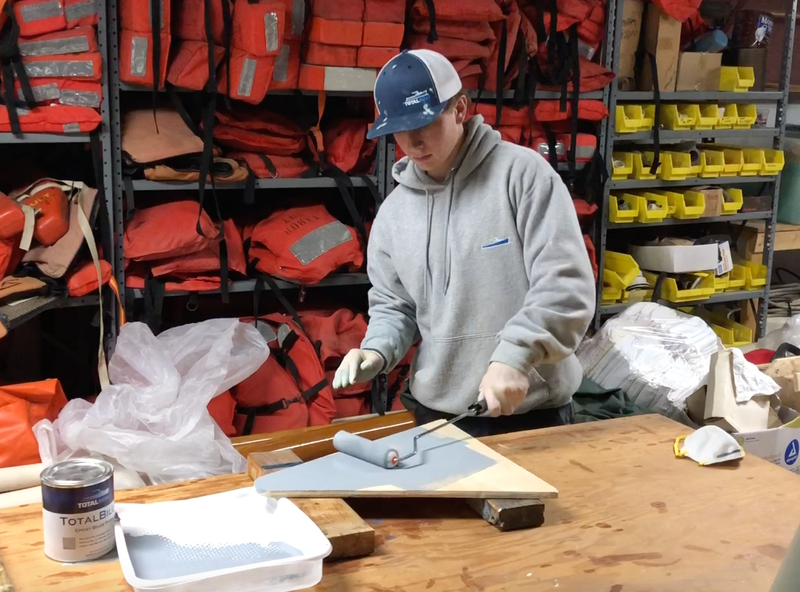
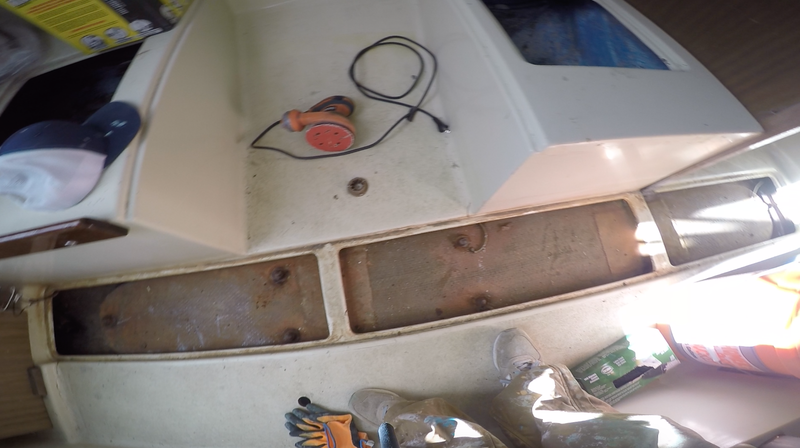
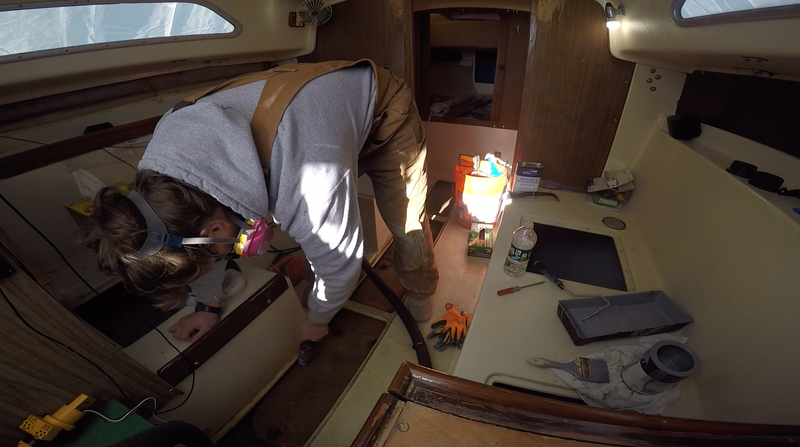
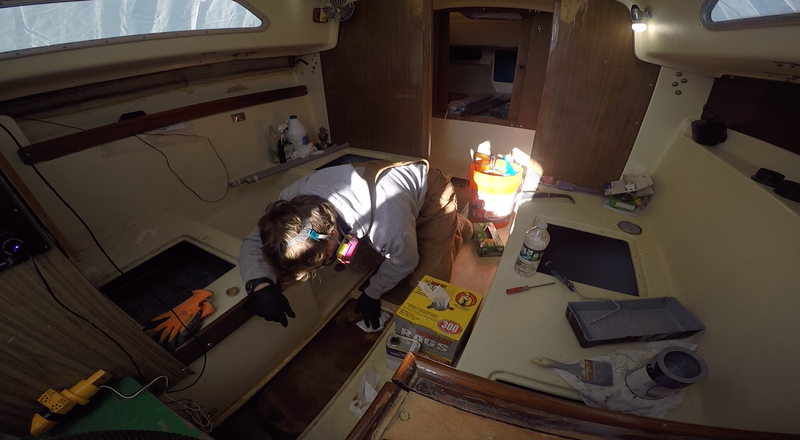
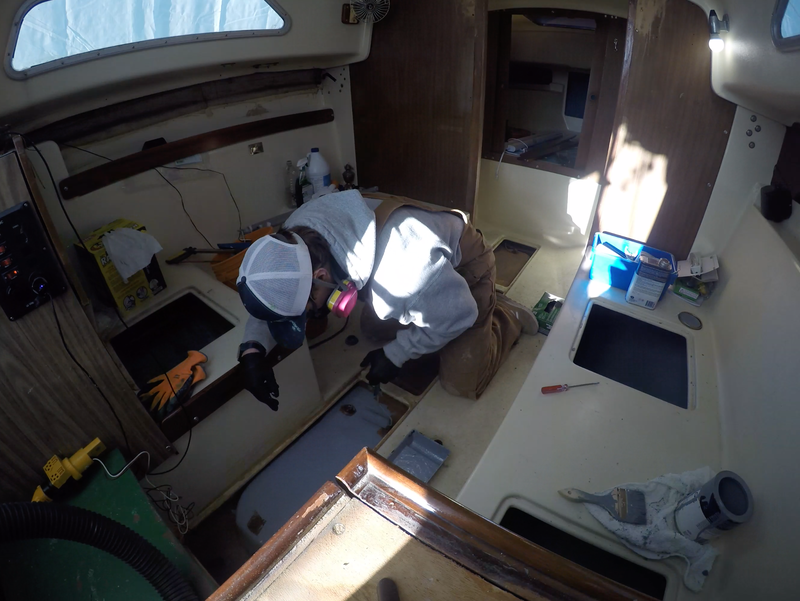
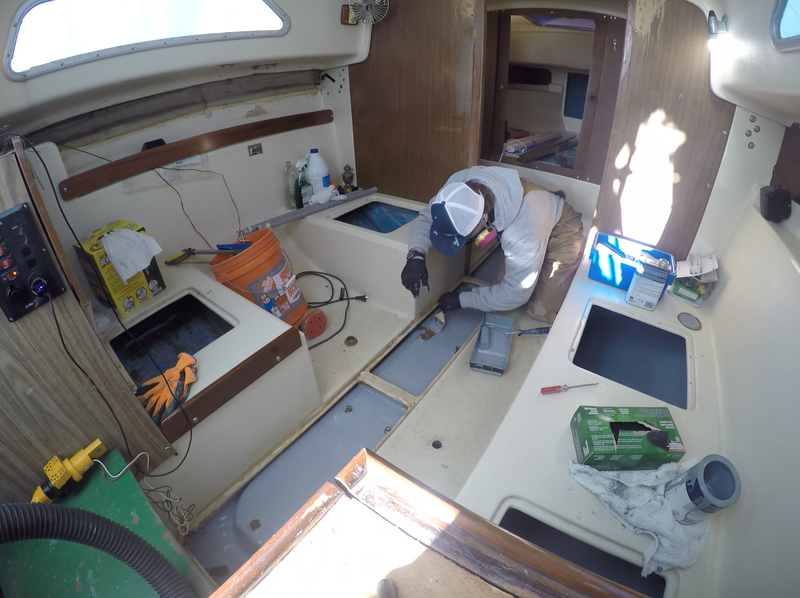
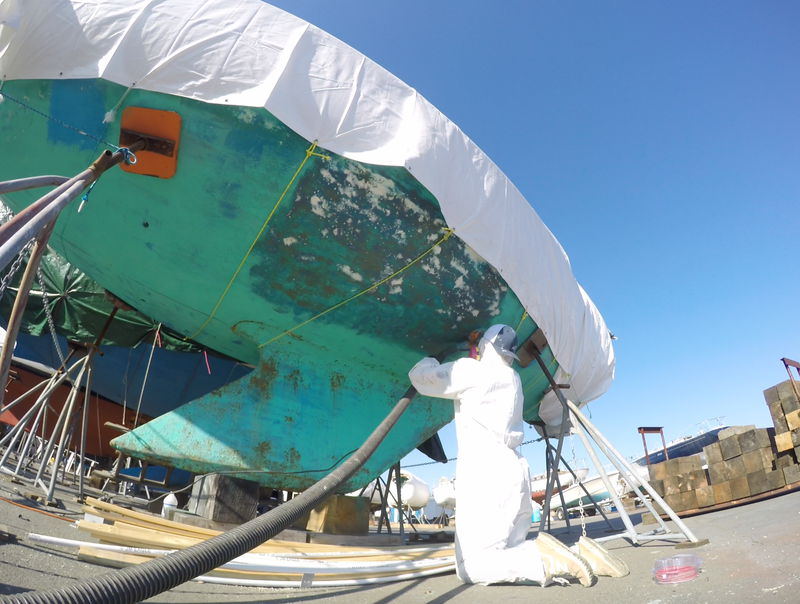
First, this week I worked on painting the compartments under the benches on Why Knot. The old paint was flaking off and in bad condition. The first step was to use TotalBoat TotalStrip to help strip the paint. There where only a couple layers of paint so I applied the TotalStrip in a thick coat and let sit for about 15 minutes. This worked well, and it was easy enough to remove with a paint scraper. Then, I used TotalBoat Dewaxer and surface prep to prep the surface. The Dewaxer can also be used to clean paint off tools and equipment which comes in very useful. Once the Dewaxer had evaporated, I used TotalBoat grey TotalBilge paint to coat the compartment. This is a super durable, epoxy based paint that is water proof and ideal for this application. I will put a second coat on next time it is warm enough. I also cut some new seat covers to cover the openings. They will also get coated in TotalBilge to protect them from possible moisture. Next, I prepped and painted the bilge. There was no paint on it so for prep I vacuumed out any debris and then washed it down with TotalBoat Dewaxer and surface prep. Once evaporated, I painted the area with TotalBoat grey TotalBilge paint using a foam roller and cutting in around the keel bolts with a brush. I will also put a second coat down here next time it is warm enough. Finally, I spent some time sanding bottom paint. My plan of attack for the paint is as fallows. For the bottom, I am sanding down to where the keel begins and putting on a couple coats of antifouling paint. While I do this I am keeping an eye out of blisters. So far so good. For the keel, I am going to strip it completely down in order to apply a barrier coat. The plan for the hull is to remove the old paint and repaint it with TotalBoat WetEdge paint. Right now it has the always classy "rustoleum paint job", so I am excited to see how it looks with new paint. Finally, I am using TotalBoat TotalStrip to strip the old, green deck paint off and repaint it with TotalBoat TotalTread non-skid paint. This will be a vast improvement over the current deck paint.
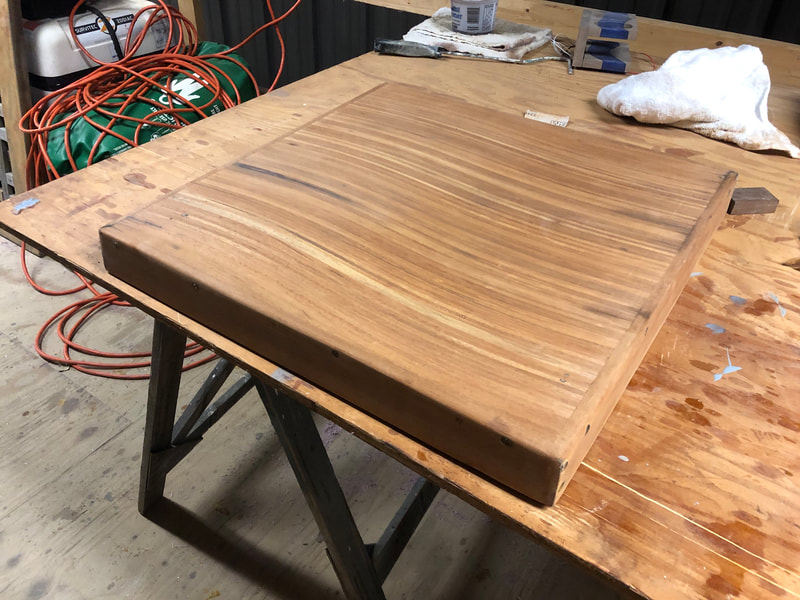
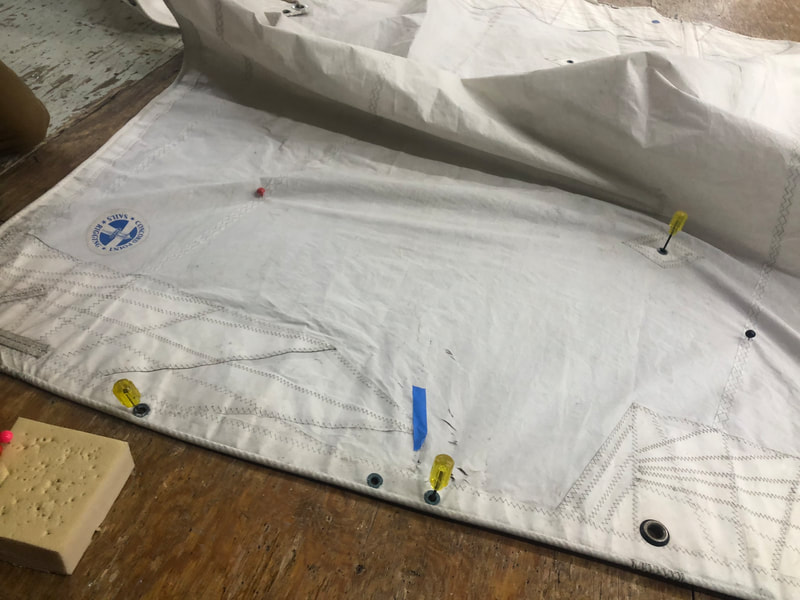
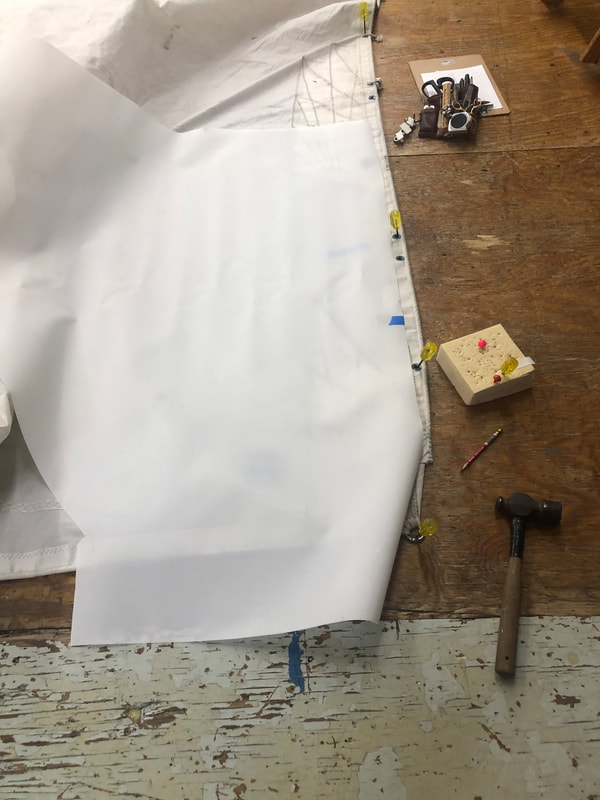
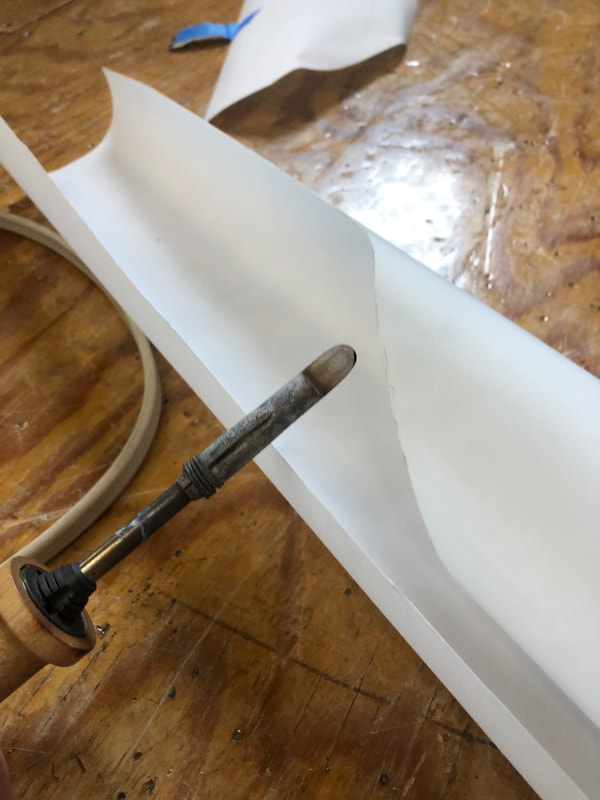
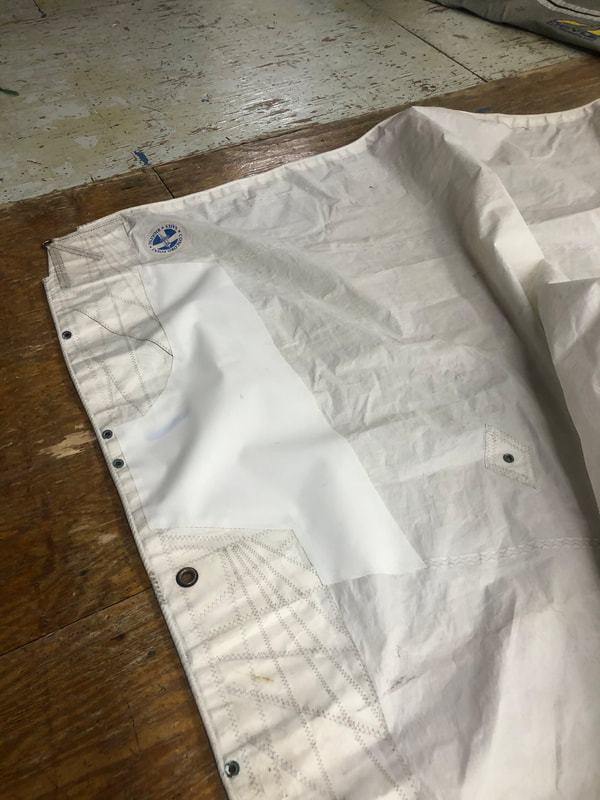
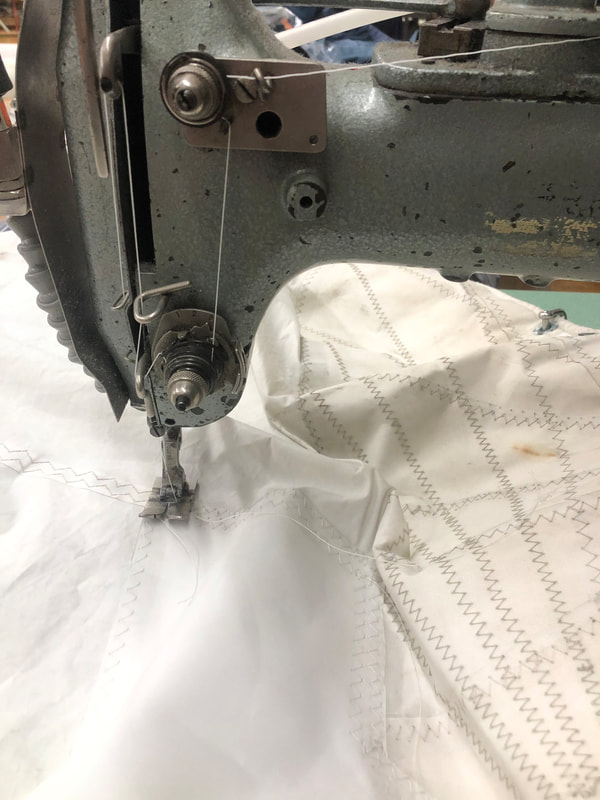
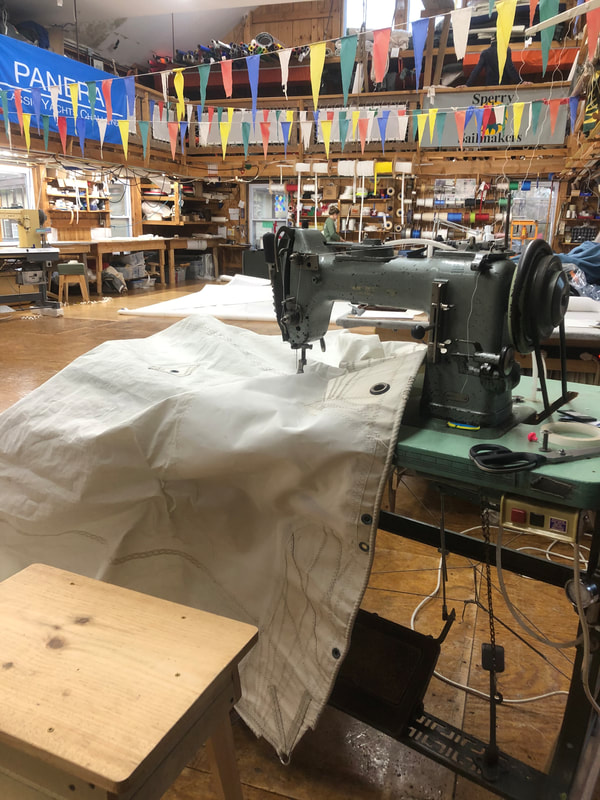
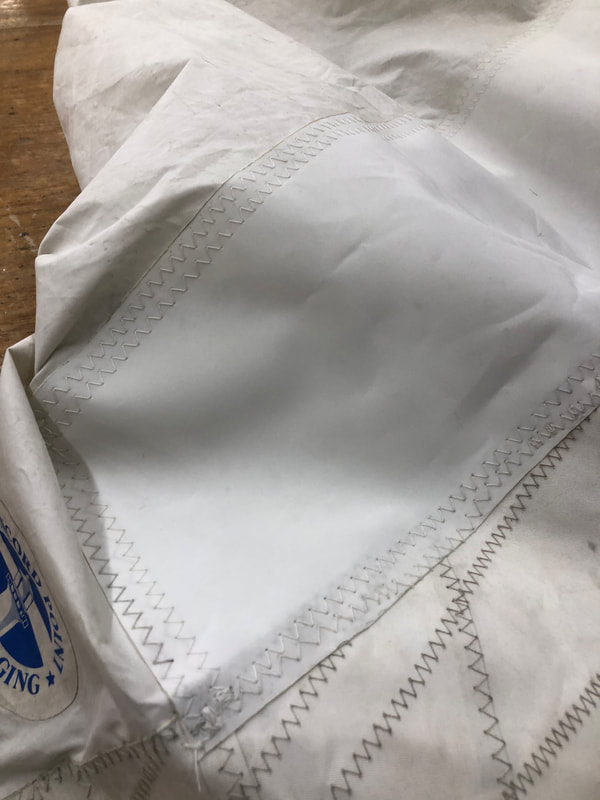
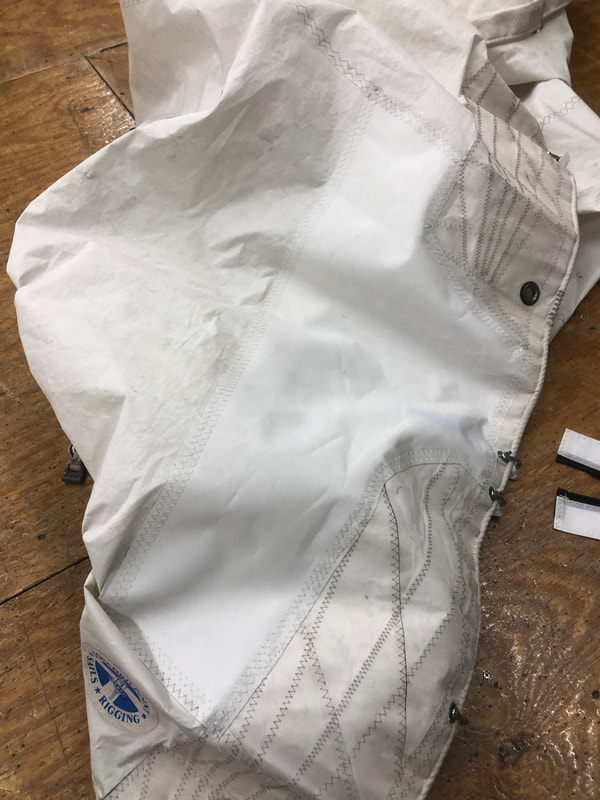
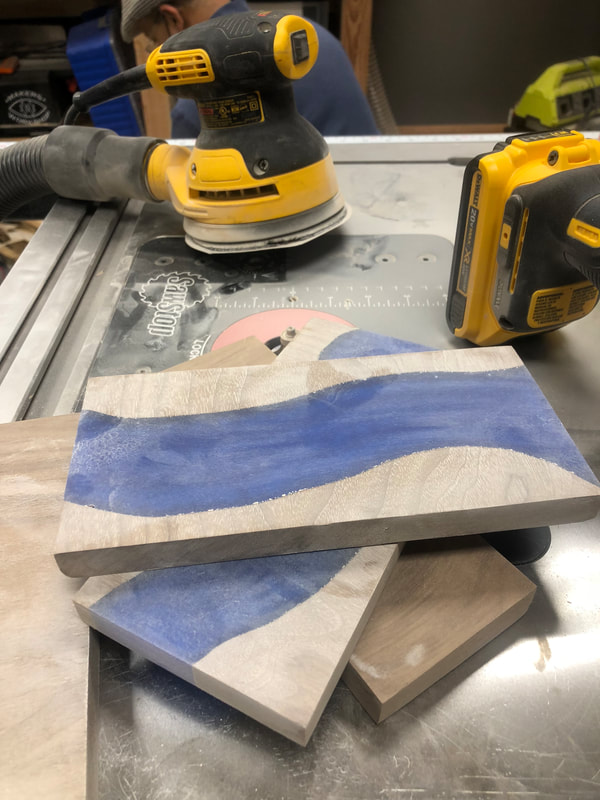
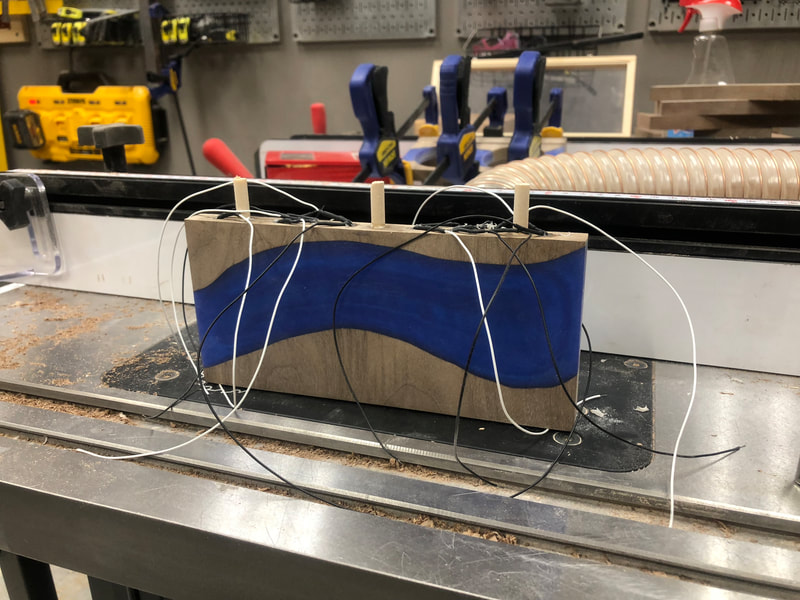
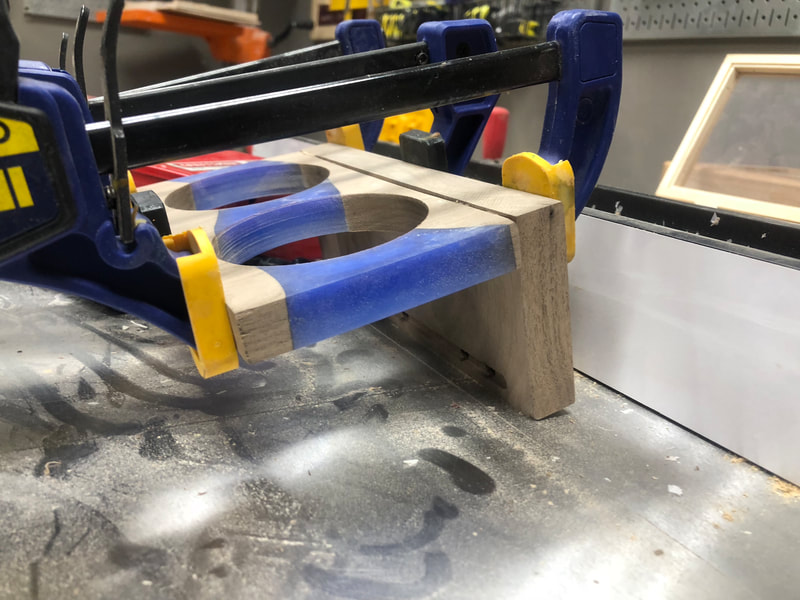
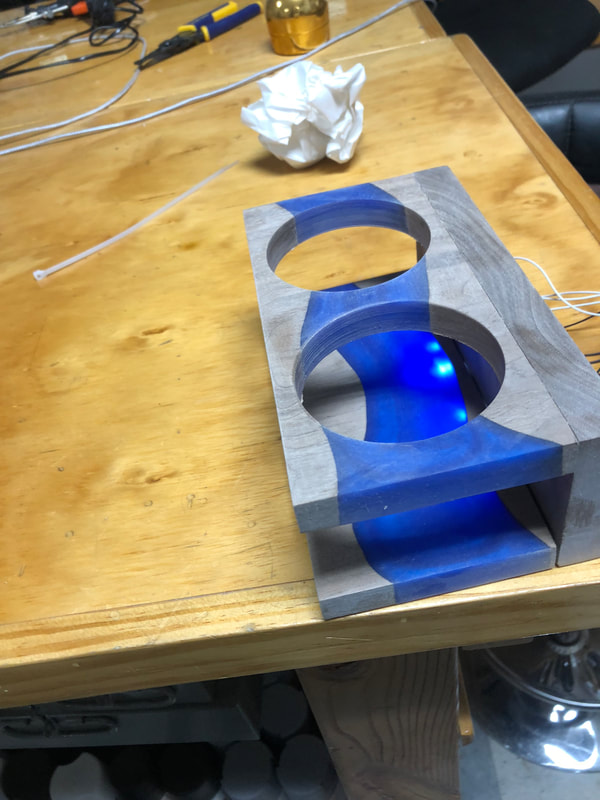
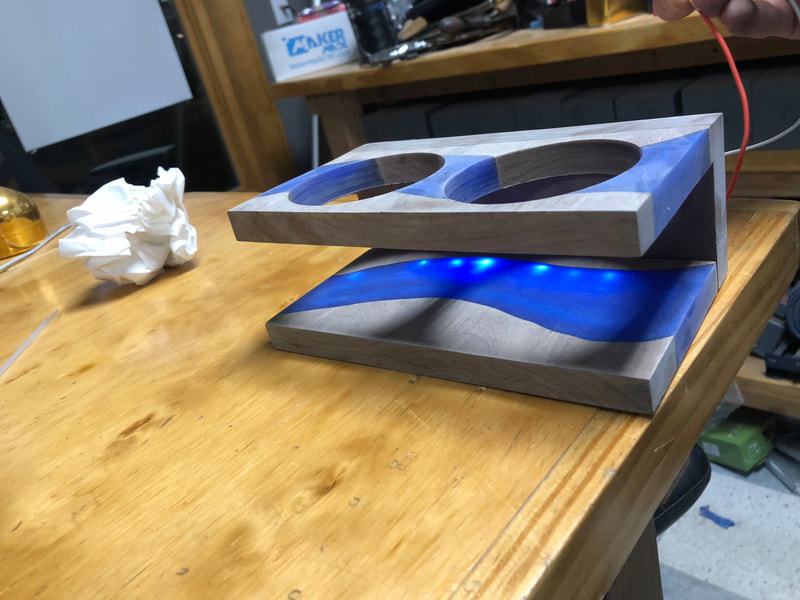
The last few weeks I have been working on patching the main, made a cupholder and I have been chipping away at refinishing the wood and a few other projects that are close to complete ( I will let everyone know when they are done and make a post on them shortly hopefully). Today I was able to put a patch on the main where there where some holes. This was my first time patching a sail and it was quite fun to learn how to do. The folks at Sperry sails were very helpful in instructing me. In the gallery of images below you can see the progression of making the patch. It begins with marking out the area for the patch, tracing the dacron, cutting the patch, melting the edges, and then sewing the patch on. I also made a cupholder for the boat. It will most likely be installed below the port cockpit speaker. It is made out of walnut with a resin river. The river is made using TotalBoat clear 2:1 resin with some Black Diamond pigments for color. I also incorporated some LED lighting into it for effect. I will be sure to post photos once it is installed.
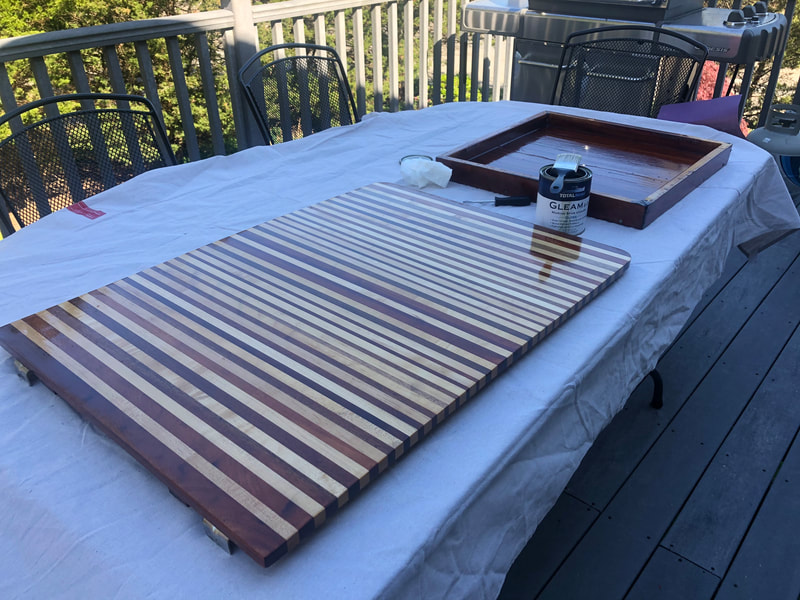
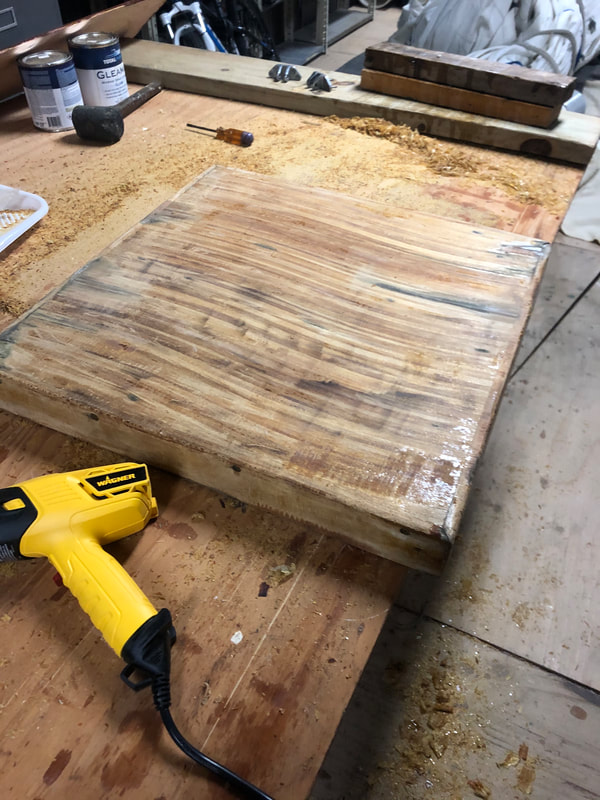
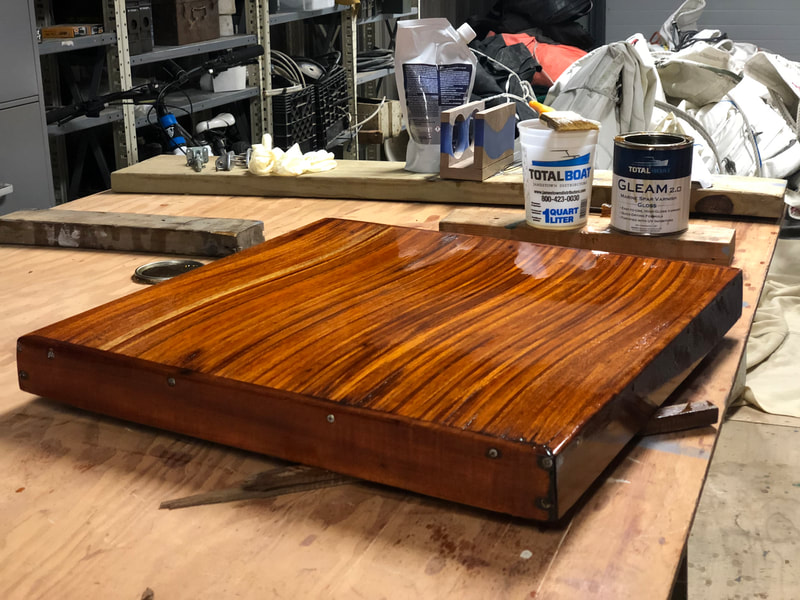
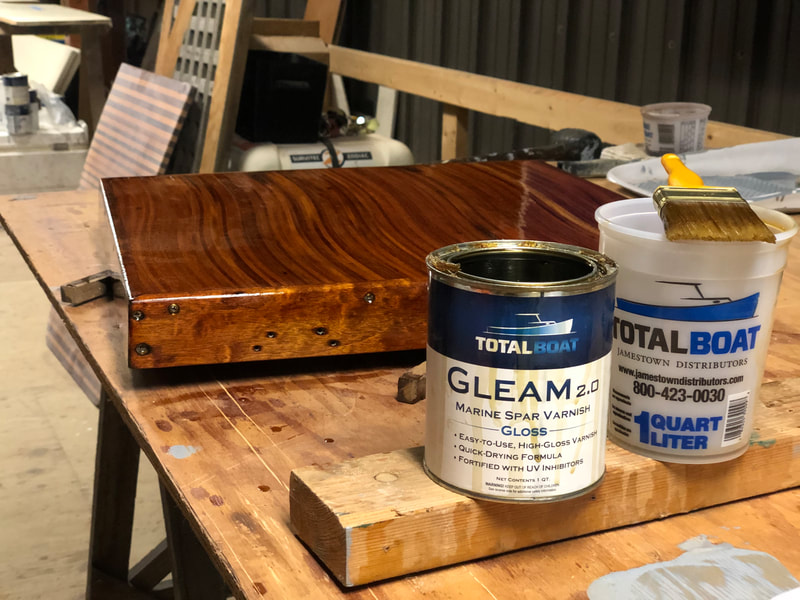
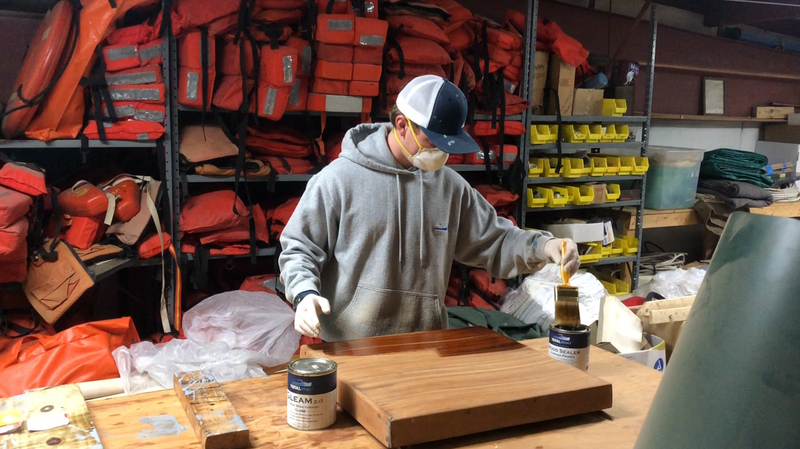
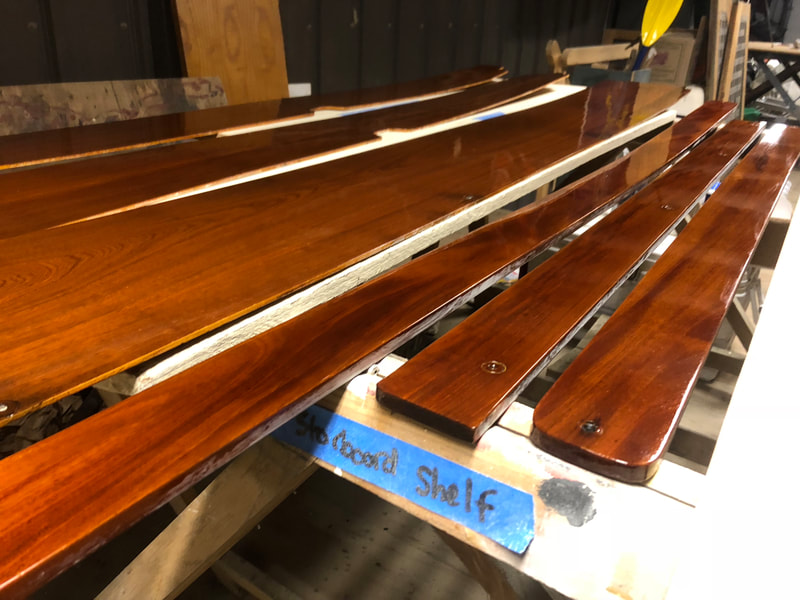
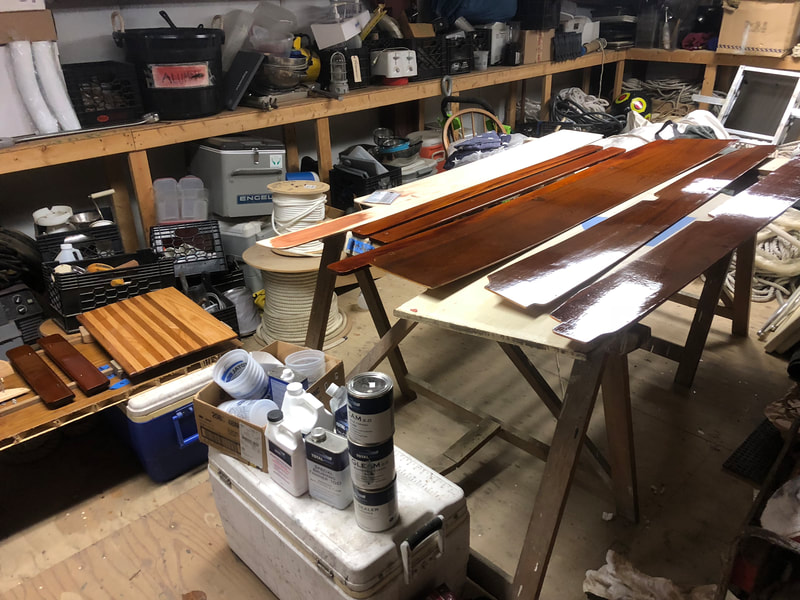
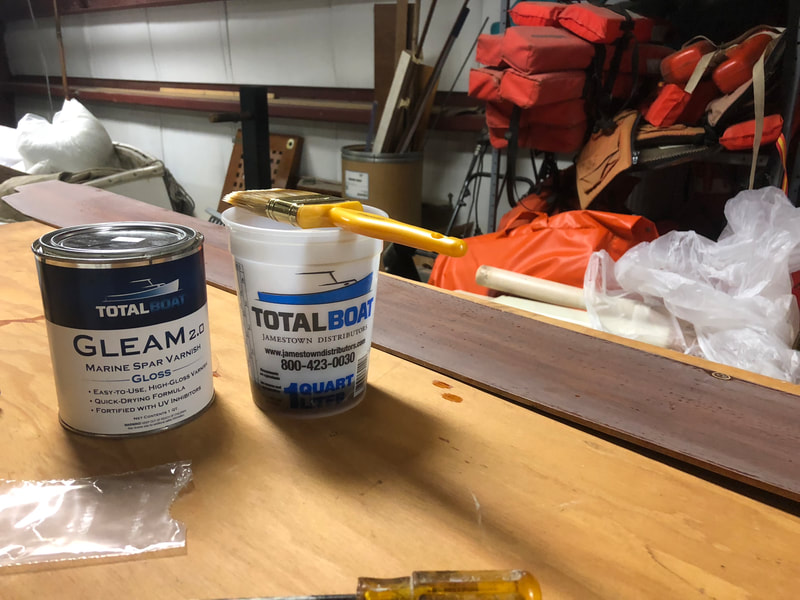
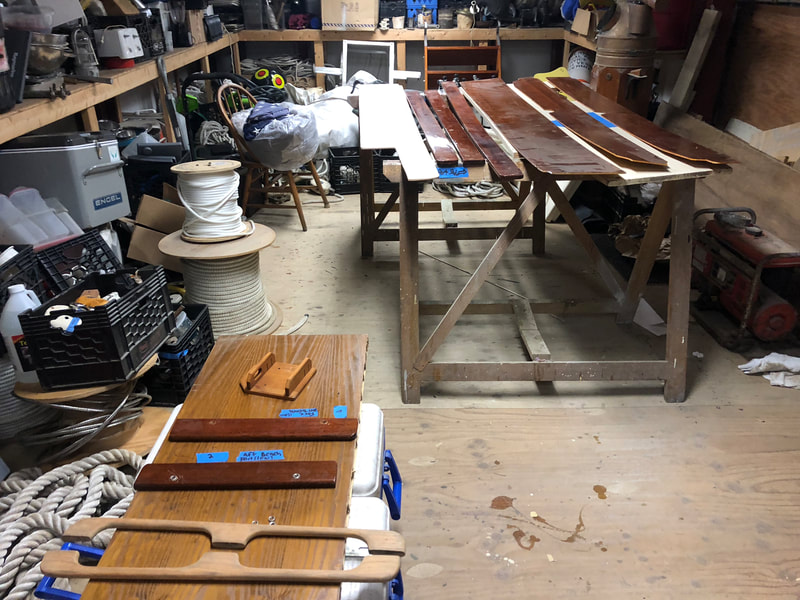
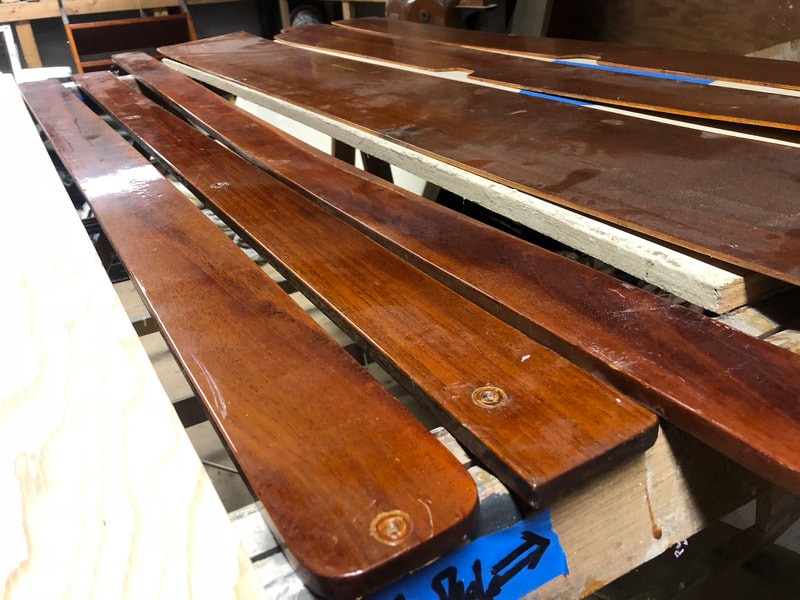
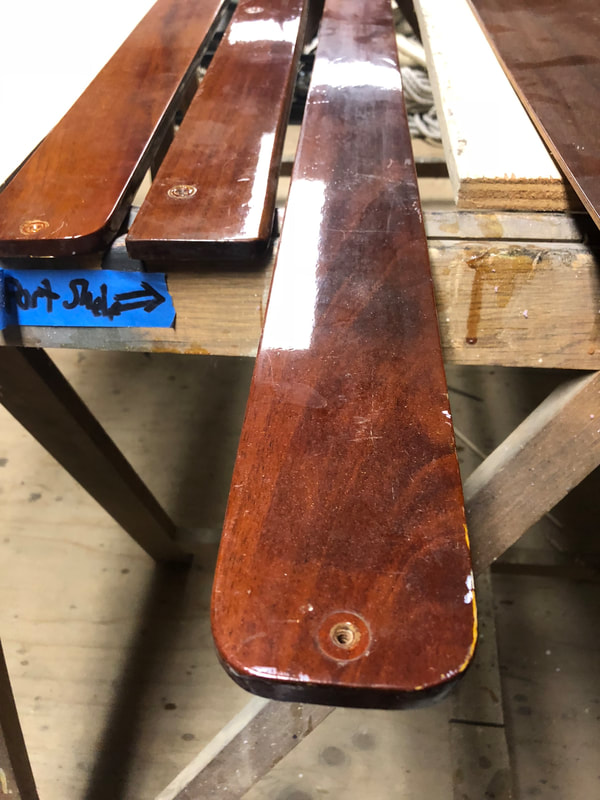
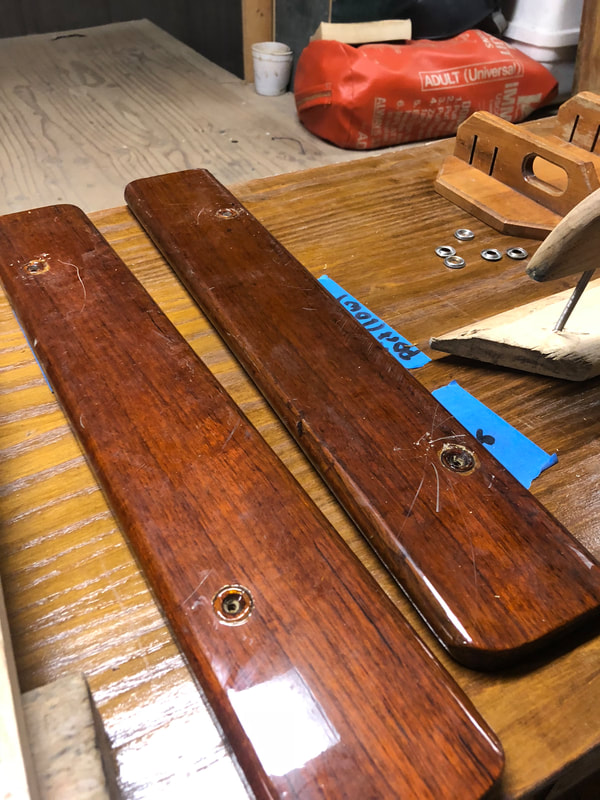
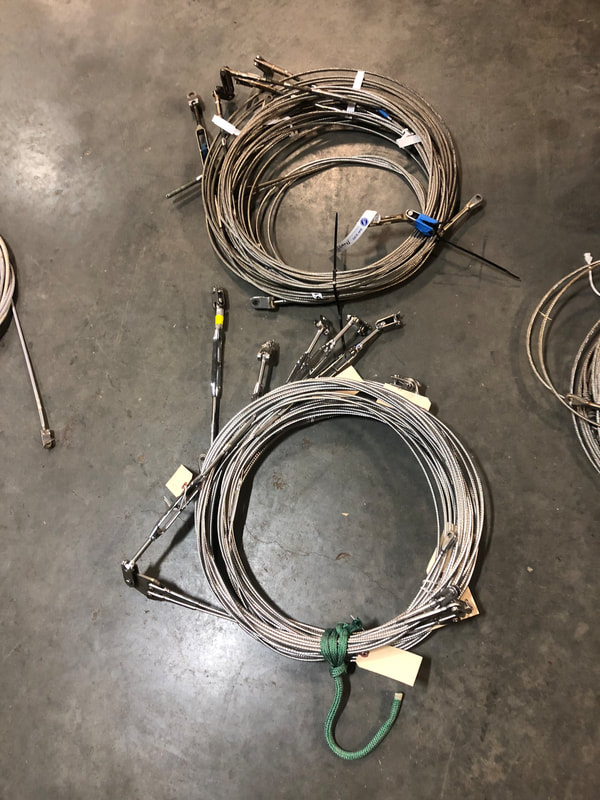
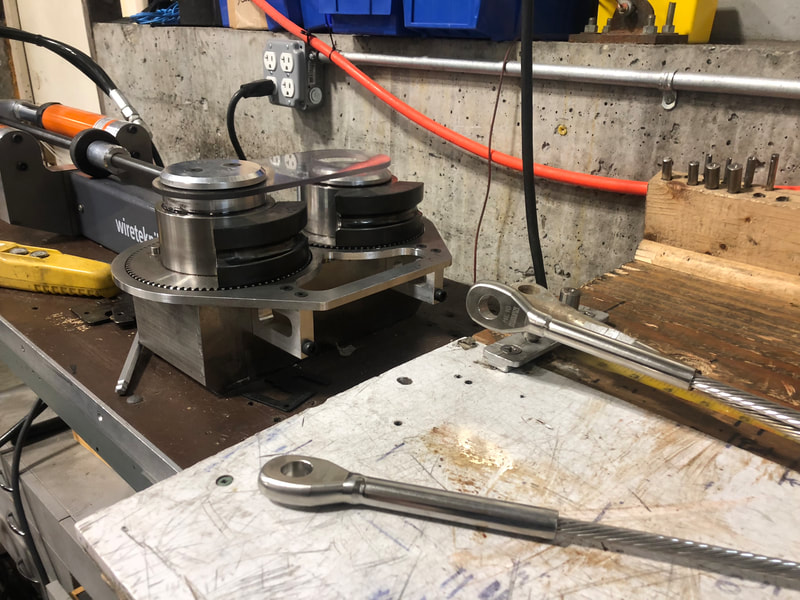
Today I got set up for and began varnishing. I am lucky enough to have been loaned some space in a loft at school for this project. I set up two work areas to limit contamination from dust. One table is for prepping the wood in between coats and the other is for applying the varnish. For varnishing I am first building the layers using Total Boat gleam 2.0 gloss spar varnish. Then, for the last two or three coats I will use Total Boat gleam 2.0 satin spar varnish. The combination should result in a beautiful matte finish. I also picked up my new standing rigging from R and W ropes this week. The new rigging looks fantastic and I could not be more pleased with their work.
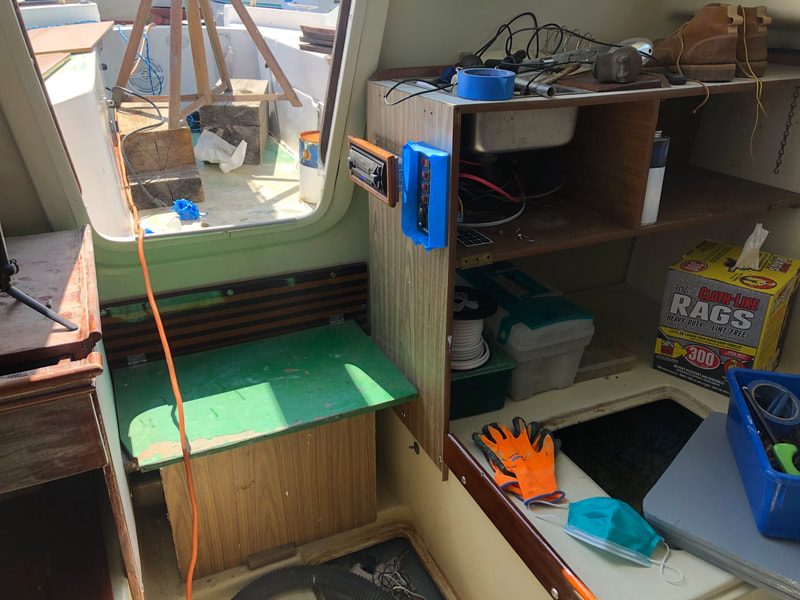
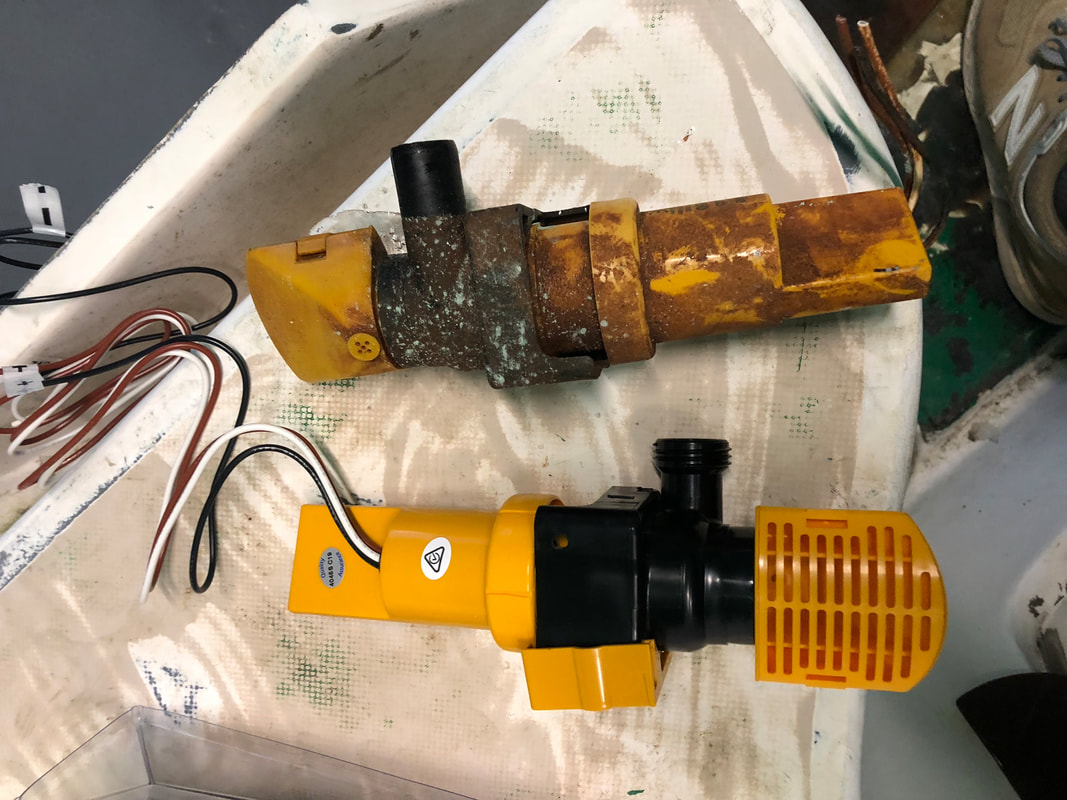
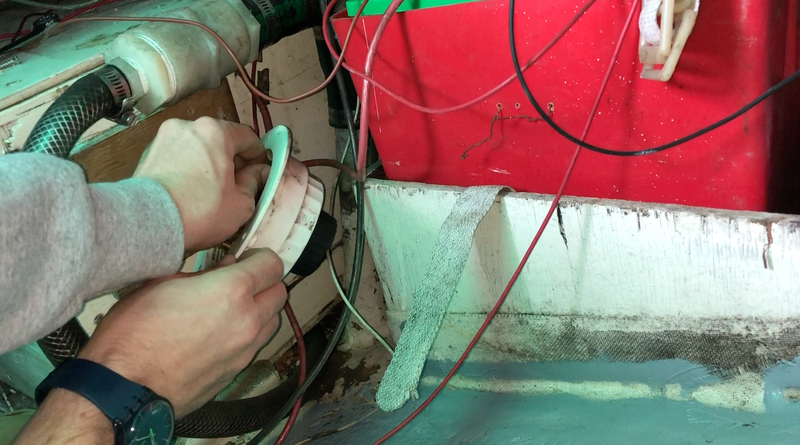
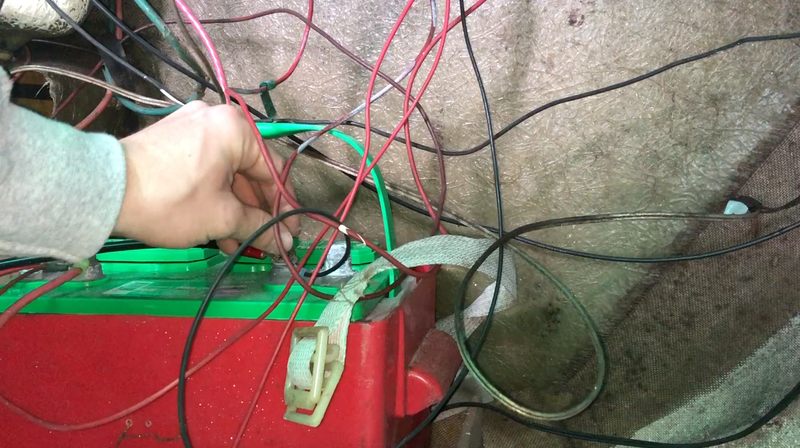
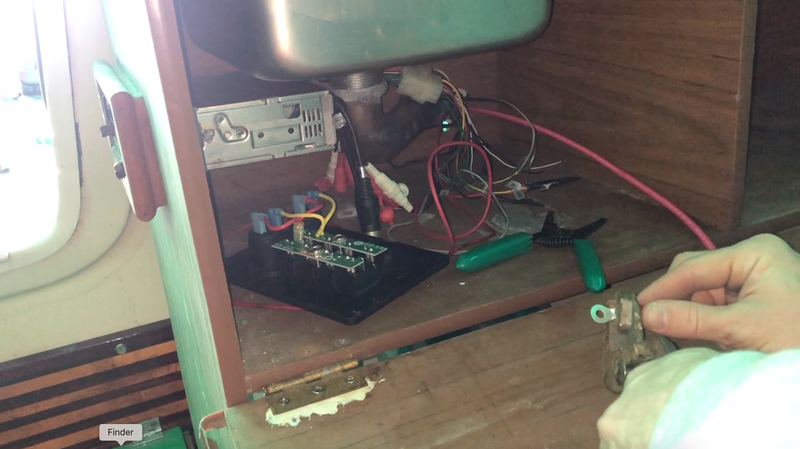
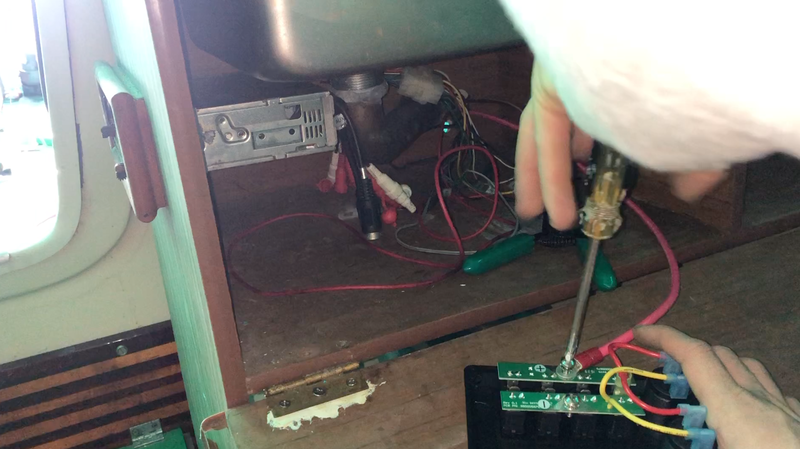
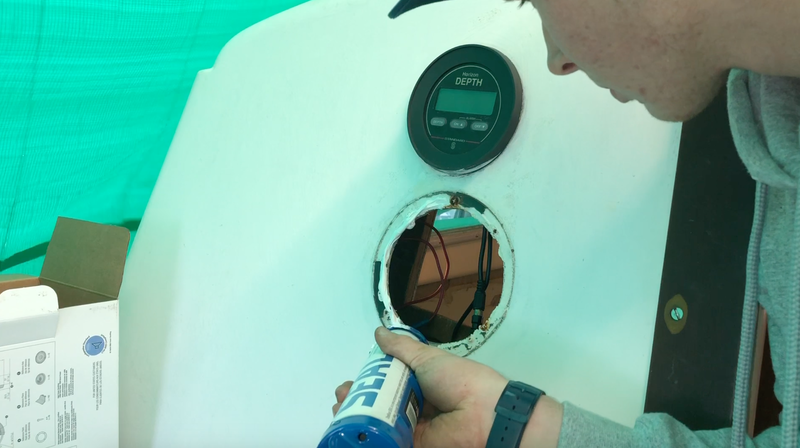
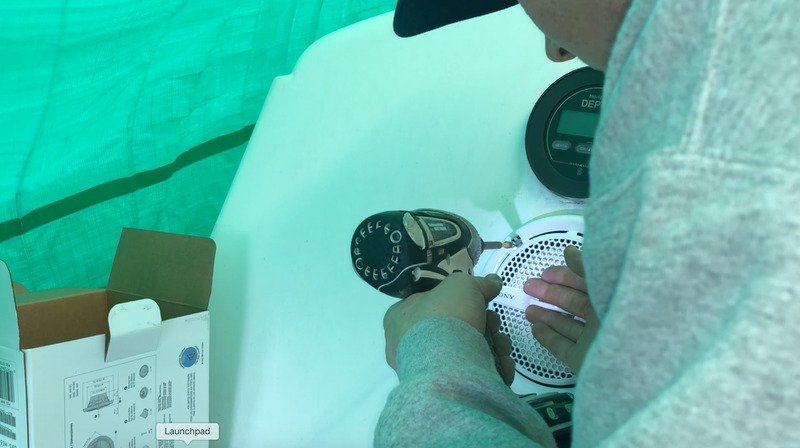
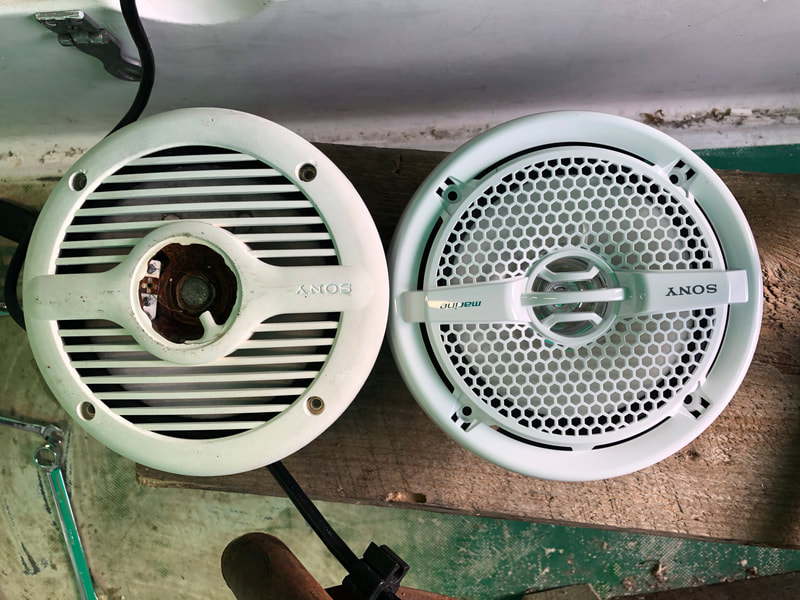
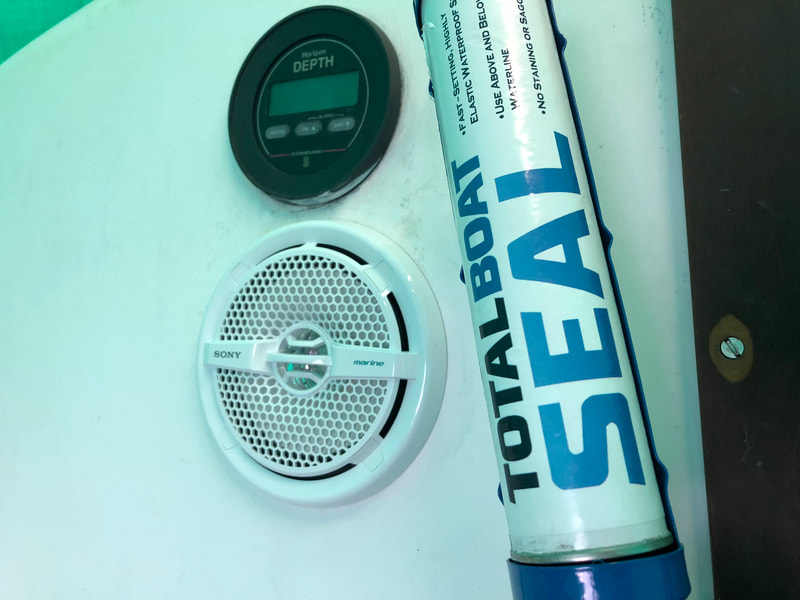
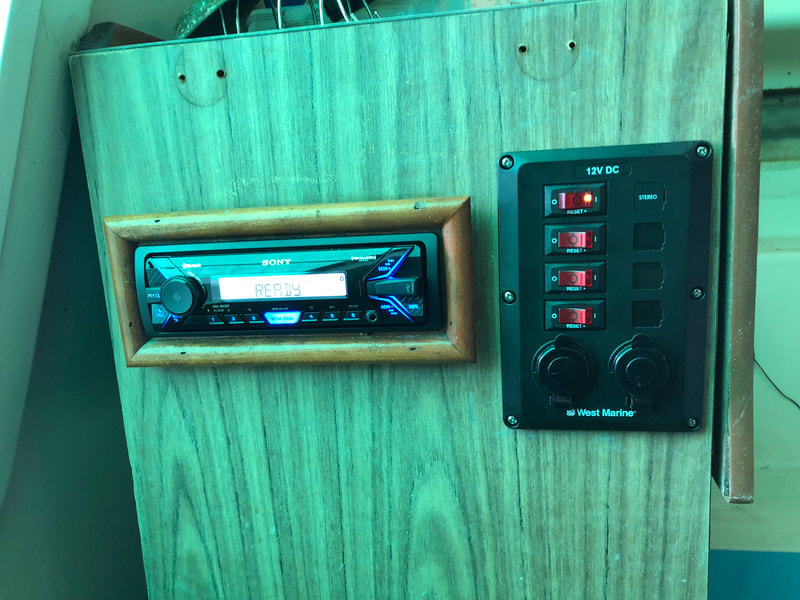
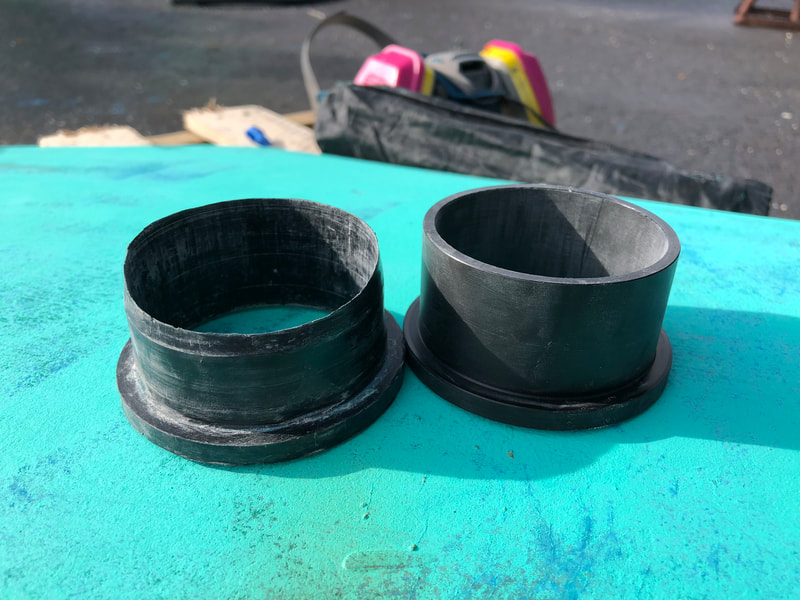
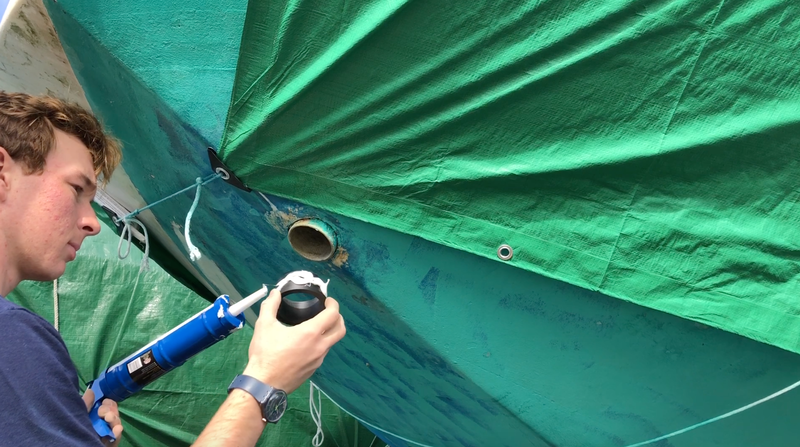
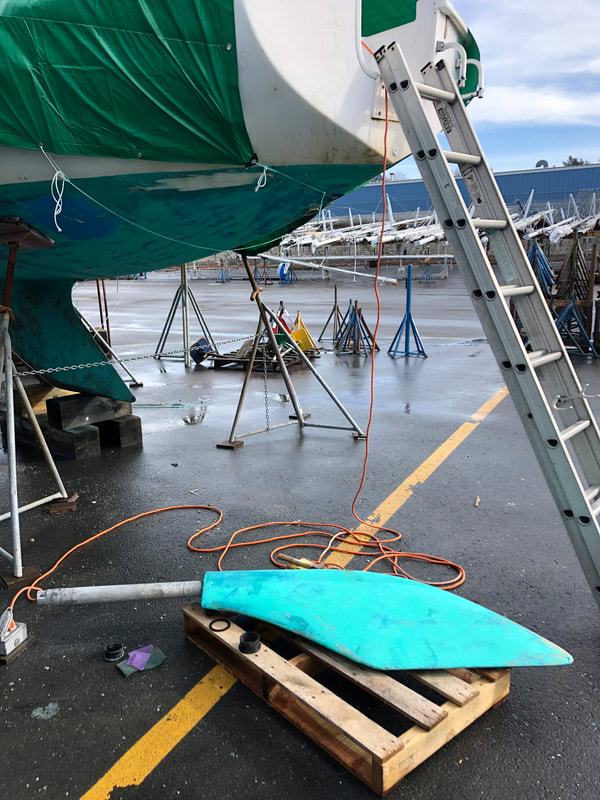
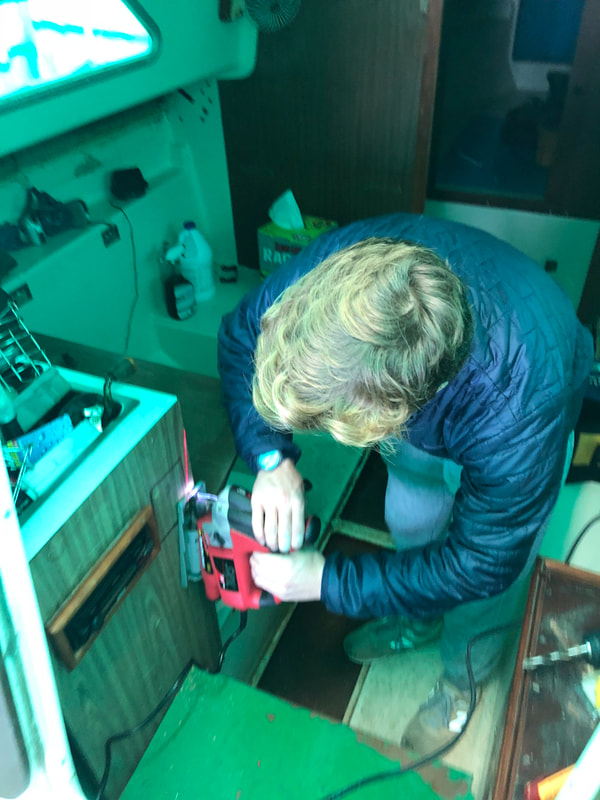
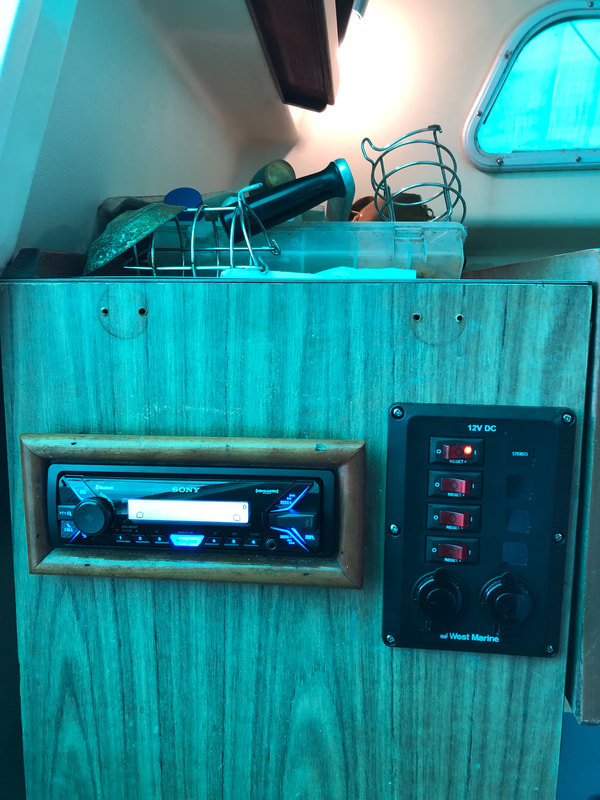
This weekend was very productive. On Friday I had a spare hour and was able to replace the broken bilge pump. On Saturday I dove into electrical. This is really new to me so it was a bit of trial and error. The first task was to wire up a second 12V DC panel because the original one is out of connections. To do this I ran an 8 awg cable directly from the positive battery terminal to the box. I then led another 8 awg cable from the battery to a negative bus. I then ran a 10 awg cable from the bus to the panel. After getting the fuse board working I was very excited and just had to wire the sound system to it. I had chosen the exact same size and brand speakers that where originally in the boat to try to make for an easy install. This worked well. I simply removed the old speaker, attached the wires and then applied TotalBoat Seal to keep any water out before screwing them into the cabin. Once the speakers where installed it was a matter of tracking the wires back, threading them through a hole behind the sink and attaching them to the proper wires on the stereo. I then repeated these steps three more times for the other cockpit speaker and the two cabin speakers. The sound system sounds amazing and will be waterproof for a very long time thanks to the Seal. On Sunday a Tabor alum named Aidan came by to help. With his help we where able to properly mount the fuse panel. It looked really good once it was mounted. Then, he helped me drop the 85lb rudder. To do this we tied a piece of rope through the head of the rudder post, knocked the bolt out, then I ran down below to lower it down. The reason for removing the rudder is two fold. First, I wanted to inspect the condition of the rudder post which is known to corrode and break. The rudder post was quite corroded but most of the pitting was not too deep and I feel comfortable keeping the rudder until at least next season. The other reason was to fix the play that was in the steering. The rudder could move about half an inch at the bottom due to a worn out bushing. Not ideal, especially when going over any sort of wave. In the photos below you can see how the original rudder bushing is very worn away. Aidan and I sanded the corrosion off the rudder post and installed a new bushing. To install the bushing I used TotalBoat Seal because of its adhesion and sealant properties. It is essential that water cannot get past this ring as it will further corrode the rudder. The seal will be perfect for this, along with securing the bushing in place well. This should help with the lateral play in the steering. Overall a really fun a productive weekend working on the boat. Stay tuned for next week!
|
About MeHello! My Name is Stuart Wemple. Welcome to my blog about the refit of my Pearson 26, Why Knot. |


 RSS Feed
